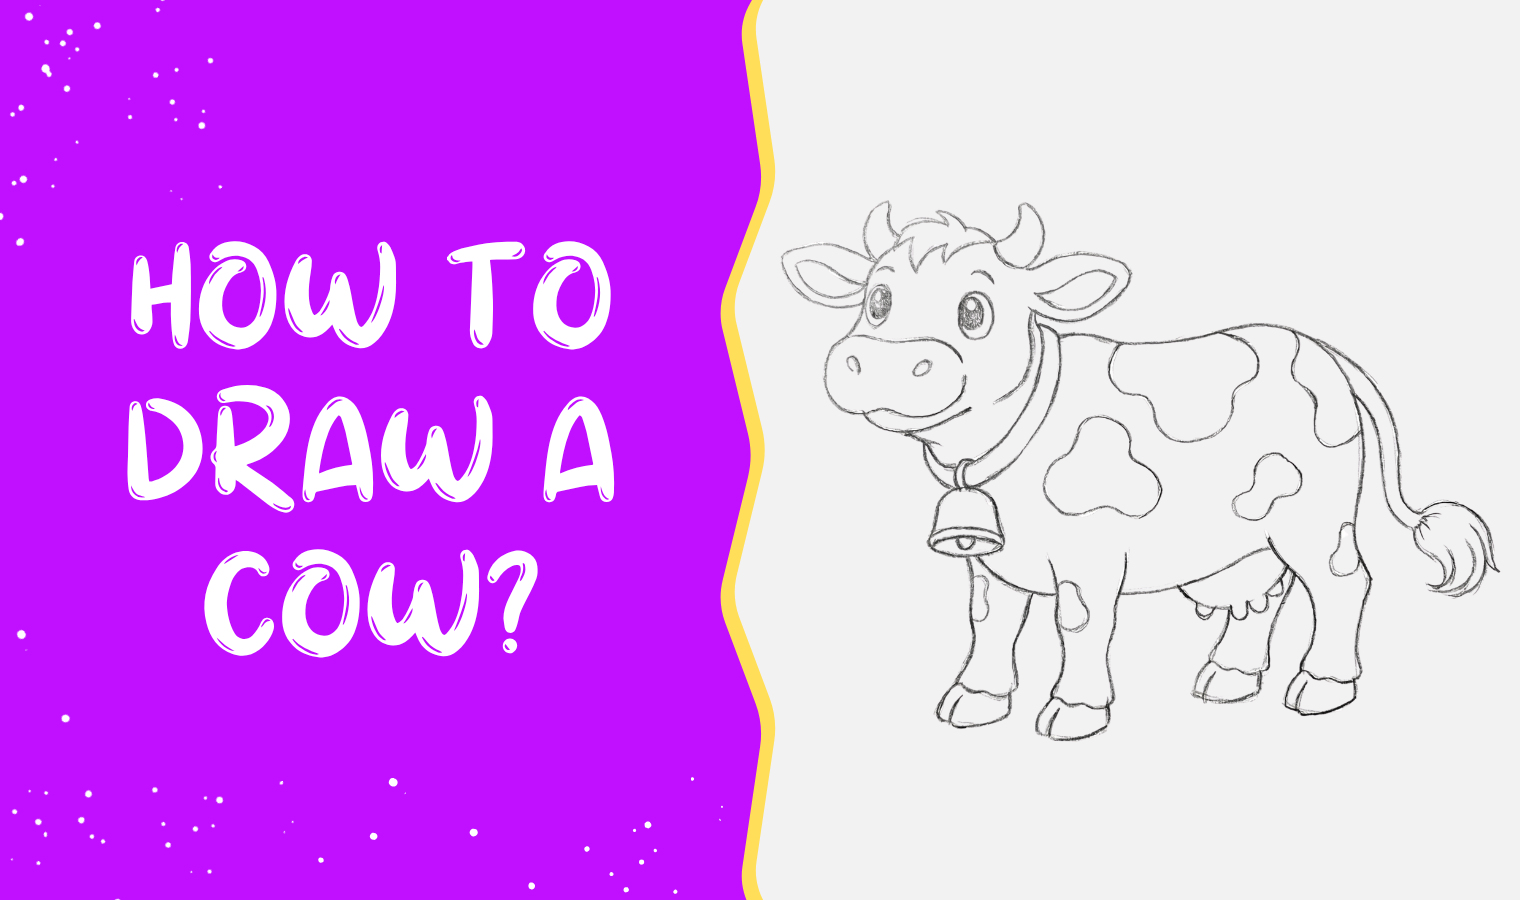
Cows are large and gentle farm animals that are loved for their calm nature and simple, strong body shape. They usually have a big round body, short legs, small ears, and a long tail, which makes them easy and fun to draw for beginners. In many cow drawings, you can see how simple shapes come together to form a cute farm animal.
Let’s learn how to draw a Cow step by step in a fun and easy way. You will use basic shapes to slowly build your cow drawing from start to finish. This activity helps improve your creativity and drawing skills. Take your time, follow each idea, and enjoy making your own cow drawings!
How to Draw a Cow Step by Step Easily
Let’s begin this fun drawing activity step by step. We will start with simple shapes and slowly turn them into a complete cow. Don’t worry about making it perfect—just follow along and enjoy the process.
Take your time, keep your lines light, and focus on each part as it comes together. Let’s get started and bring our drawing to life!
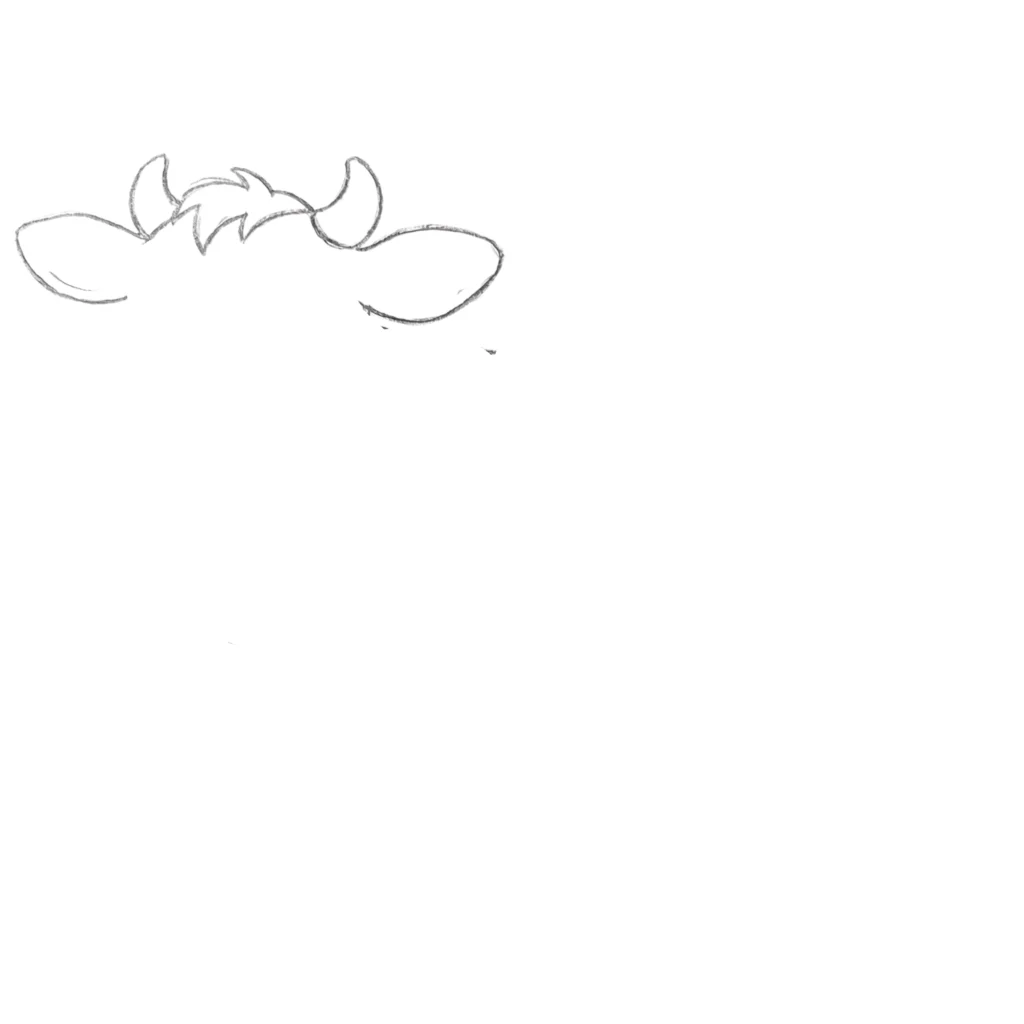
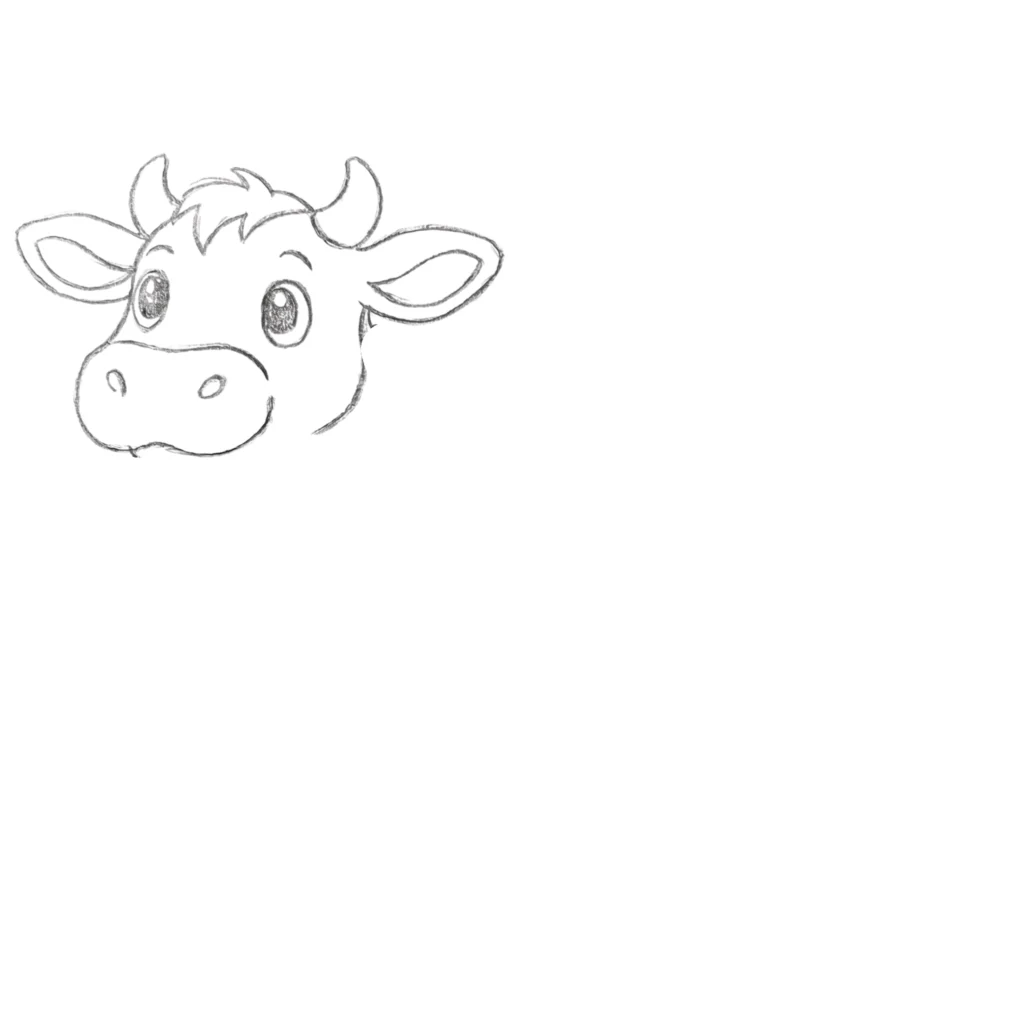
Step 1 Draw the Horns and Hair

At the top of your page, draw a small “zig-zag” line in the middle to make a tuft of hair. On both sides of the hair, draw a small upward curve that comes to a point, like two tiny moon shapes. These are the cow’s horns.
Step 2 Add the Ears
Starting from the bottom of each horn, draw a long, wide loop out to the side. Think of this shape like a big, flat leaf or a sideways teardrop. Make sure they stick out far so your cow looks friendly and cute.
Step 3 Detail the Inner Ears
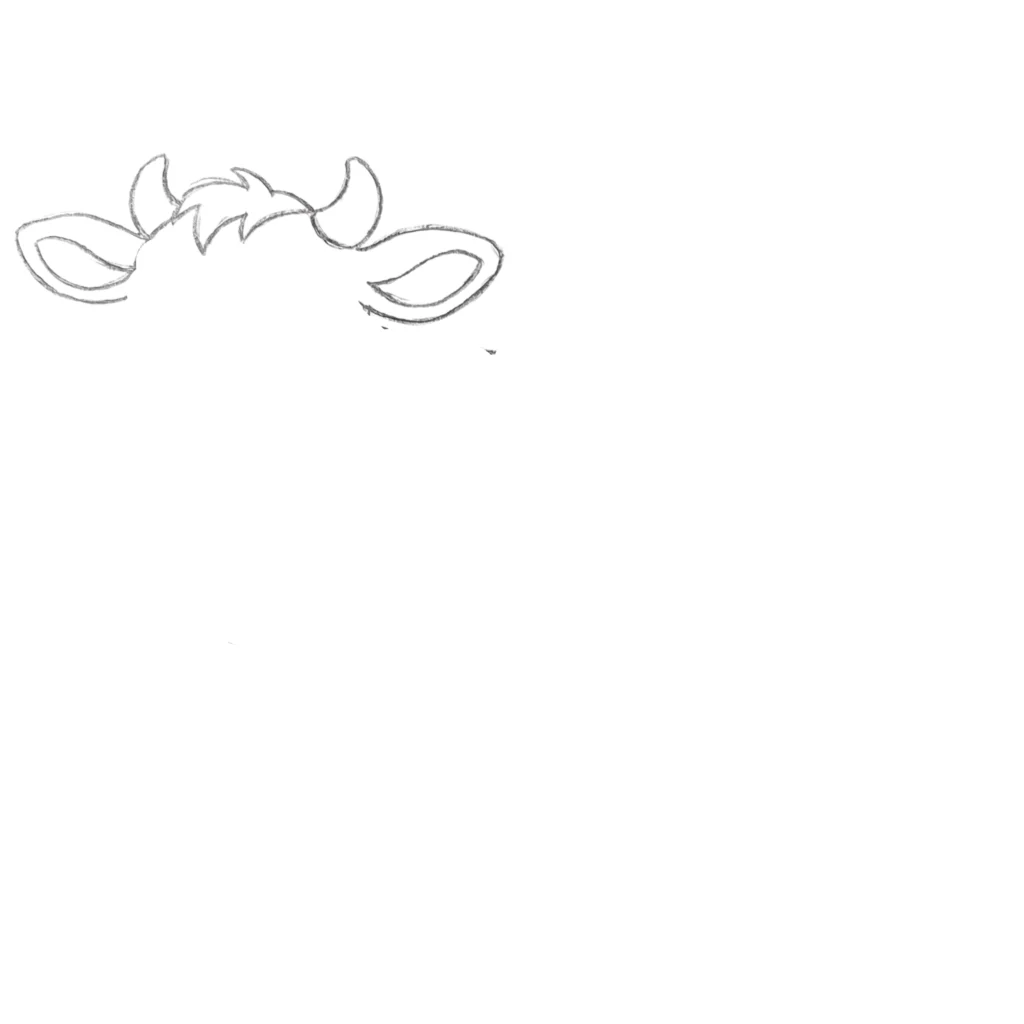
Inside each big ear loop, draw a smaller curved line near the bottom edge. This simple “half-moon” line shows the inside of the ear and gives the drawing more depth without being complicated.
Step 4 Outline the Face
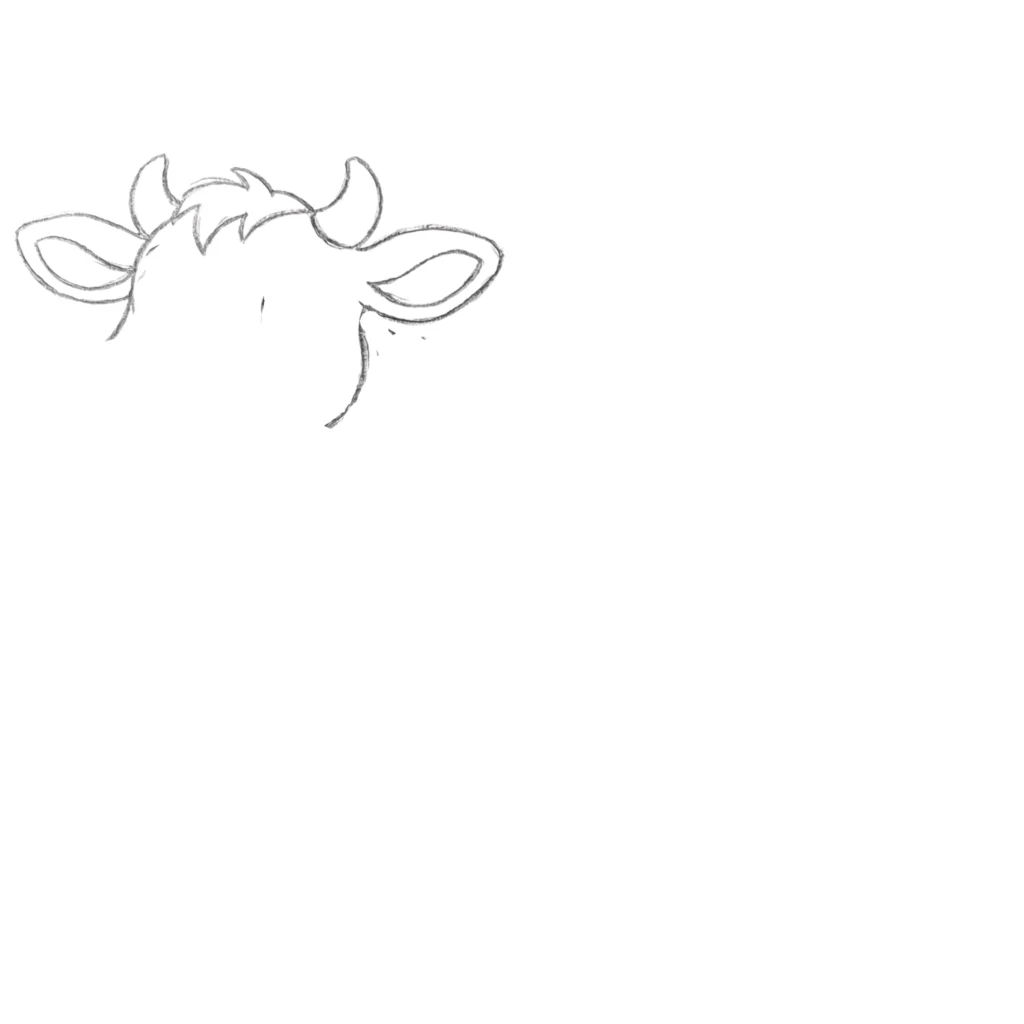
Draw two downward curves starting from the bottom of the ears. The curve on the right should be a bit longer and reach down further. This creates the sides of the head and leaves space for the big cow nose at the bottom.
Want to learn how to draw a penguin using simple shapes and smooth lines? This easy tutorial helps beginners create a fun and adorable penguin drawing step by step.
penguin drawingStep 5 Draw the Big Eyes
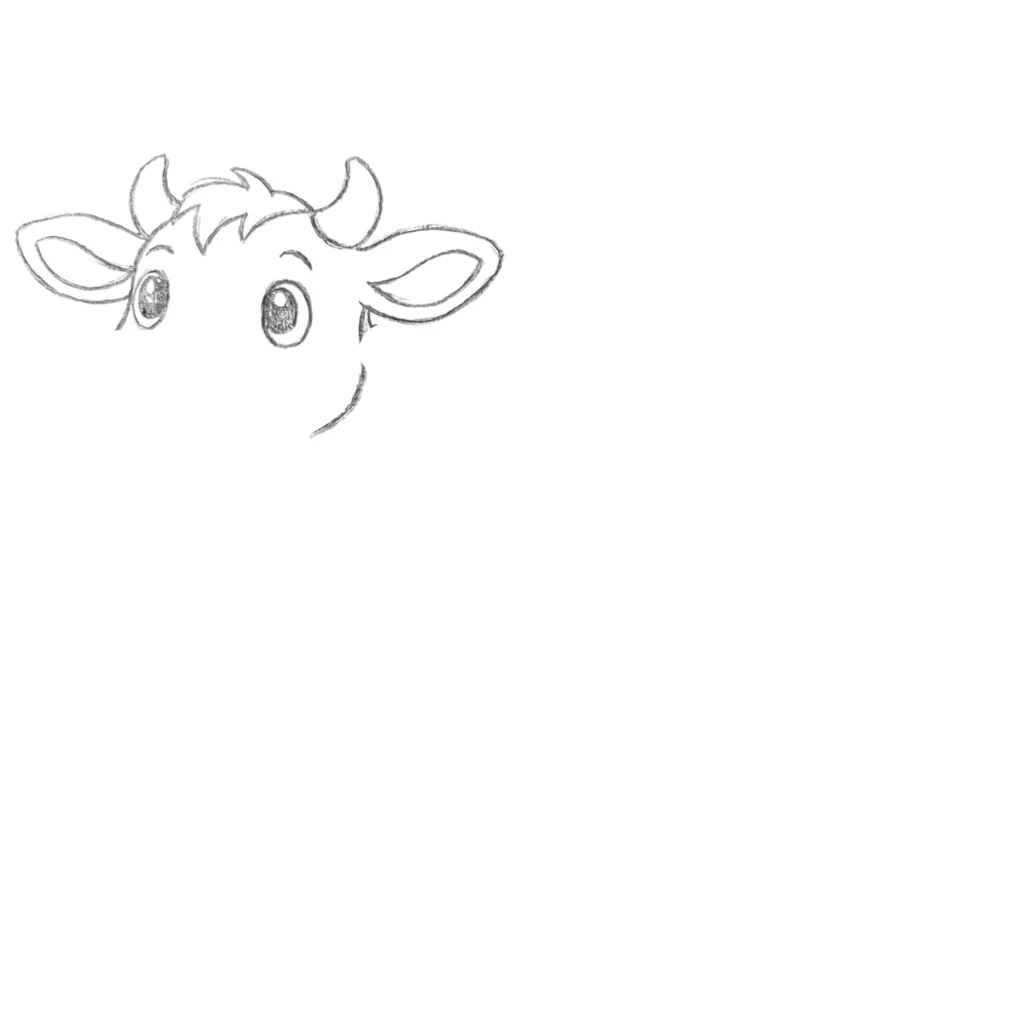
Inside the face, draw two large circles for the eyes. Above each eye, add a tiny curved line for eyebrows. Inside the eyes, draw two smaller circles and color the middle part dark to make them look bright and happy.
Step 6 Add the Snout

At the bottom of the face, draw a wide oval shape that looks like a rounded rectangle. This is the cow’s snout. Make sure it connects to the side lines you drew earlier so the face looks complete.
Step 7 Add the Nose and Mouth
Inside the snout, draw two small ovals for the nostrils. Below them, add a tiny curve right at the bottom edge of the snout to give your cow a little smile.
Step 8 Finish the Face Shape
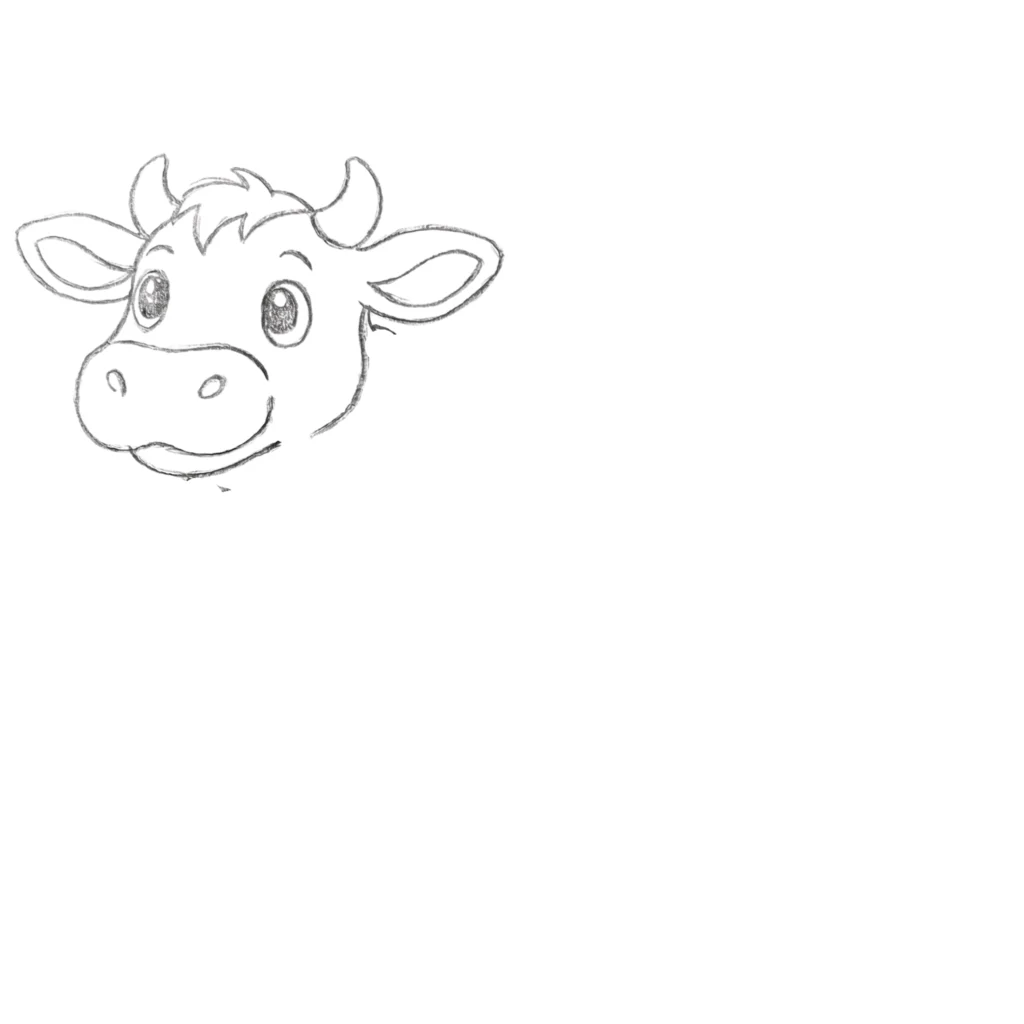
Draw a curved line that connects the bottom of the right ear down toward the chin. Then, add a small half-circle under the snout to finish the jaw. This makes the head look solid and round.
Want to learn how to draw a tiger with simple shapes and bold lines? This easy tutorial helps beginners create a clean and powerful tiger drawing step by step.
tiger drawingStep 9 Draw the Collar
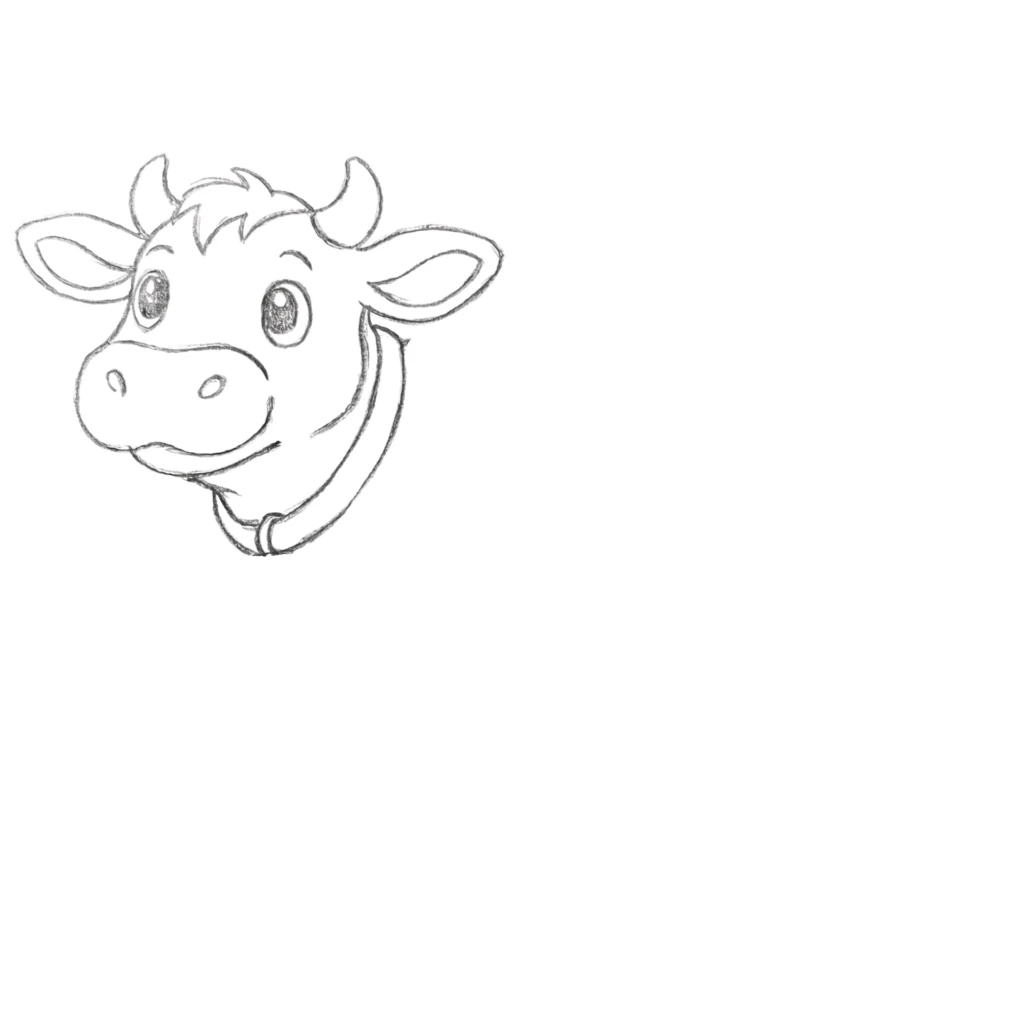
Below the head, draw two parallel curved lines that follow the shape of the neck. In the center, add a small square or circle to look like a bell or a tag. This makes your cow look like it belongs on a happy farm!
Step 10 Add the Cowbell
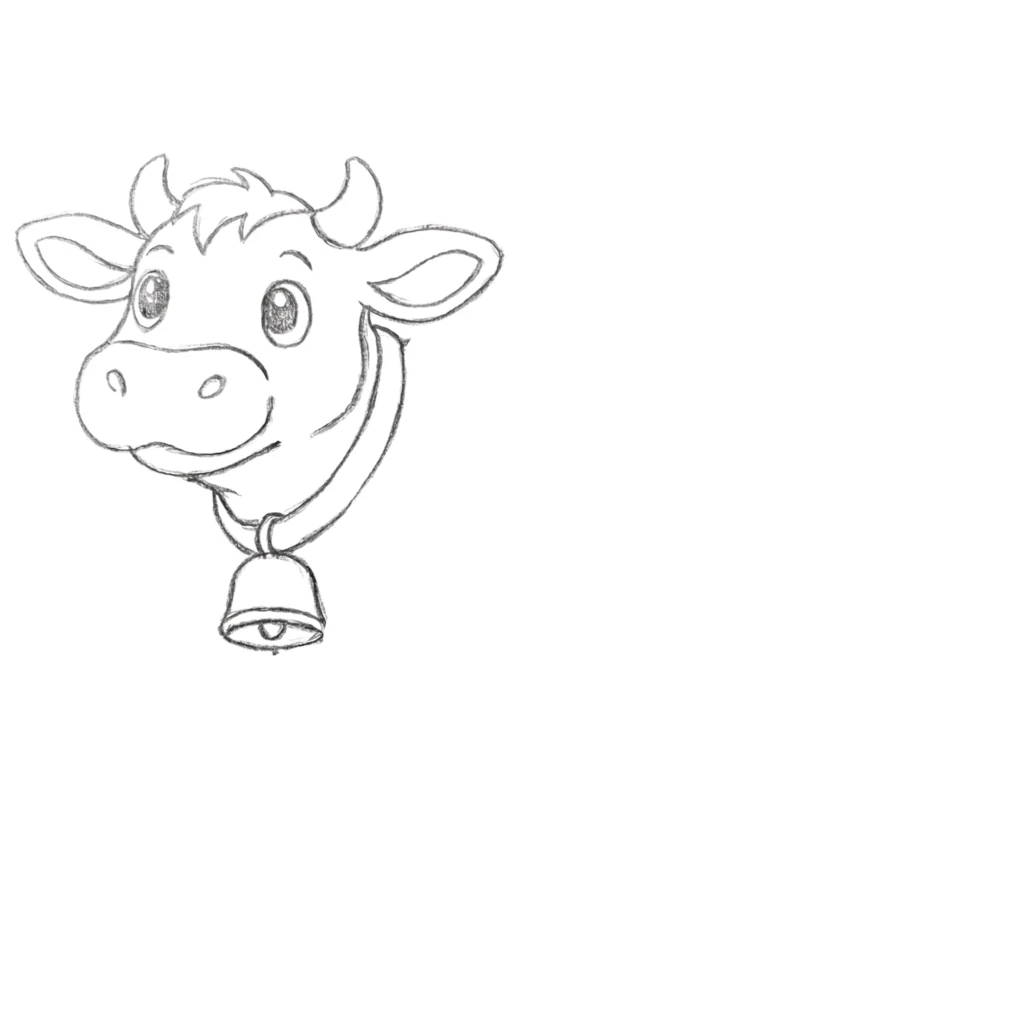
At the bottom of the collar, draw a bell shape that looks like an upside-down cup. Add a small straight line at the top to connect it to the collar, and draw a tiny circle inside the bell for the clapper.
Want to learn how to draw a dinosaur with simple shapes and fun details? This beginner-friendly guide helps you create a neat and creative dinosaur drawing step by step.
dinosaur drawingStep 11 Outline the Back
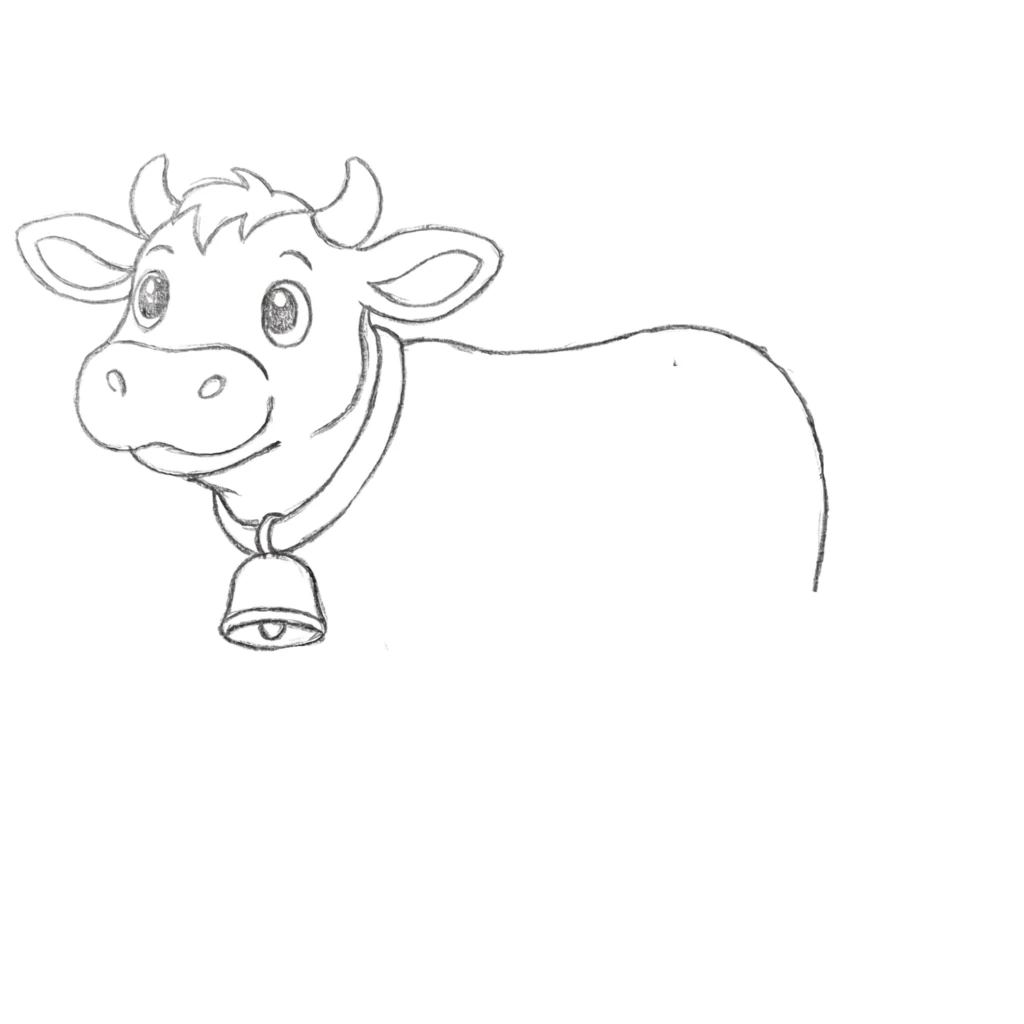
Starting from the back of the collar, draw a long, wavy horizontal line that curves downward at the end. This simple line creates the cow’s back and the start of its hindquarters.
Step 12 Sketch the Chest
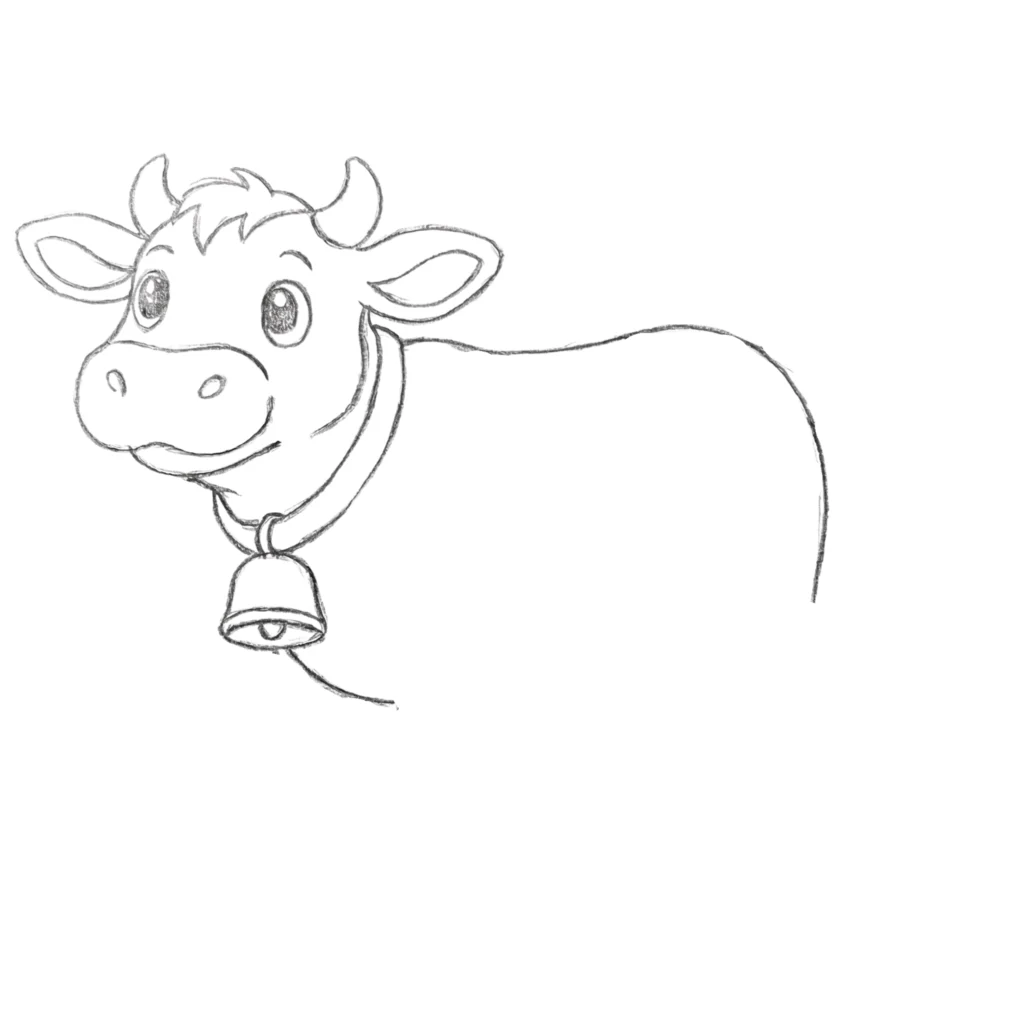
Below the bell, draw a short, slanted curve pointing toward the right. This line starts the bottom of the cow’s body and shows where the front legs will eventually go.
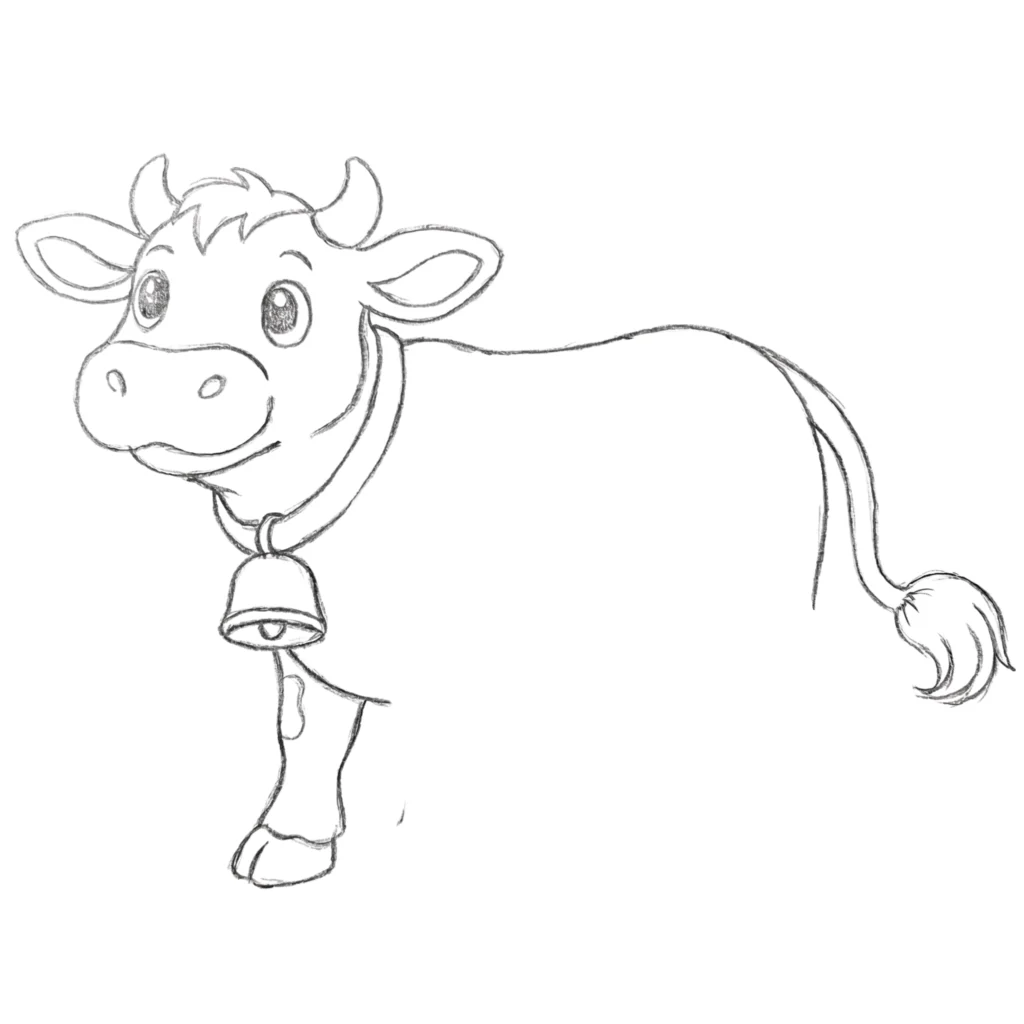
Step 13 Sketch the Front Leg
From the chest line, draw a long vertical shape that narrows slightly at the bottom. At the very end, add a small “U” shape with a line through the middle to make the hoof. You can also add a little wavy shape on the leg for a classic cow spot!
Want to learn how to draw a monkey with simple shapes and playful details? This beginner-friendly guide helps you create a cute and fun monkey drawing step by step.
monkey drawingStep 14 Start the Tail
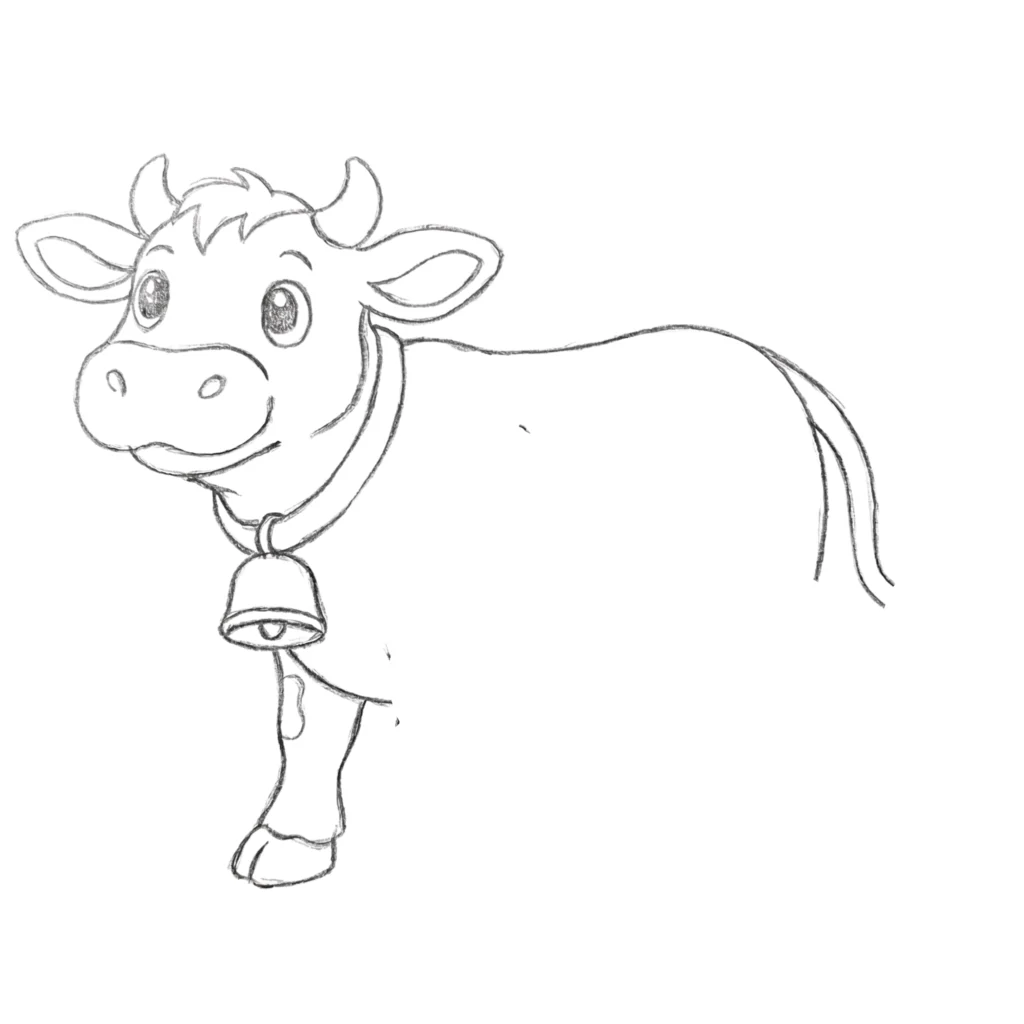
At the back of the cow, draw two curved lines side-by-side that point downward. This shape should look like a long, thin tube or a piece of string hanging from the end of the back.
Step 15 Add the Fluffy Tail Tip
At the bottom of the tail lines, draw a pointed, leafy shape with a few jagged lines. This creates the tuft of hair at the end of the tail. Your cow is almost ready to swish those flies away!
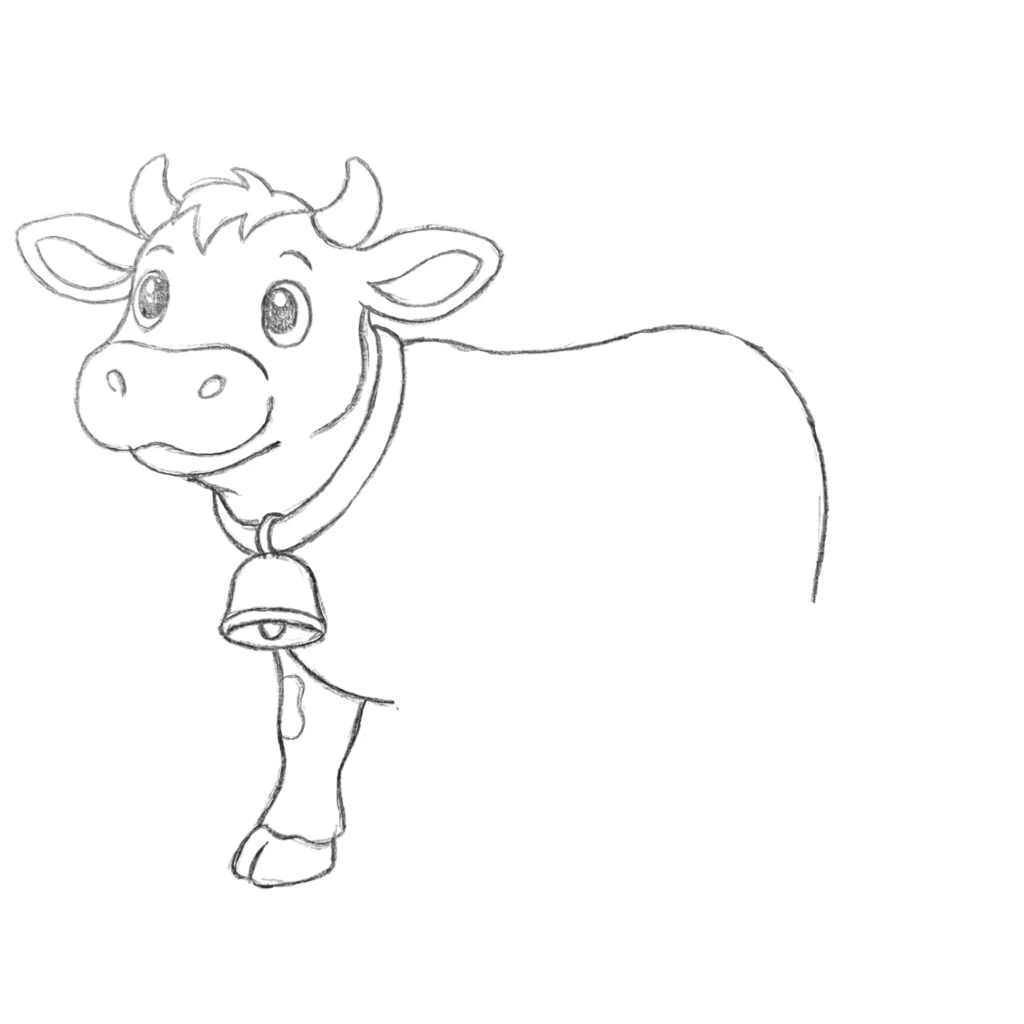
Step 16 Add the Middle Leg
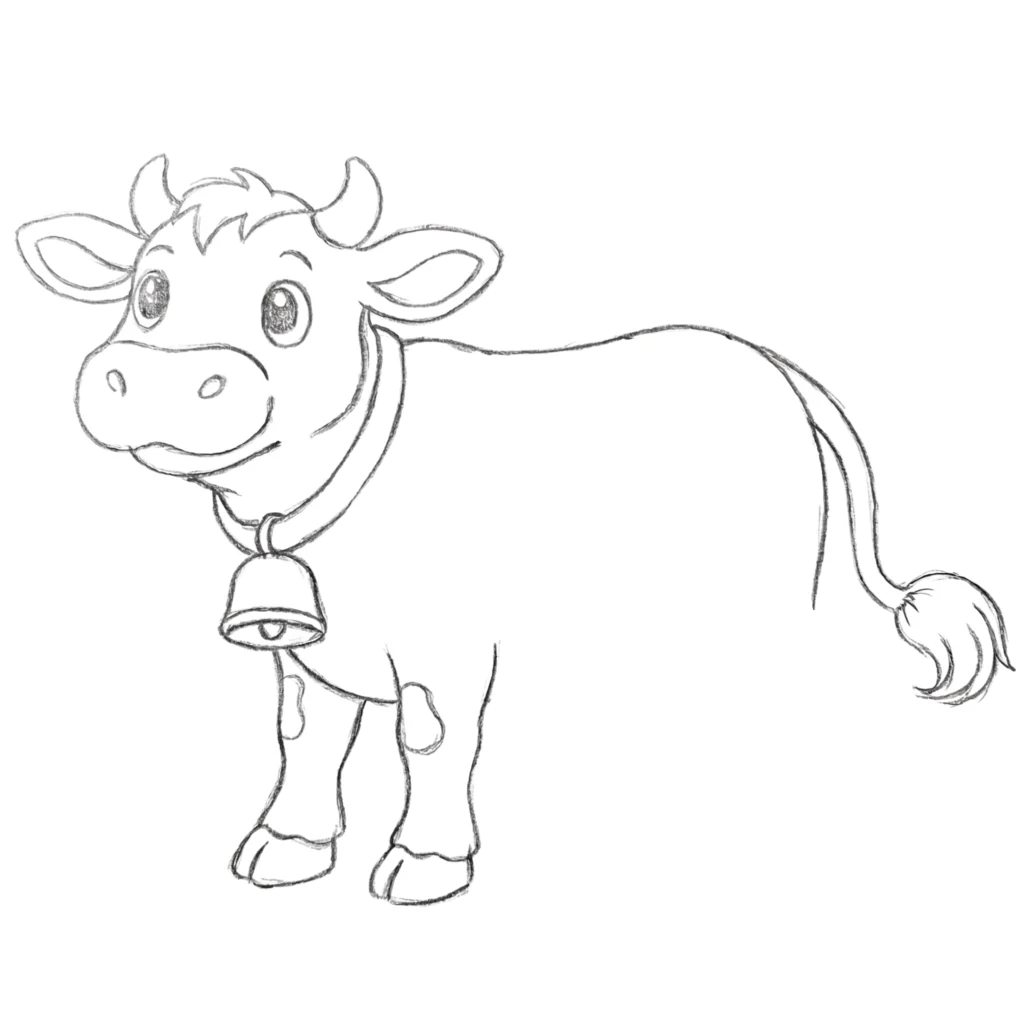
Behind the first leg, draw another vertical shape with a hoof at the bottom. This leg should look a little shorter because it is on the other side of the cow. Add another wavy spot shape to keep the pattern going.
Want to learn how to draw a dragon with simple shapes and creative details? This easy guide helps beginners build a fun and powerful dragon drawing step by step.
dragon drawingStep 17 Draw the Udder
Under the middle of the body, draw a long curve with three or four tiny “U” shapes hanging down. This is the udder, and it sits right between the front and back legs.
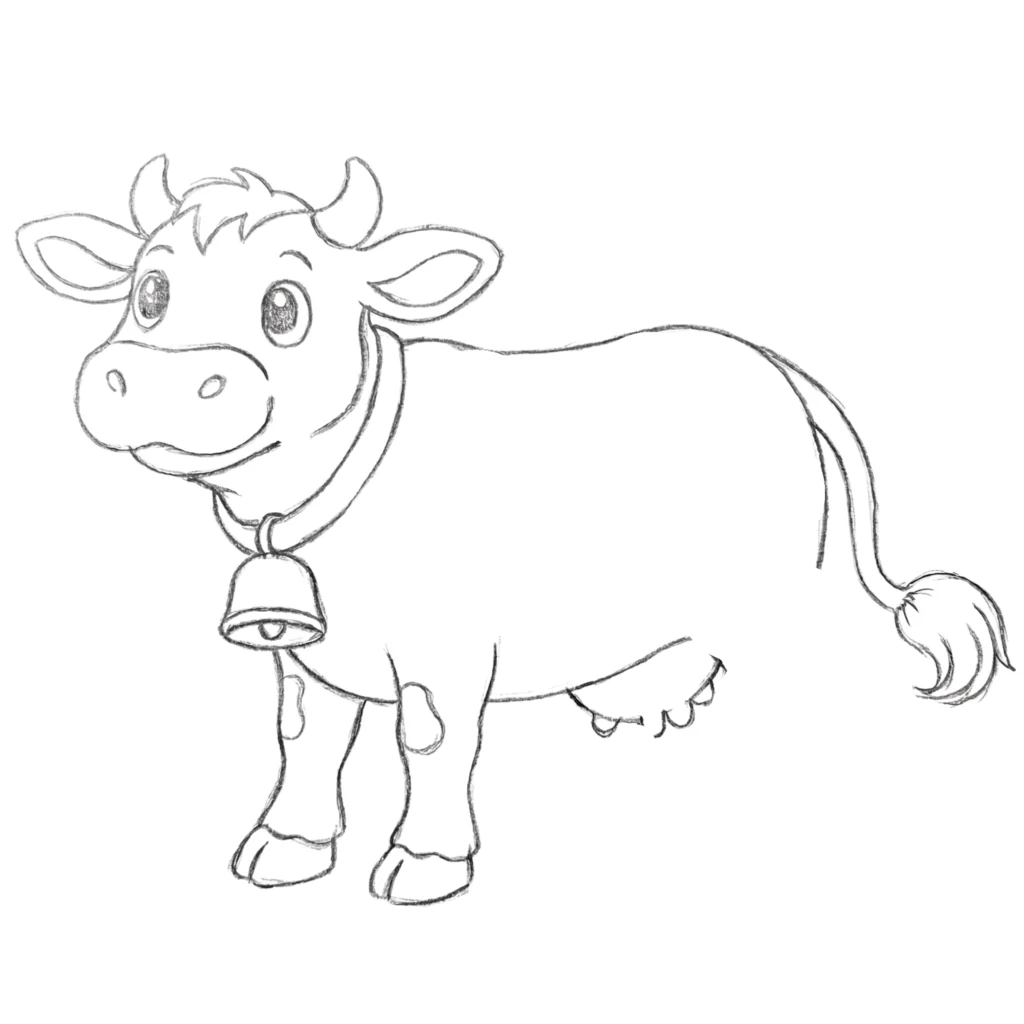
Step 18 Add the Back Leg
Connect the end of the back line to the bottom of the body with a slanted vertical shape. Add a hoof at the very bottom. This completes the set of legs so your cow can stand tall.
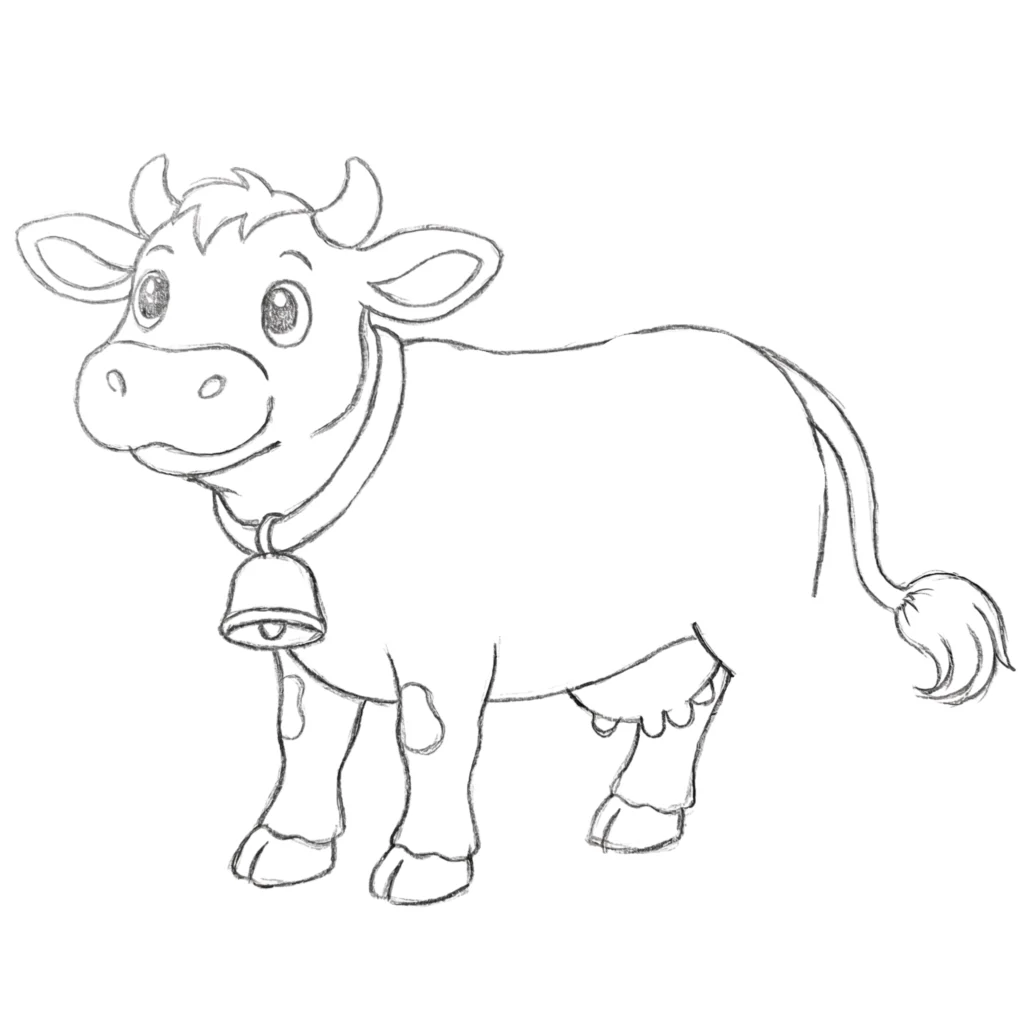
Step 19 Add Big Body Spots
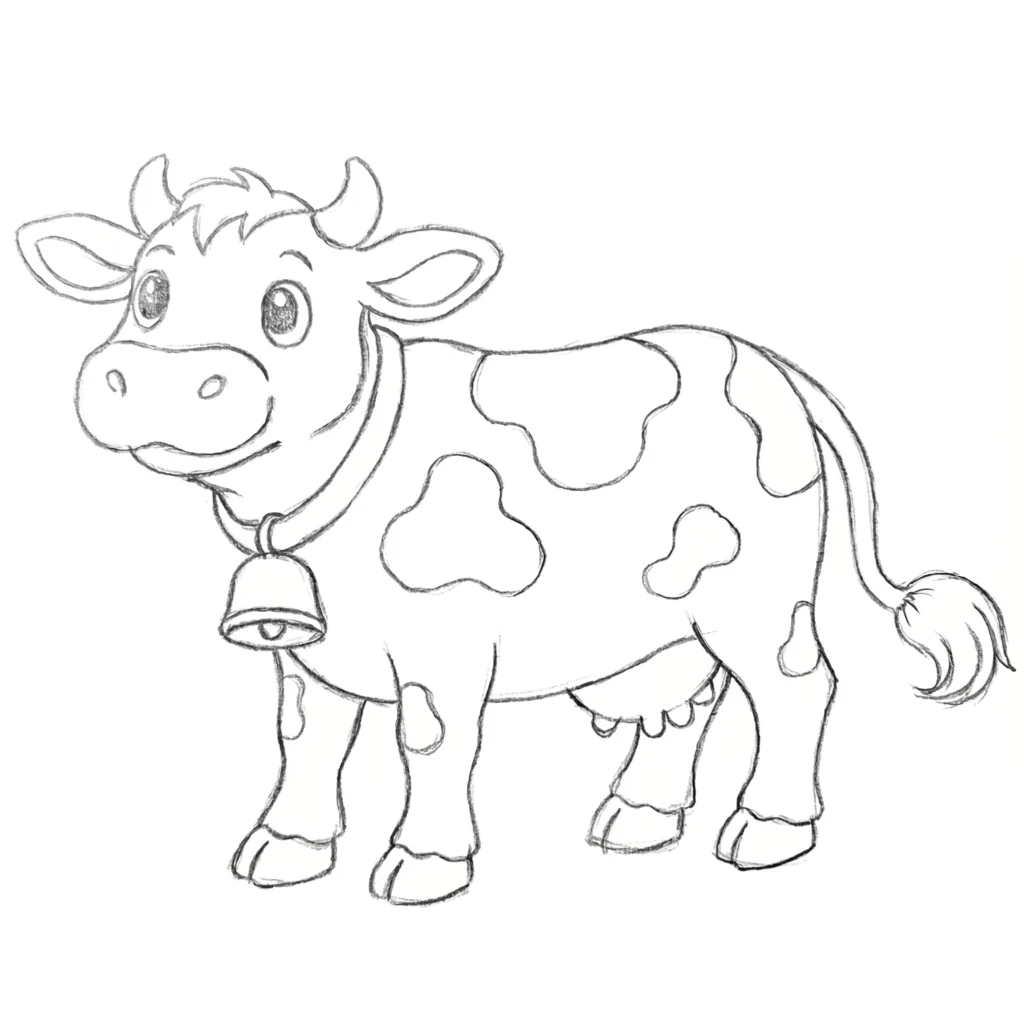
To finish your drawing, draw several large, wavy cloud shapes all over the cow’s back and sides. These are the classic cow spots that make your character look perfect. Your friendly cow is now finished!
Conclusion: Complete Your Cow Drawing
Now you have learned how to draw a cow in a simple and easy way using basic shapes and steps. Your cow drawings can start from simple outlines and slowly turn into a complete animal.
Keep practicing again and again to improve your lines, shapes, and details. Every drawing will help you become more confident and creative. Keep enjoying the process and have fun with your art.
FAQ’s: Common Problems While Drawing a Cow
Q1: Is it hard to draw a cow for beginners?
No, it is not hard. You can start with simple shapes and slowly build the cow step by step.
Q2: What do I need to draw a cow?
You only need a pencil, eraser, and paper. You can also use colors to make it more fun.
Q3: Can kids learn how to draw a cow easily?
Yes, kids can easily learn by following simple outlines and basic shapes.
Q4: How long does it take to draw a cow?
It depends on practice, but a simple cow drawing can be done in a few minutes.
Q5: Can I make my cow drawing creative?
Yes, you can add colors, expressions, and backgrounds to make it more unique.