
Drawing a monkey becomes easy when you use simple shapes and smooth curves. You can start with round shapes for the head and body, then use soft lines to connect everything. In many Monkey drawings, basic circles and curved lines are used to build a cute and playful monkey step by step.
This guide helps you understand how to draw a monkey in a clear and simple way. Just follow along, take your time, and enjoy turning easy shapes into your own monkey drawing.
Fun Ideas to Learn How to Draw a Monkey
Now we are going to draw a monkey in a fun and easy way. We will use simple shapes and smooth curves to build it step by step. Keep your lines light and take your time as the monkey slowly takes shape. Let’s begin and enjoy drawing together!
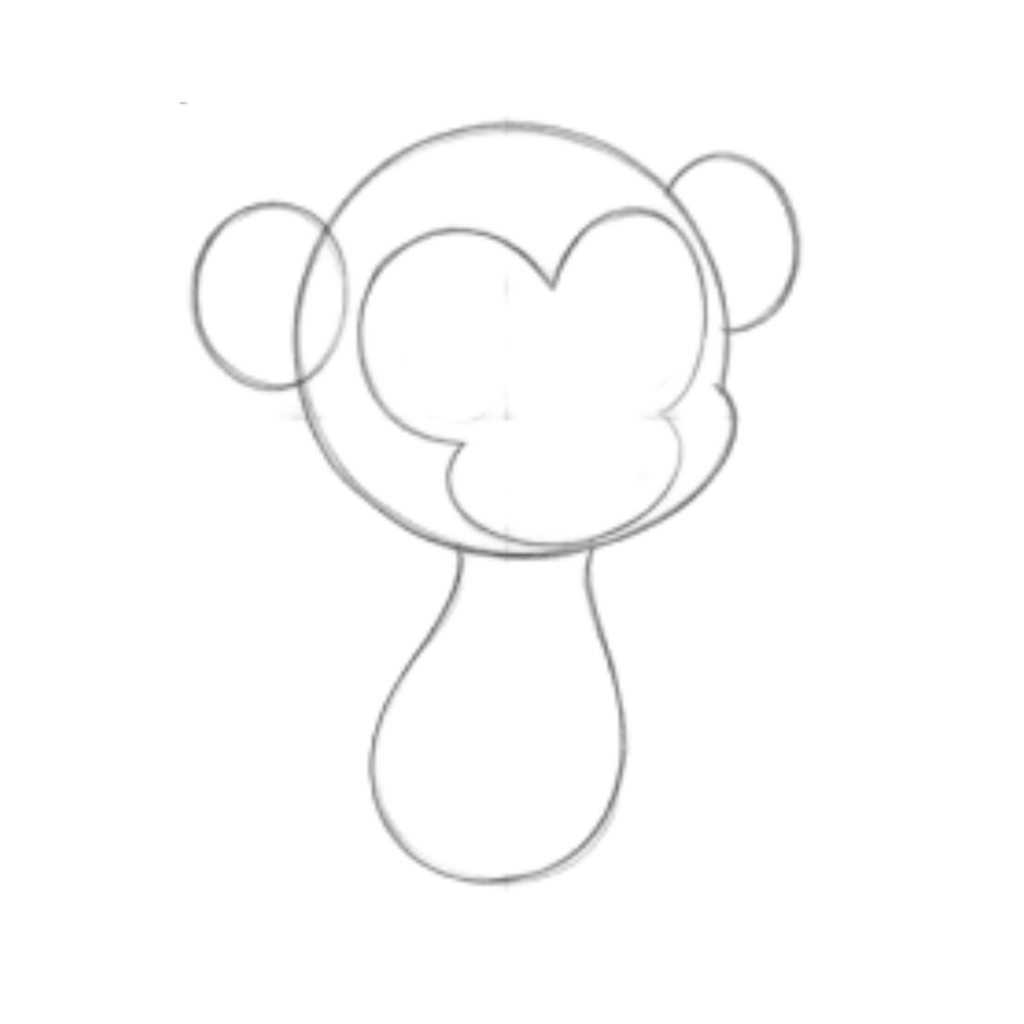
Step 1: Draw the Head and Body

Start by drawing a large, neat circle at the top of your page. This will be the monkey’s head. Below the circle, attach a long, rounded shape that looks like a soft teardrop or oval. This forms the monkey’s body. Keep your lines light and smooth so you can adjust easily later.
Step 2: Add the Ears and Small Details

On both sides of the head, draw two medium-sized circles to create the monkey’s ears. Make sure they are placed evenly so the face looks balanced. Then, add a small curved line inside the face area to suggest the beginning of the monkey’s facial features, like a simple smile.
Step 3: Create the Face Shape

Inside the big head circle, draw a large heart-like or rounded “M” shape. This will form the lighter face area of the monkey. Keep the shape centered and smooth, as it defines where the eyes, nose, and mouth will go later.
Want to learn how to draw a dragon in a fun and simple way? This step-by-step guide helps beginners build a cool dragon drawing using easy shapes and smooth lines.
draw a dragonStep 4: Complete the Face Outline
Now refine the inner face by extending the shape downward into a rounded muzzle area. This creates the monkey’s cheeks and mouth section. The face should now look more complete and expressive, ready for adding eyes, nose, and final details in the next steps.
Step 5: Draw the Eyes
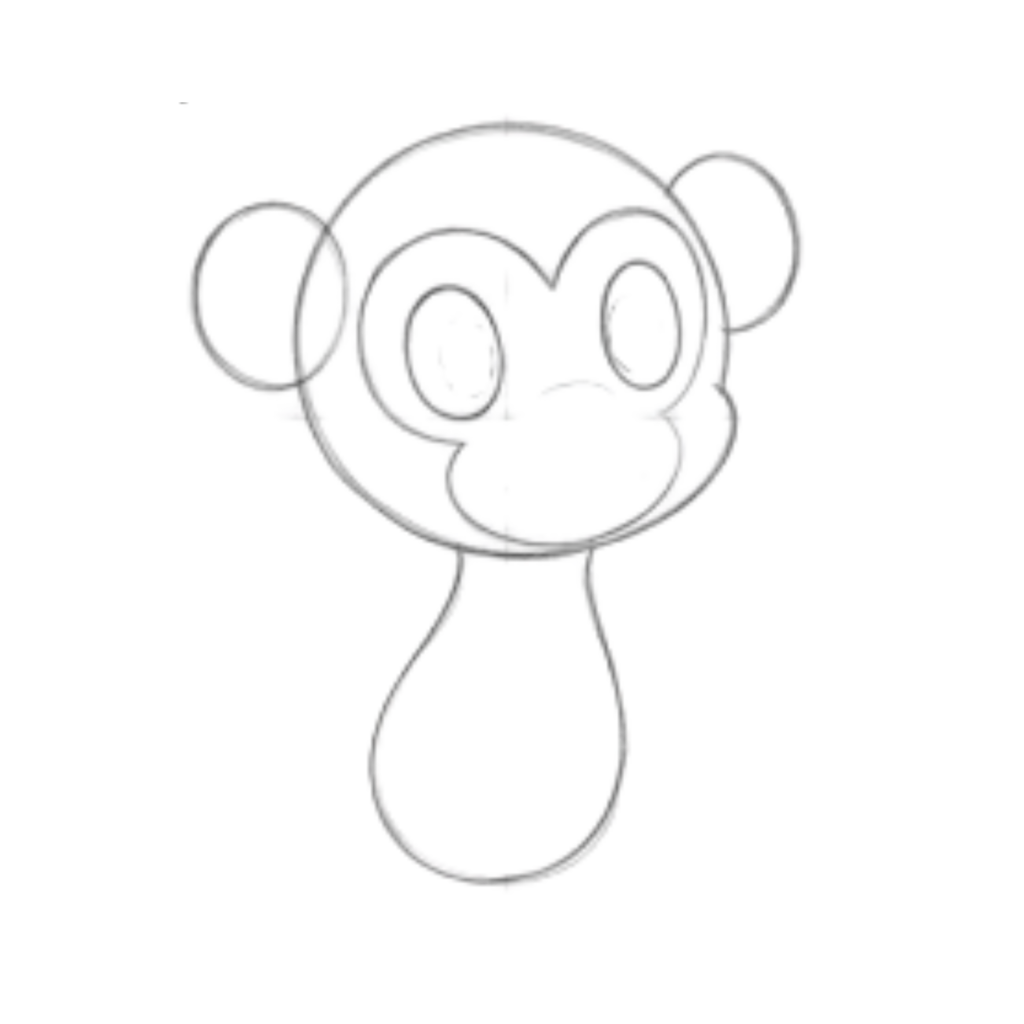
Inside the face area, draw two large oval shapes for the eyes. Place them evenly on both sides so the monkey looks balanced. Keep the ovals tall and smooth. These will be the base of the eyes, so make sure they are clear and neatly drawn.
Want to learn how to draw a snake easily? This beginner-friendly guide uses simple curves and flowing lines to help you create a clean and natural snake drawing.
draw a snake step by stepStep 6: Add Nose, Pupils, and Smile
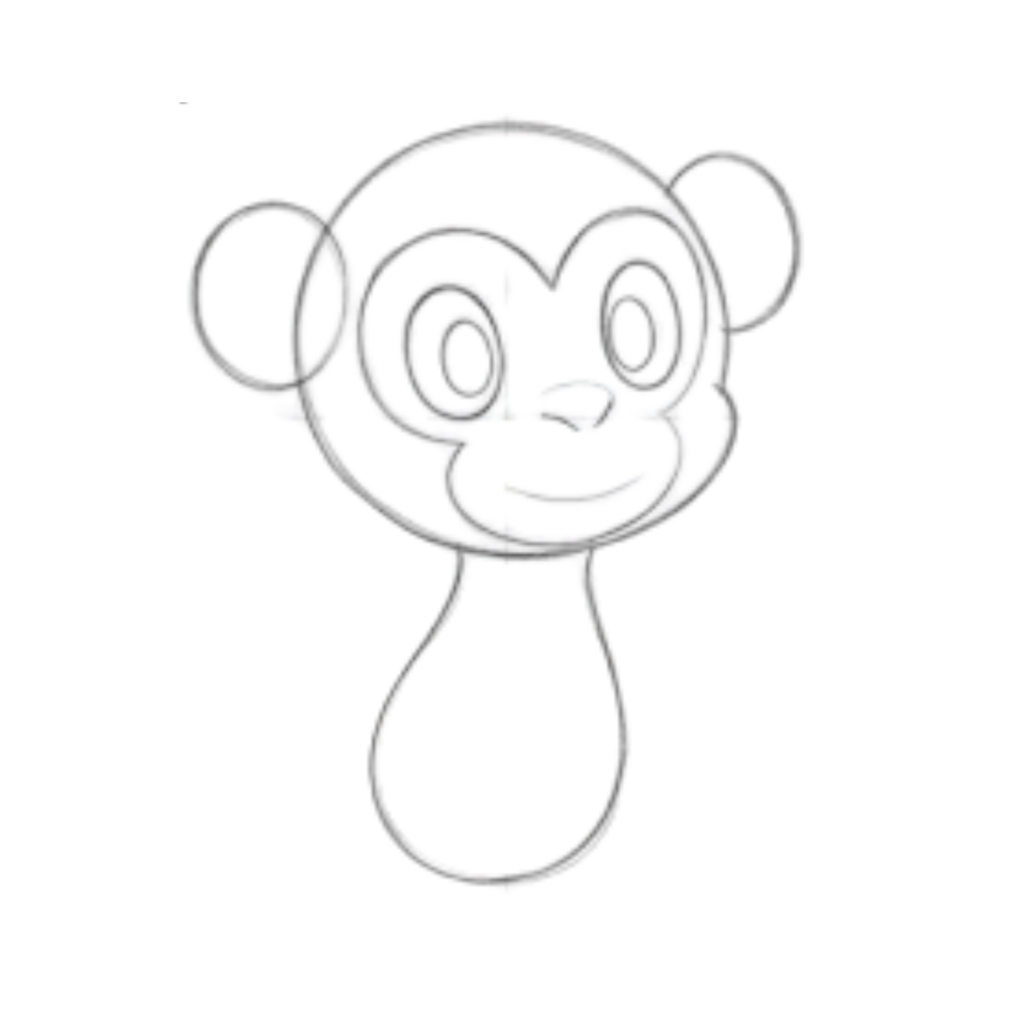
Now, draw smaller ovals inside each eye to create the pupils. Then add a small rounded nose in the center of the face, just above the mouth area. Finish this step by drawing a curved line to create a friendly smile, making your monkey look cute and happy.
Step 7: Draw the Arms and Hands
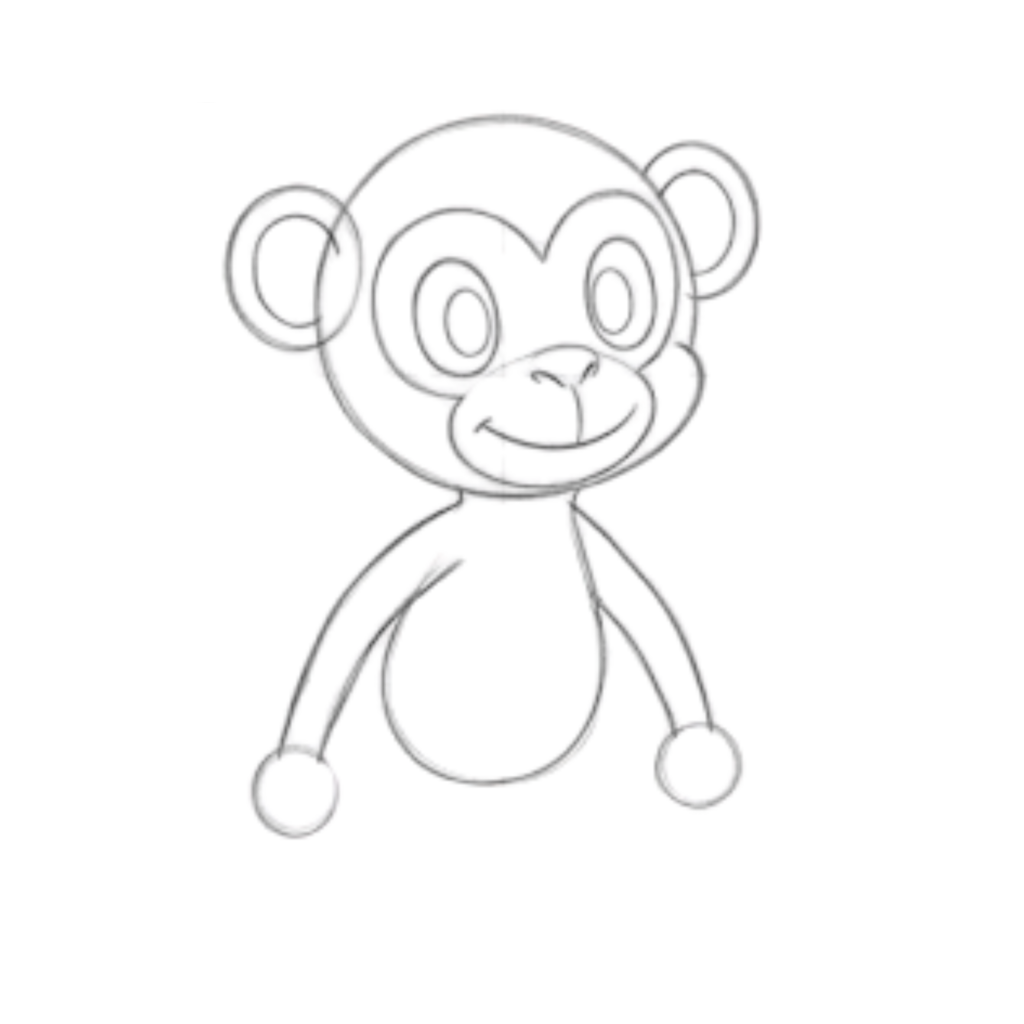
From both sides of the body, draw long curved lines going downward to form the monkey’s arms. At the end of each arm, add small round shapes for the hands. Then, draw simple finger lines to give the hands a more natural look.
Want to learn how to draw a frog in a simple way? This easy guide helps beginners use basic shapes to create a clean and fun frog drawing.
easy frog drawing stepsStep 8: Add the Tail

On one side of the monkey’s body, draw a long curved tail. Curl it into a spiral shape to make it look playful and fun. Keep the curve smooth and even so the tail looks lively and cartoon-like.
Step 9: Draw the Legs Structure
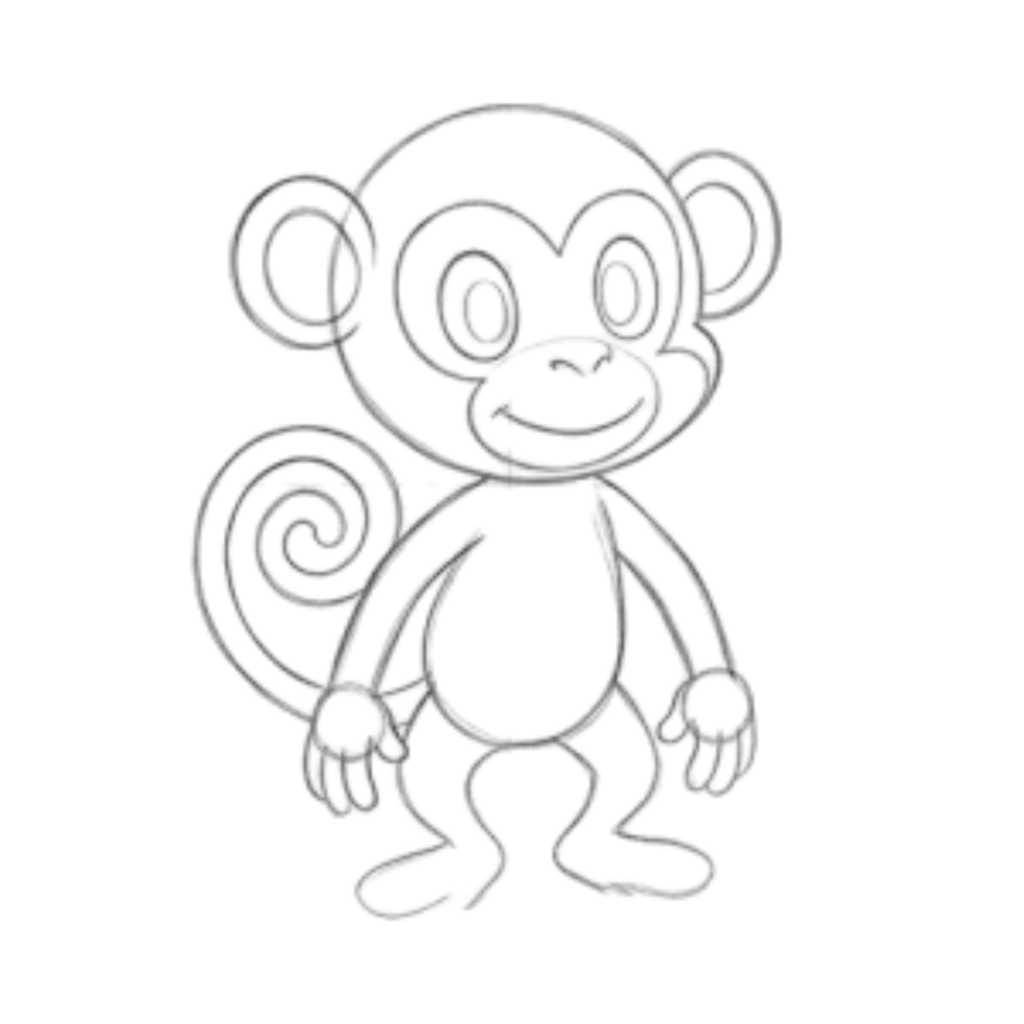
Start by sketching two curved lines coming down from the bottom of the body to form the legs. Keep them slightly bent outward to give a natural standing pose. At the bottom, add simple rounded shapes to mark where the feet will go. Don’t worry about details yet—just focus on the basic structure.
Want to learn how to draw a turkey in an easy way? This simple guide helps beginners use basic shapes to create a neat and fun turkey drawing.
simple turkey drawingStep 10: Add Feet and Refine Legs
Now shape the legs more clearly by smoothing the lines and defining the feet. Draw the toes using small rounded bumps at the front of each foot. Make sure both legs look balanced and connected naturally to the body. The monkey should now be standing firmly.
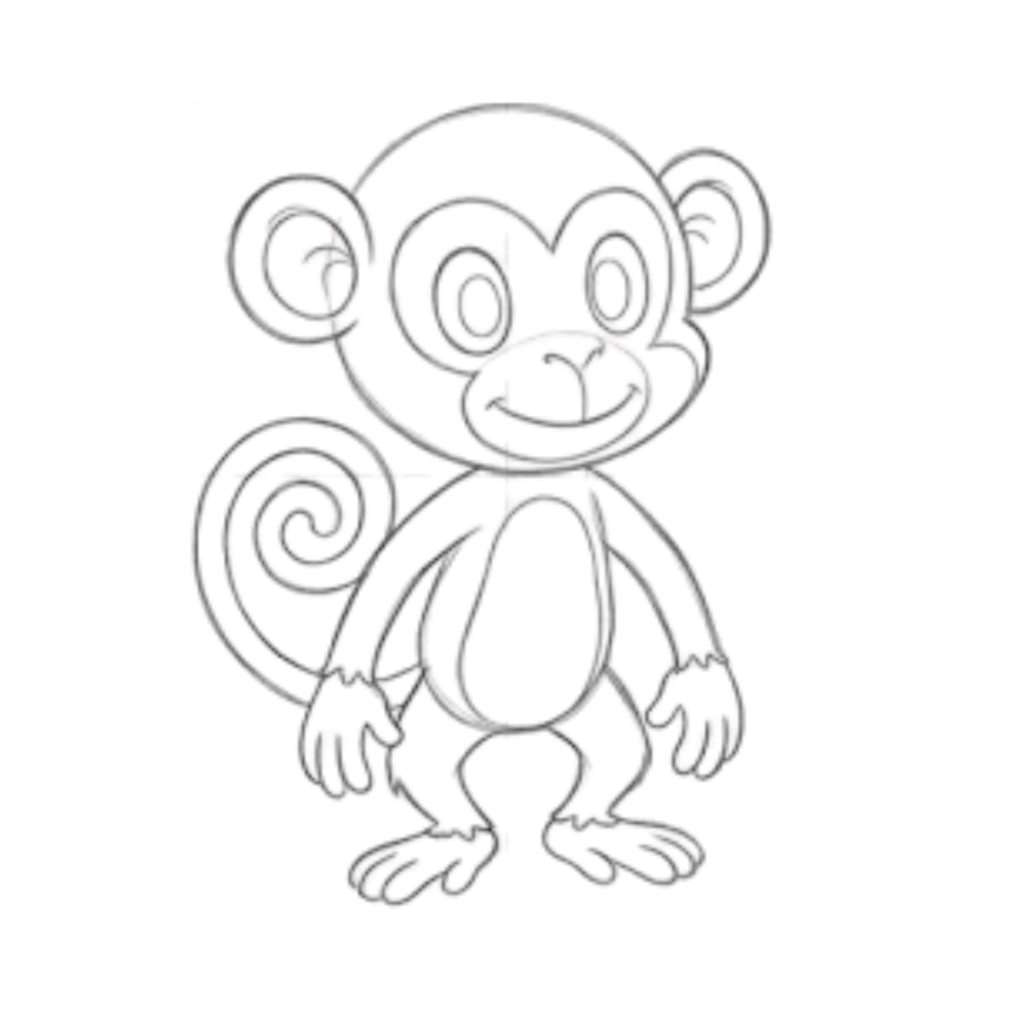
Step 11: Add Final Details and Clean Up
Complete your drawing by adding inner ear curves, small fur details on the arms and legs, and a belly patch in the center. You can also add a small hair tuft on top of the head. Finally, clean up extra sketch lines and darken the final outline to make your monkey look neat and finished.
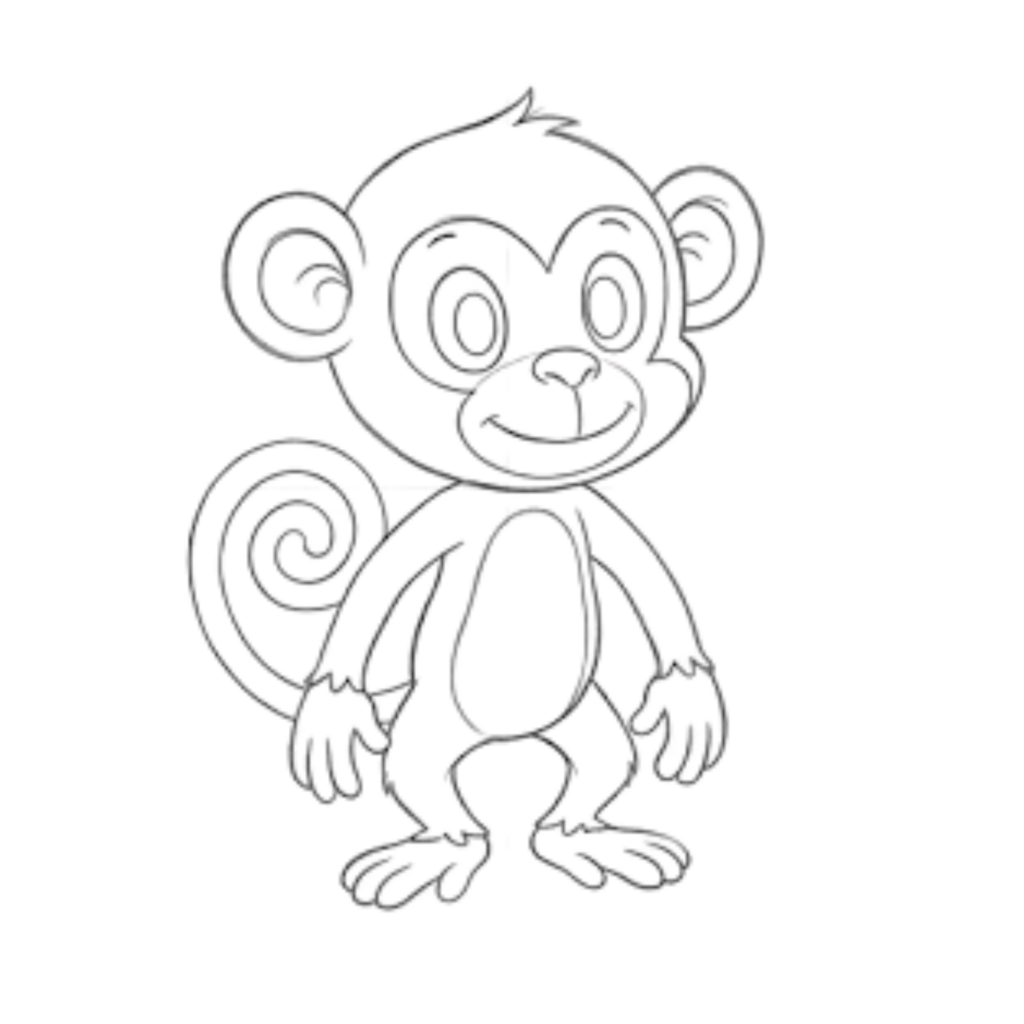
Conclusion: Complete Your Monkey Drawing
Great work completing your monkey sketch! By following simple shapes and step-by-step details, you turned basic lines into a fun and lively character. This method makes how to draw a monkey easy to understand, even for beginners.
Keep practicing and try adding your own creative touches. Experiment with expressions, poses, and colors to make unique monkey drawings. The more you draw, the more confident and skilled you will become!
FAQ’s: Common Problems While Drawing a Monkey
Q1: My monkey face looks uneven. What should I do?
Try drawing light guidelines first to balance both sides of the face. Keep your lines soft so you can easily erase and adjust before finalizing.
Q2: I struggle to draw the monkey’s hands and feet. Any tips?
Start with simple shapes like small ovals or circles. Then slowly refine them into fingers and toes instead of drawing details all at once.
Q3: My drawing looks stiff and not lively. How can I fix it?
Add slight curves to the body and tail instead of straight lines. A curved pose makes your monkey look more natural and playful.
Q4: I make mistakes and my drawing gets messy. What should I do?
Use a pencil and draw lightly in the beginning. Keep an eraser handy and don’t worry about mistakes—they are part of learning.
Q5: How can I improve my monkey drawing skills?
Practice regularly and try drawing from different references. Experiment with expressions and poses to build confidence and creativity over time.