Learning how to draw a cap is a fun and easy activity for kids and beginners. A cap has simple shapes that make it easy to draw step by step. Start with the crown, then add the curved brim and small details. Enjoy watching your cap come to life as you draw.
These Cap Drawings are easy to follow and perfect for practicing your drawing skills. Look at each picture carefully and copy the shapes as you go. Soon, you’ll have your own cap drawing ready to color, decorate, and proudly share.
Easy Cap Drawing Step by Step
Now we are going to create an Easy Cap Drawing using simple shapes and smooth lines. Start with the main outline, then add the brim and other details one step at a time. Keep your lines light and enjoy every part of the drawing process.
These Cap Drawings are fun and easy for kids and beginners. Follow each picture carefully and draw at your own pace. Have fun with every step, and soon your cap will be ready to color and enjoy.
Step 1 Draw the Cap Shape
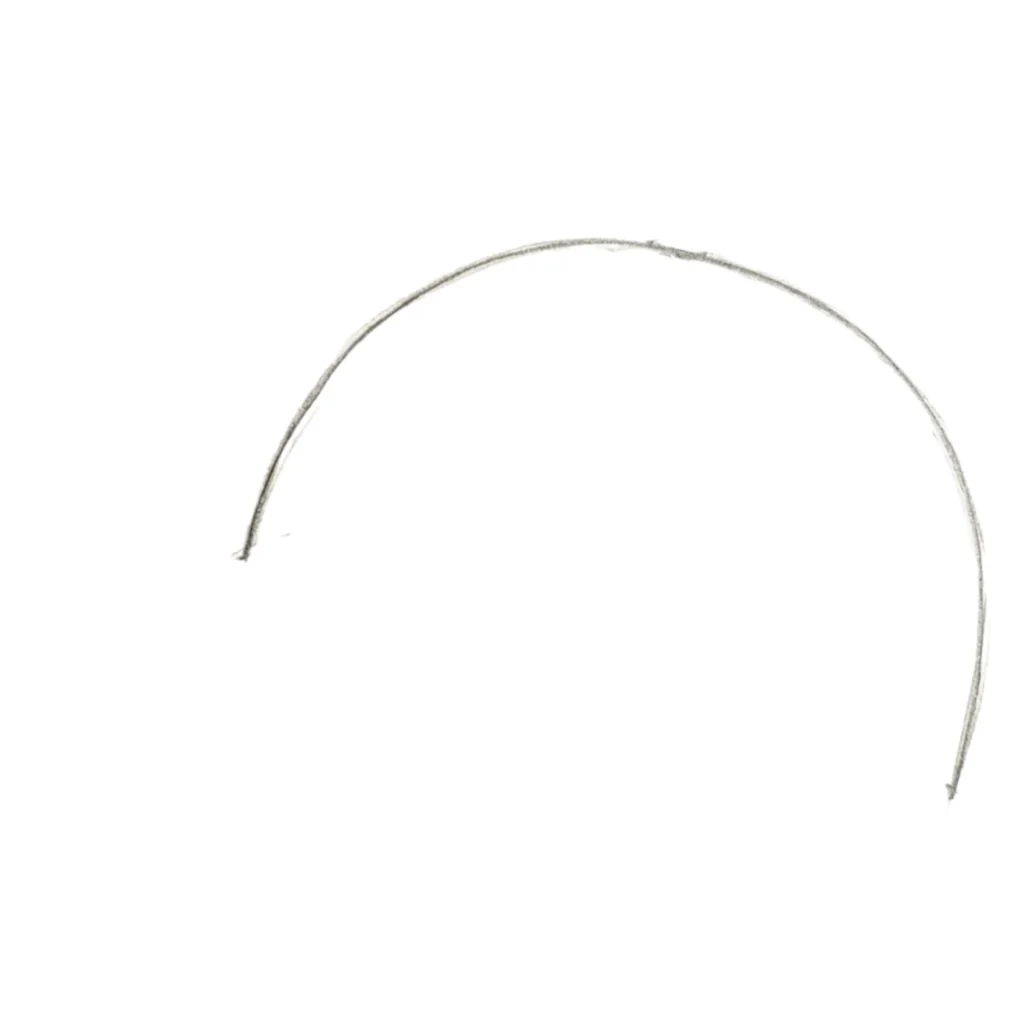
Begin by drawing a large curved dome for the top of the cap. Keep the curve smooth and rounded. This creates the main shape of the cap.
Want to sketch a classic everyday accessory? Learn how to draw a hat with simple shapes and easy techniques. This beginner-friendly tutorial is perfect for kids, beginners, and anyone who enjoys object drawings.
Easy Hat Drawing for BeginnersStep 2 Draw the Front Panel
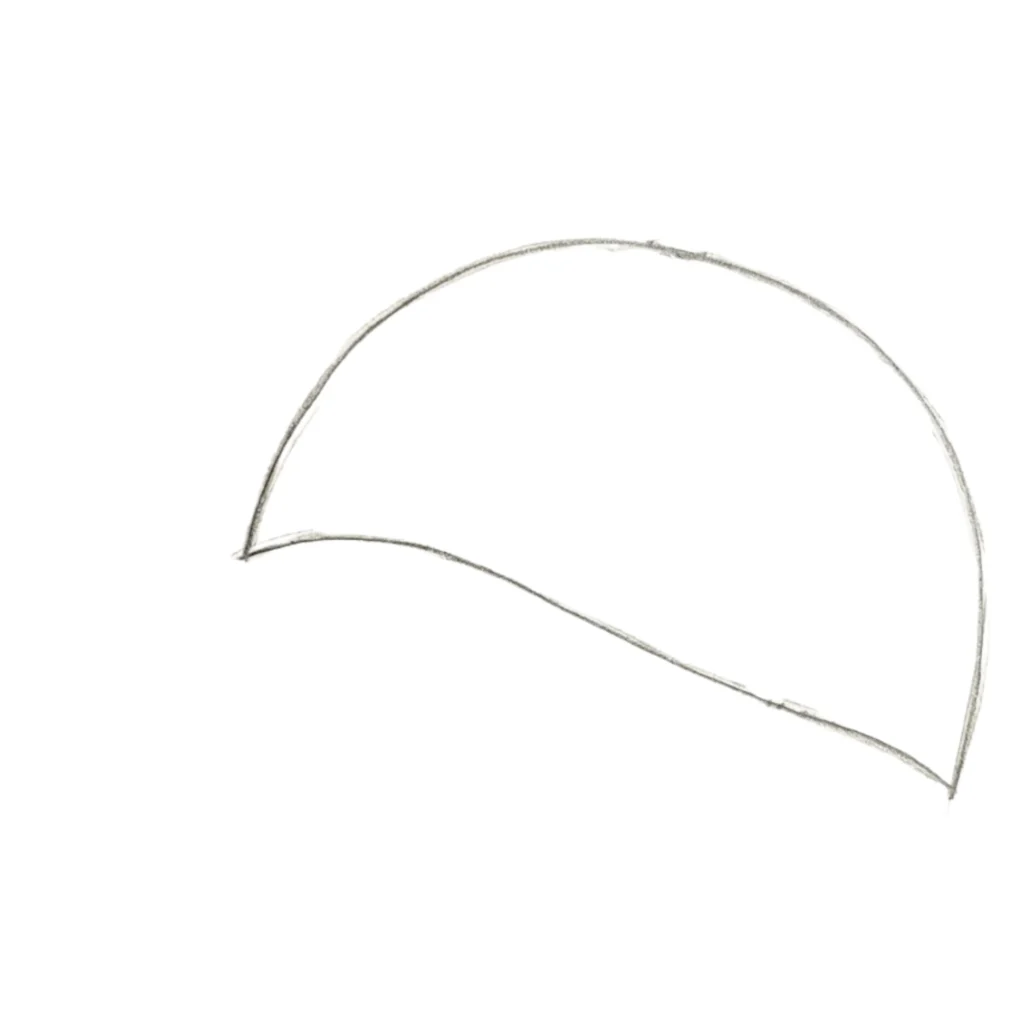
Add a curved line across the lower front of the cap. This separates the front panel from the top. Keep the line smooth and natural.
Step 3 Draw the Brim
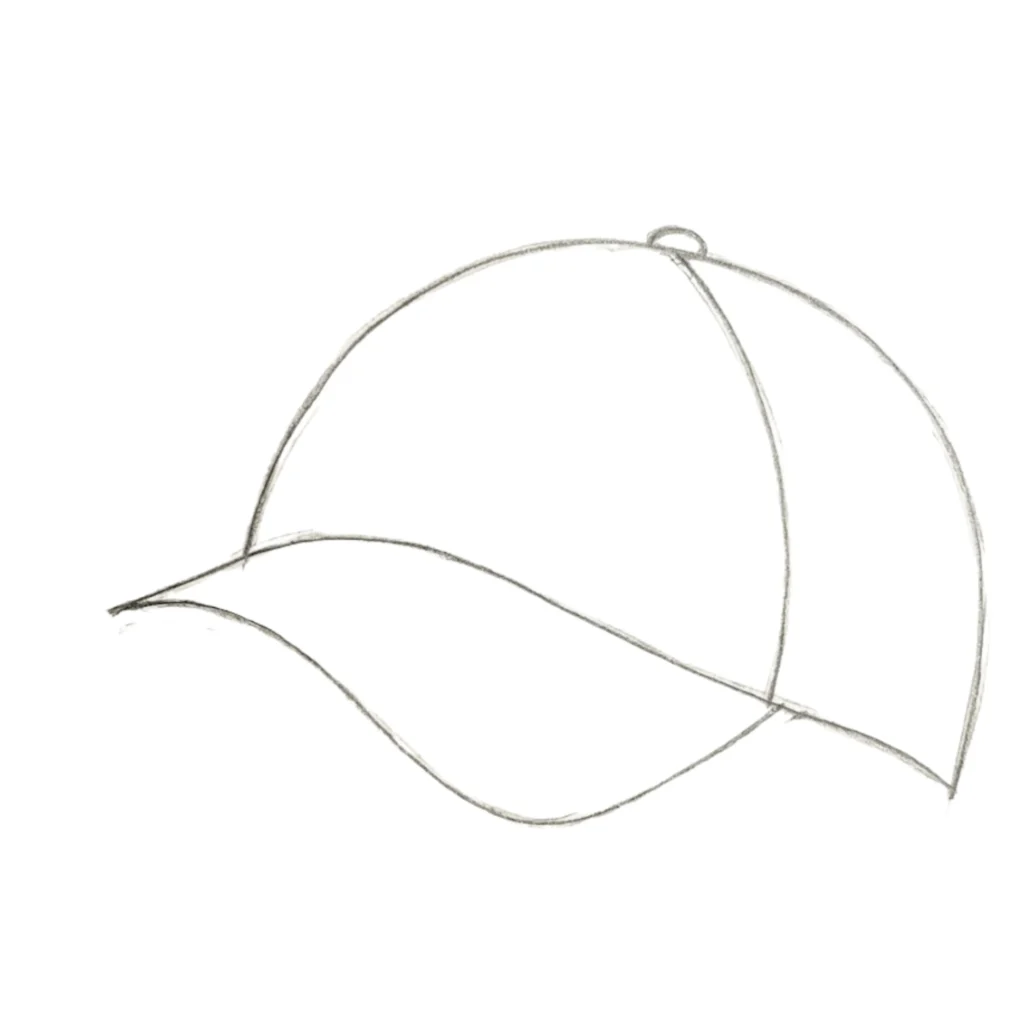
Draw the curved brim extending from the front of the cap. Make it wide with a gentle bend. This gives the cap its classic baseball style.
Ready to create a fun two-wheeled sketch? Learn how to draw a bike with simple shapes and easy techniques. This beginner-friendly tutorial is perfect for kids, beginners, and anyone who loves drawing vehicles.
How to Draw a BikeStep 4 Refine the Brim
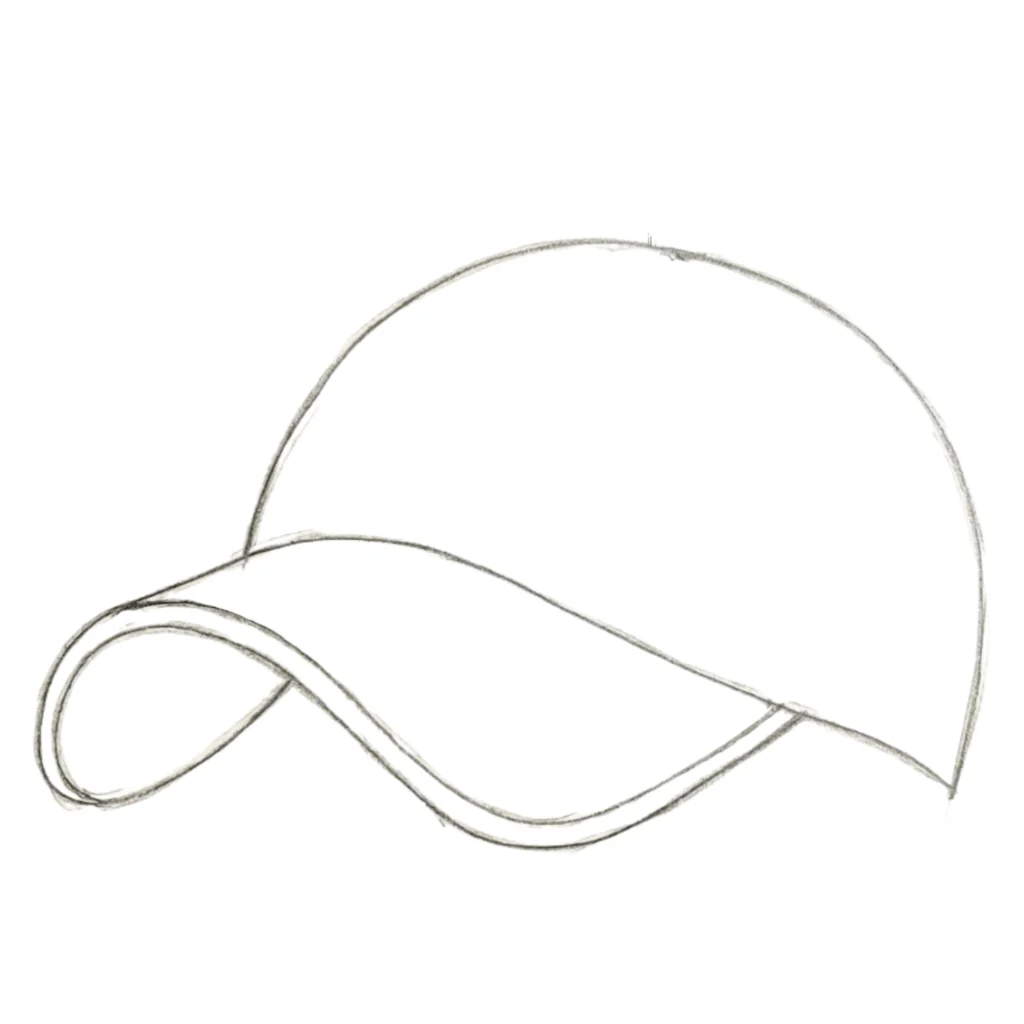
Add the lower edge of the brim to give it thickness. Smooth the curves and connect it neatly to the cap. This makes the brim look more realistic.
Step 5 Draw the Top Button
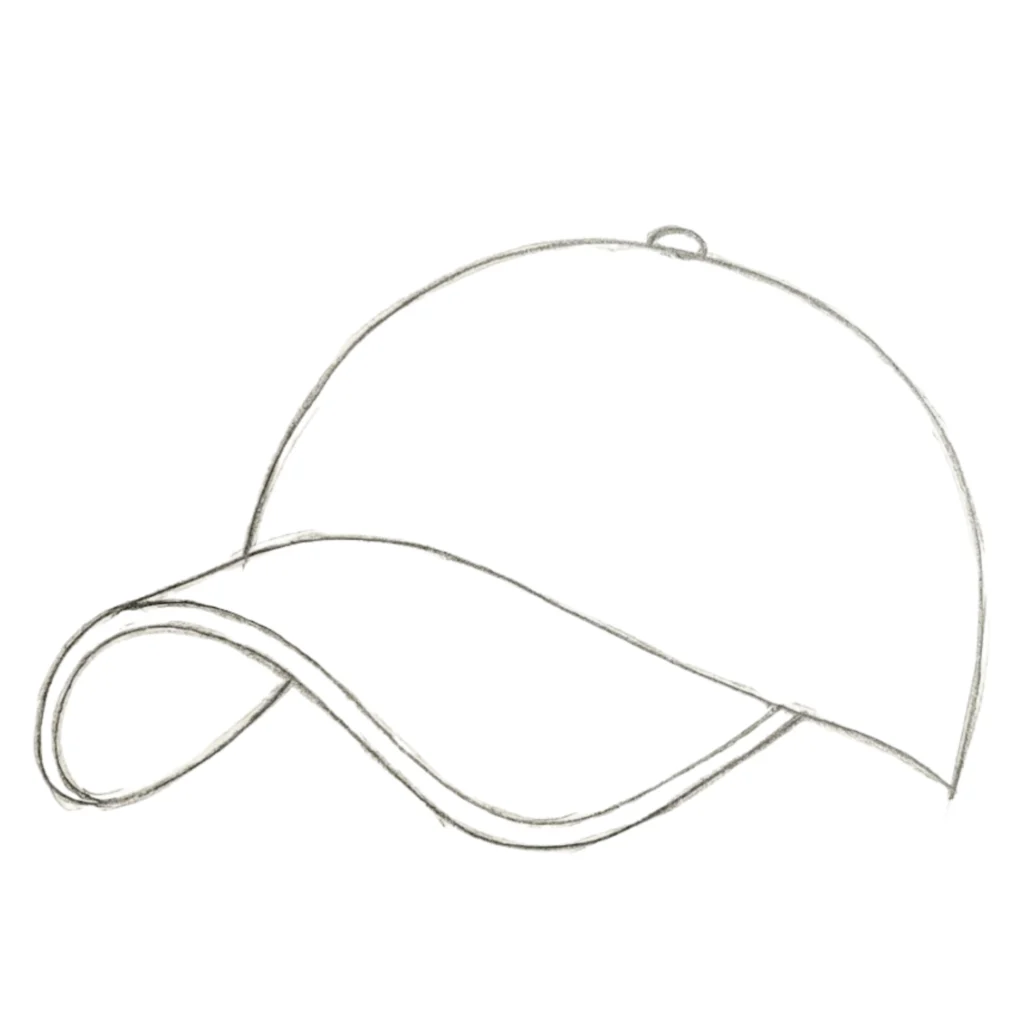
Draw a small round button at the top center of the cap. Keep it small and neatly placed. This simple detail completes the top of the cap.
Dreaming of drawing an aircraft? Learn how to draw an airplane with simple shapes and easy techniques. This beginner-friendly tutorial is perfect for kids, beginners, and anyone who enjoys drawing vehicles.
Simple Airplane DrawingStep 6 Add Final Details
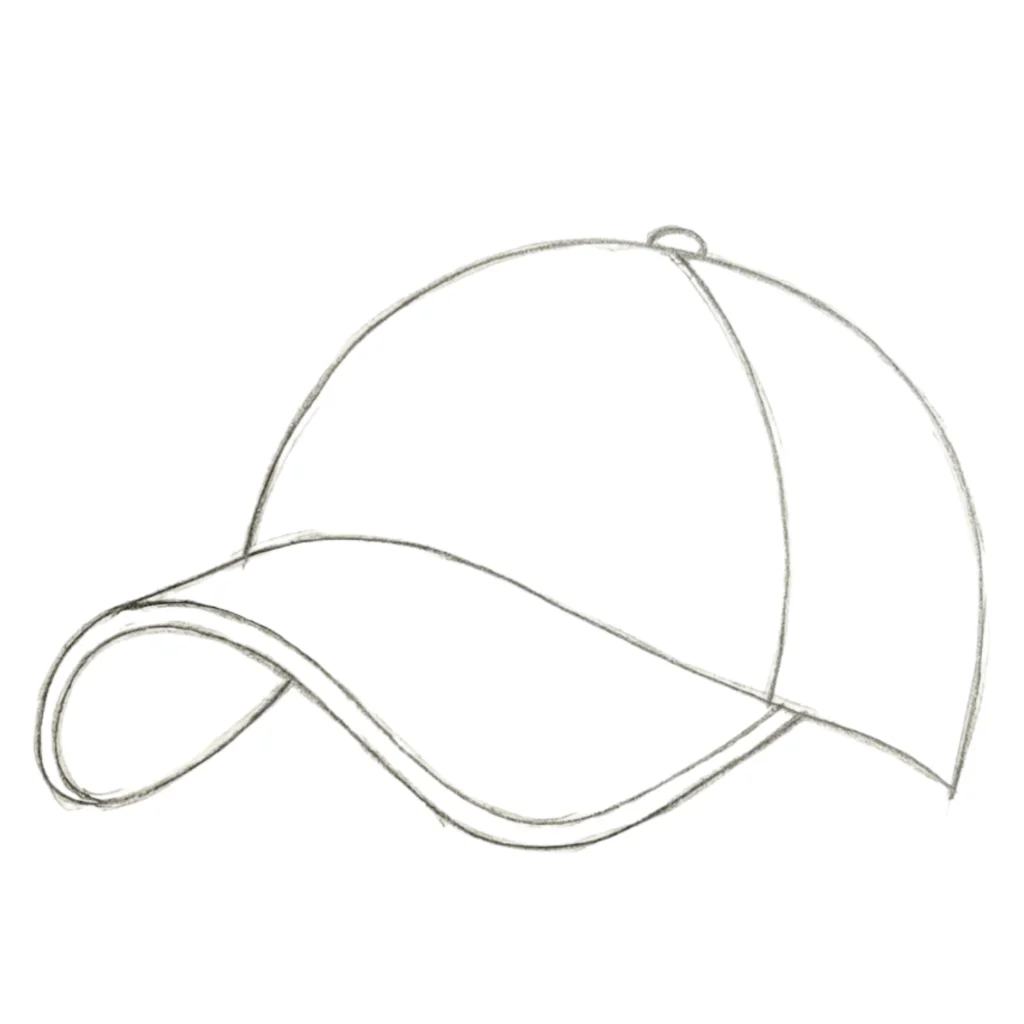
Finish by drawing the stitching lines and panel seams across the cap. Refine the overall outline to create a clean finish. These final details complete the cap drawing.
Conclusion: Finish Your Cap Drawing
Great job finishing your cap drawing! You created an Easy Cap Drawing by starting with simple shapes and adding each detail step by step. From the curved brim to the top of the cap, every part helped complete your drawing.
These Cap Drawings show that everyday objects can be fun and easy to draw. Keep practicing, try different cap styles, and add your own creative ideas. Every new drawing helps you improve your skills, creativity, and confidence.