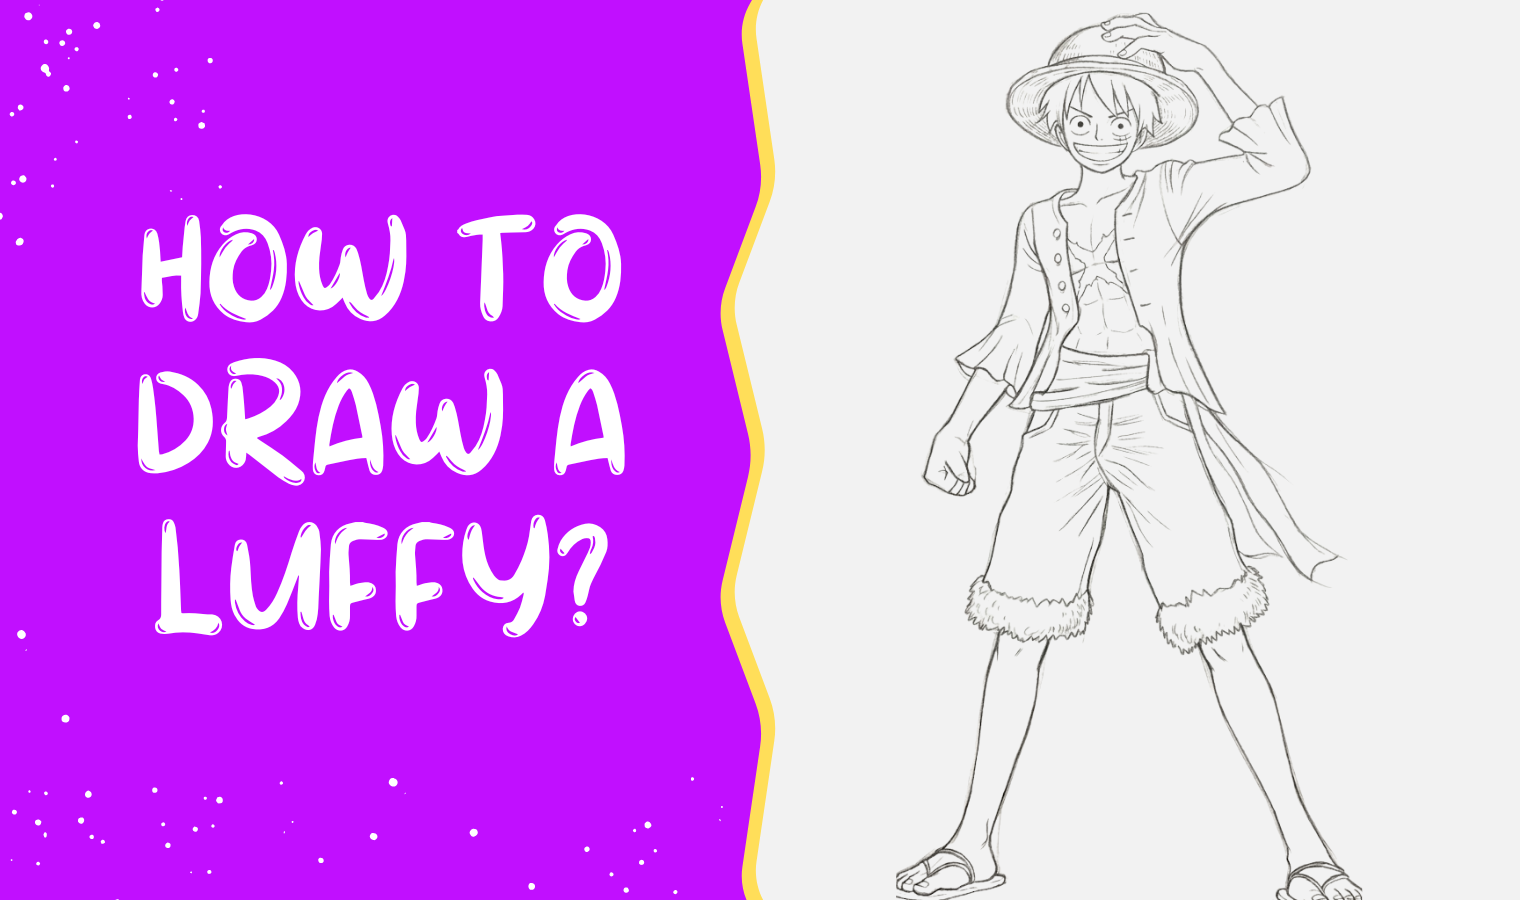
Learning how to draw Luffy is a fun way to explore anime art and creativity. Start with simple shapes and light sketch lines to build the character step by step. As you follow the images, you’ll see how Luffy’s face, straw hat, and outfit come together to create his iconic look. Take your time and enjoy the drawing process.
These Luffy Drawings are easy to follow and perfect for beginners. Each image helps you understand how the character develops into a complete drawing. Keep practicing and bringing your favorite pirate captain to life on the page.
Learn How to Draw Luffy Using Simple Shapes
Get ready to create an Easy Luffy Drawing using simple shapes and smooth lines. Start with the basic outline and slowly add the details. Keep your strokes light and relaxed as you build the drawing.
Take your time and enjoy the process as your sketch comes to life on the page. These Luffy Drawings are fun to follow and help you see how simple shapes can turn into an exciting anime character.
Step: 1 Draw Hairs
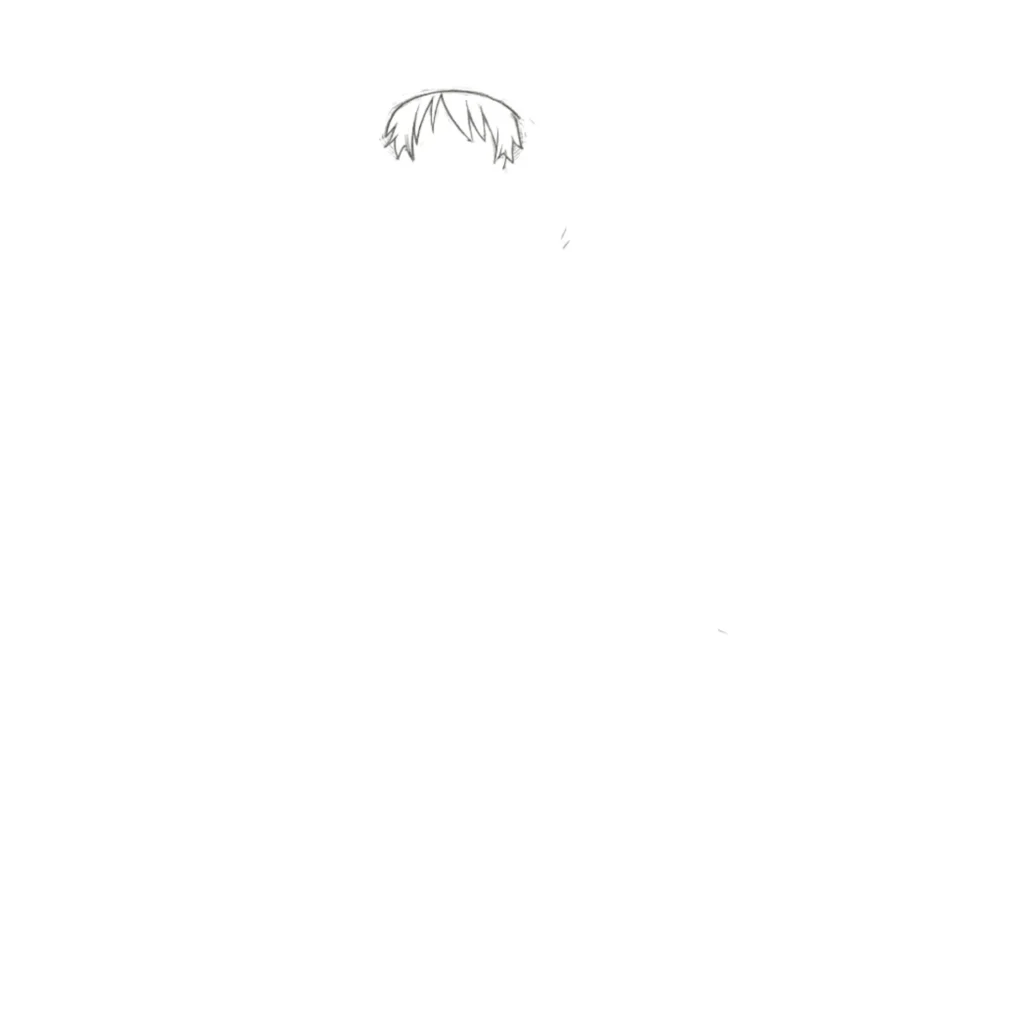
Sketch the messy hair around the top of the head. Keep the strands loose and spiky to match Luffy’s anime style.
Step: 2 Draw Face Shape
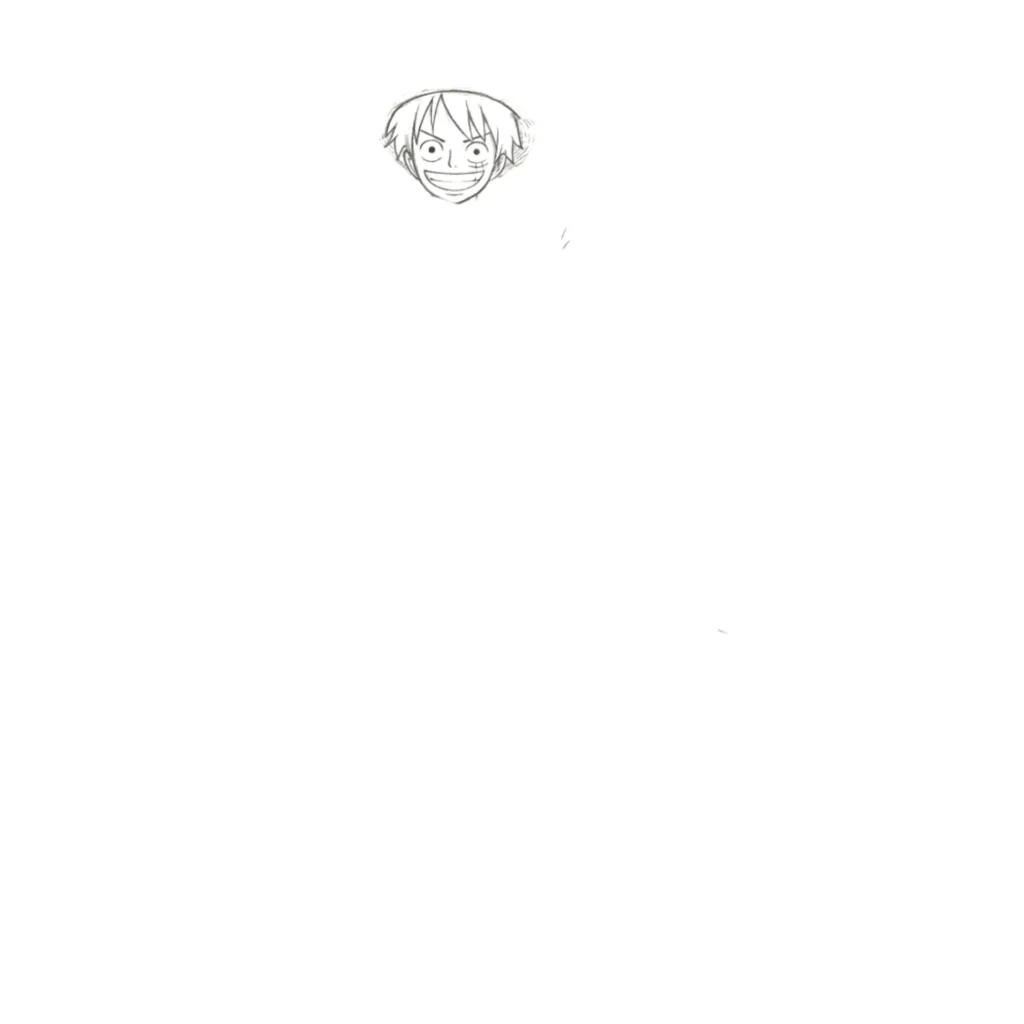
Start by drawing a small oval shape for Luffy’s face. Add simple guidelines to help place the eyes, nose, and mouth.
Looking for a fun and adorable character to sketch? Learn how to draw Snoopy with simple shapes and easy techniques. This beginner-friendly tutorial is perfect for kids and Peanuts fans.
Snoopy DrawingStep: 3 Draw Hand
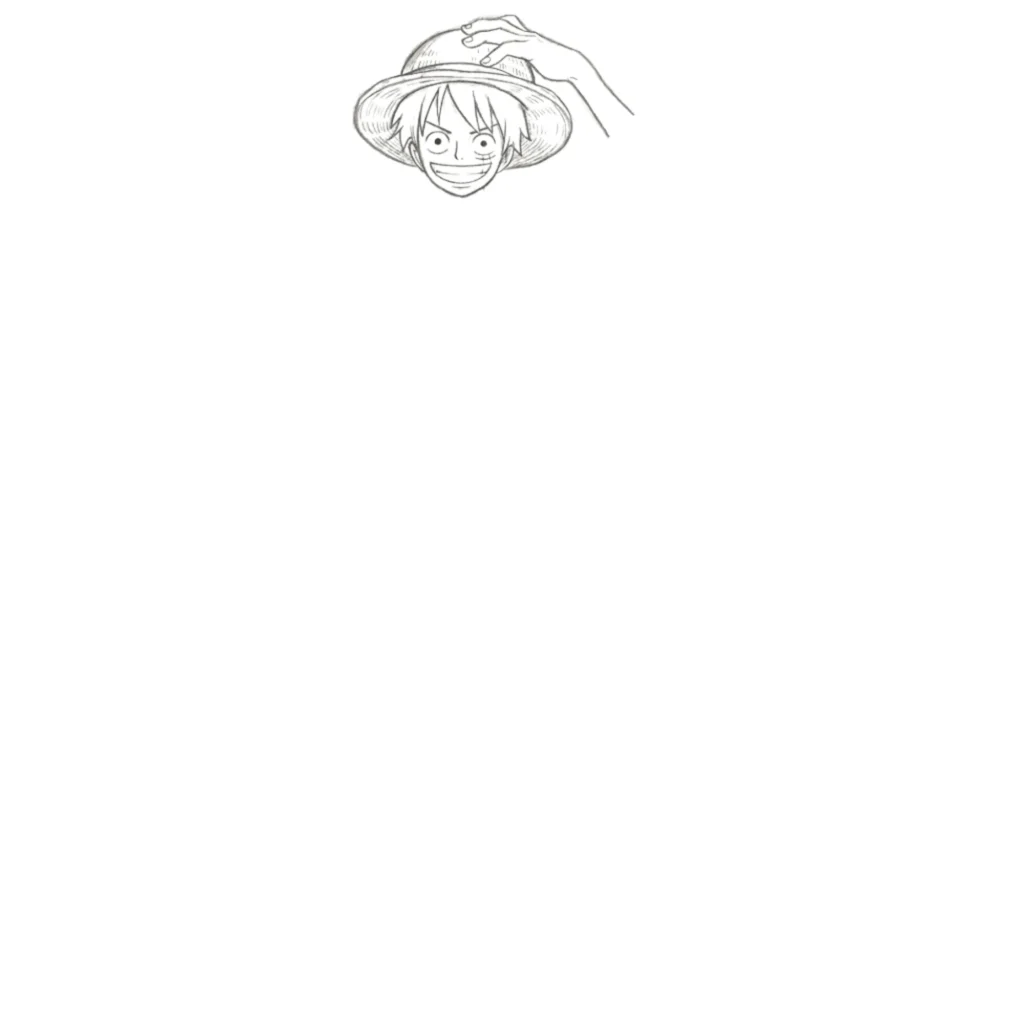
Draw one hand raised above the head as if holding the straw hat. Add the fingers with simple curved lines.
Step: 4 Draw Body
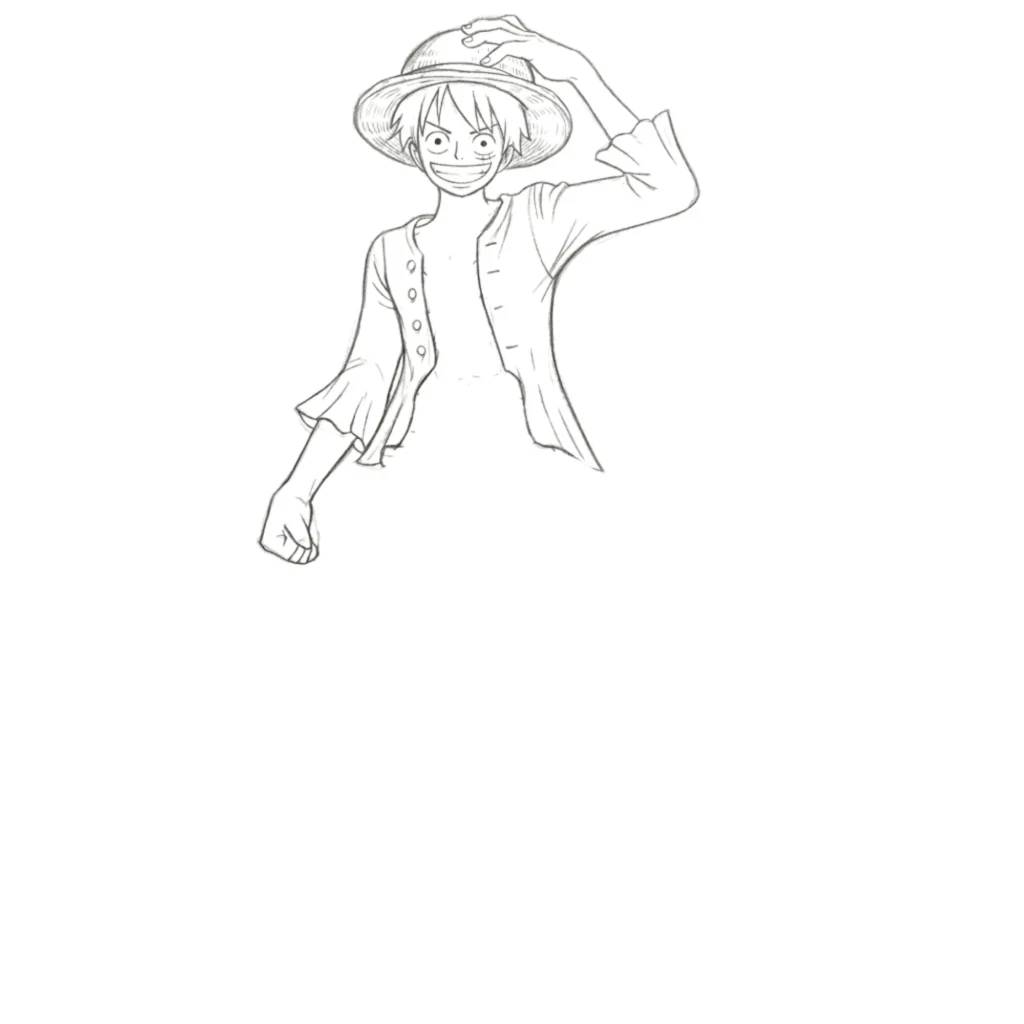
Extend the neck and sketch the upper body. Draw the open jacket and shirt using light, simple outlines.
Ready for an anime drawing adventure? Learn how to draw Naruto with simple shapes and easy techniques. This beginner-friendly tutorial is perfect for fans who want to sketch a legendary ninja character.
Naruto DrawingStep: 5 Draw Body Details
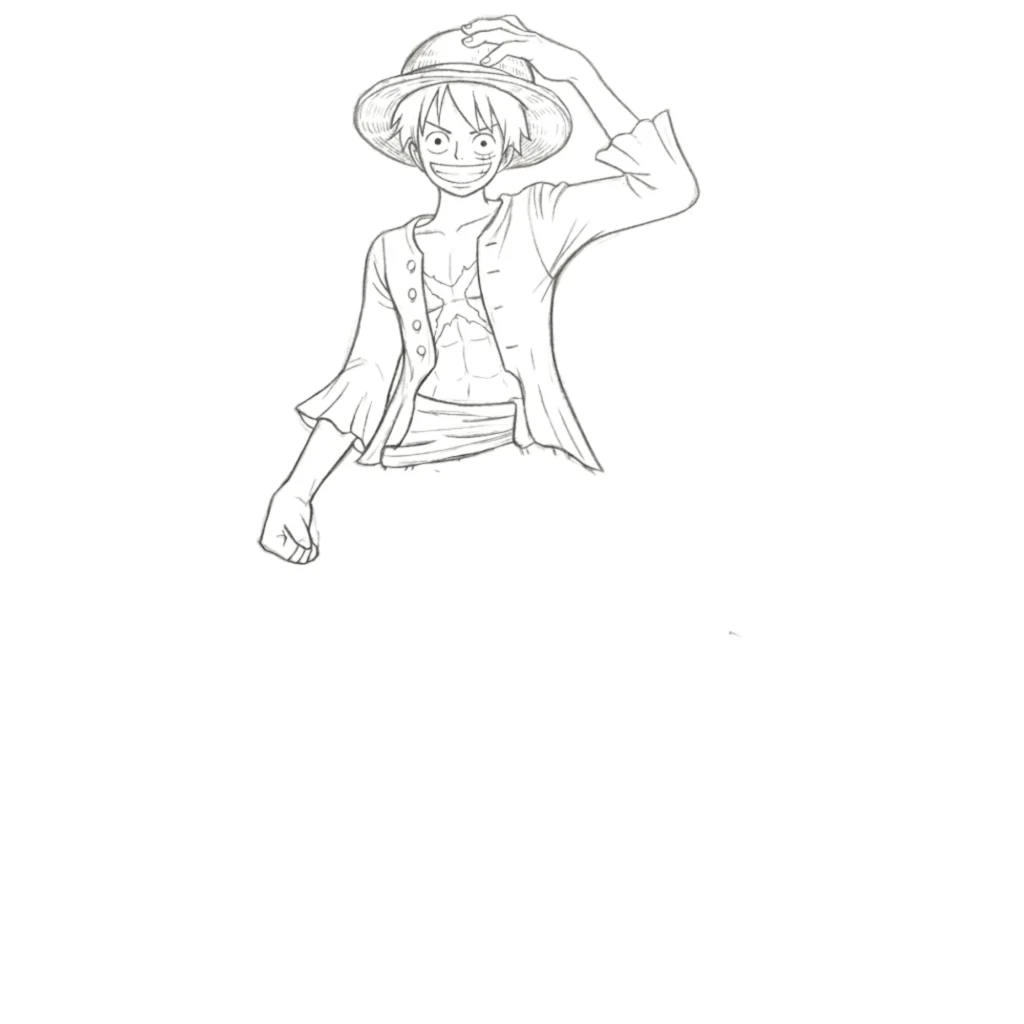
Add details to the jacket, shirt, and sleeves. Refine the arms and make the clothing folds look more natural.
Step: 6 Draw Shorts
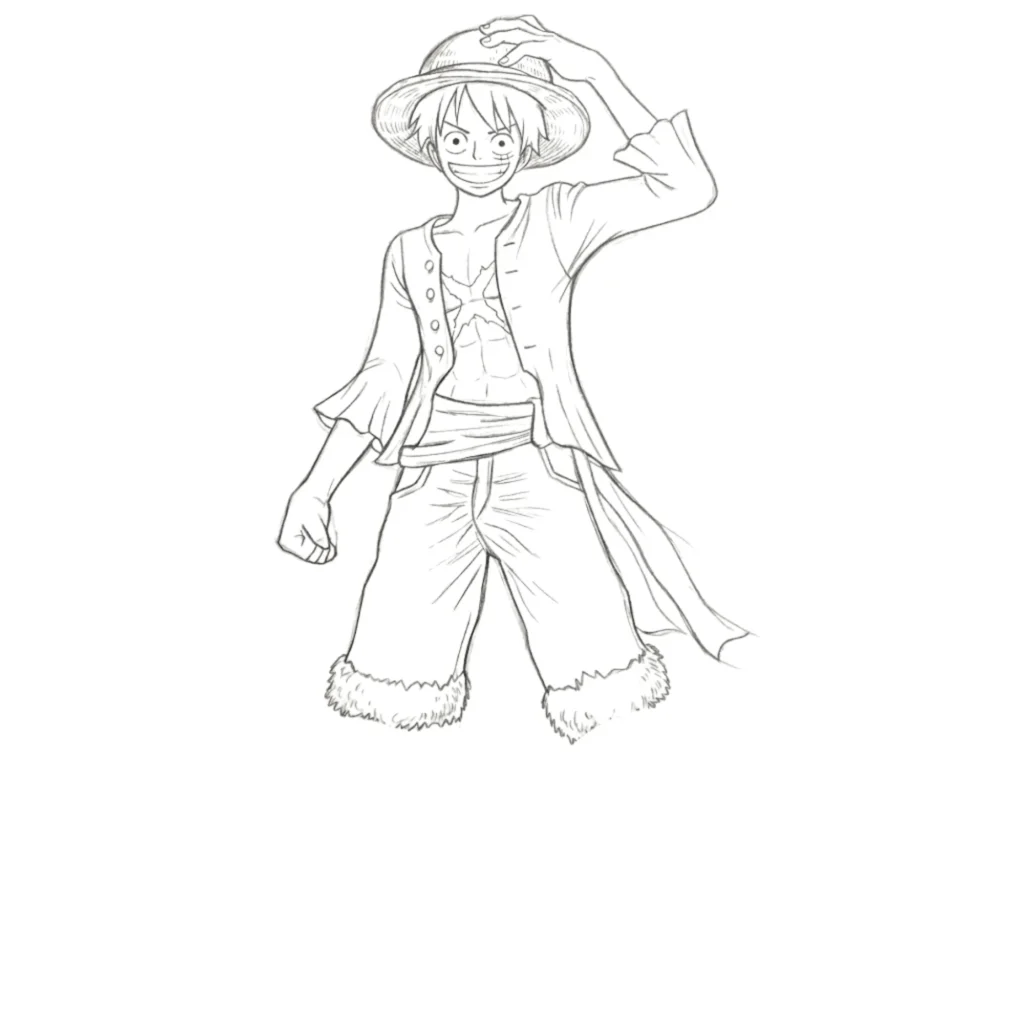
Sketch Luffy’s knee-length shorts and add the waistband and fabric edges. Keep the shapes loose and easy to follow.
Looking for a festive character to sketch? Learn how to draw the Grinch with easy shapes and simple techniques. This fun drawing lesson is great for beginners, kids, and Christmas fans.
Easy Grinch DrawingStep: 7 Draw Legs
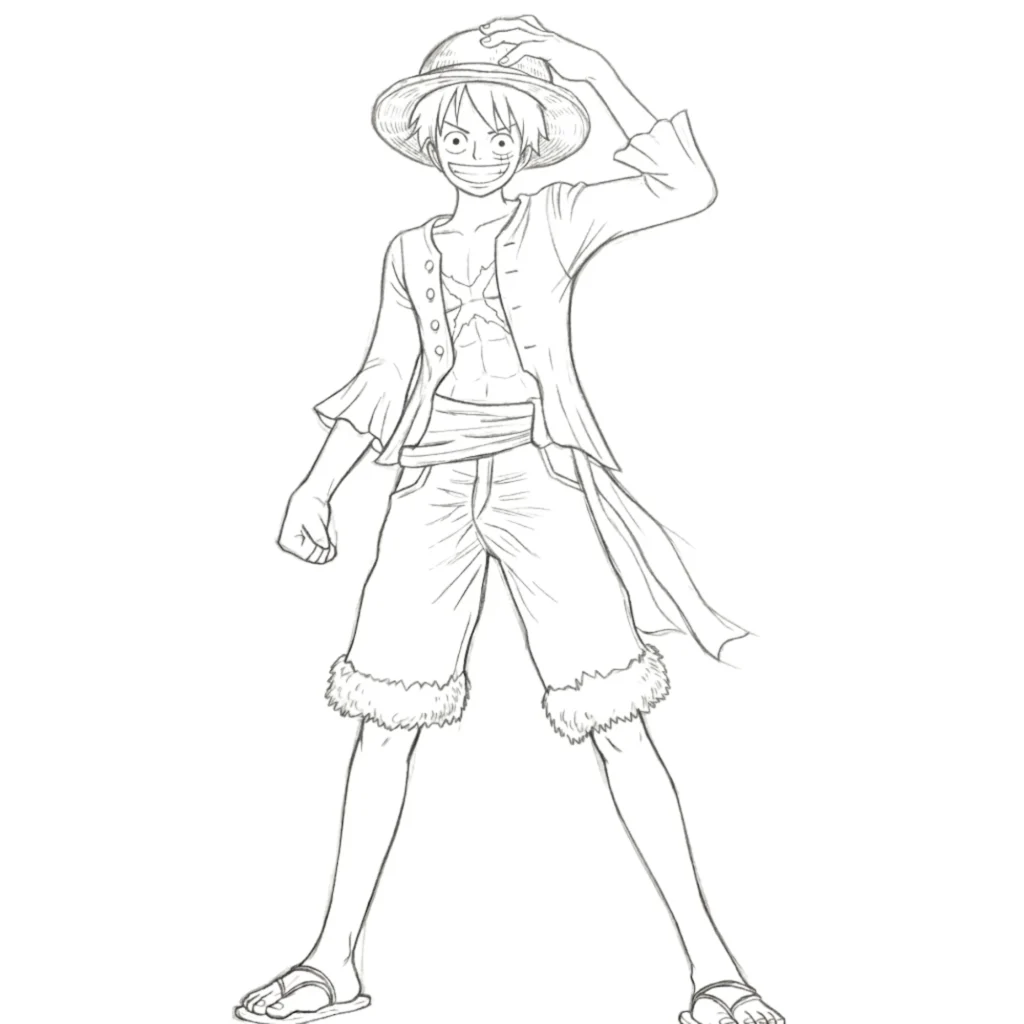
Finish the drawing by adding both legs and sandals. Clean up the outline and add final details to complete the full character.
Conclusion: Finish Your Luffy Drawing
Great job finishing your Luffy sketch! You started with simple shapes and slowly built the character step by step. By following the images, you created a Simple Luffy Drawing that captures his iconic look and personality.
These Luffy Drawings show that anime art can be fun and easy to learn. Keep practicing, try different expressions or poses, and add your own creative ideas. The more you draw, the more confident, creative, and skilled you will become.
FAQ’s: Common Problems While Drawing Luffy
Why doesn’t my Luffy drawing look right?
Start with simple shapes and light sketch lines. Focus on the basic outline first before adding the smaller details.
I find Luffy’s hair difficult to draw. What should I do?
Draw the hair in small sections. Keep the spikes simple and focus on the overall shape before refining them.
My Easy Luffy Drawing looks messy. How can I fix it?
Use light lines at the beginning and draw slowly. Once everything looks right, trace the final lines and erase extra marks.
Why does the face look uneven?
Try using light guidelines for the eyes, nose, and mouth. This helps keep the facial features balanced and in the correct position.
How can I improve my Luffy Drawings?
Practice different expressions, poses, and outfits. You can also add color or a simple background to make your drawings more exciting and unique.