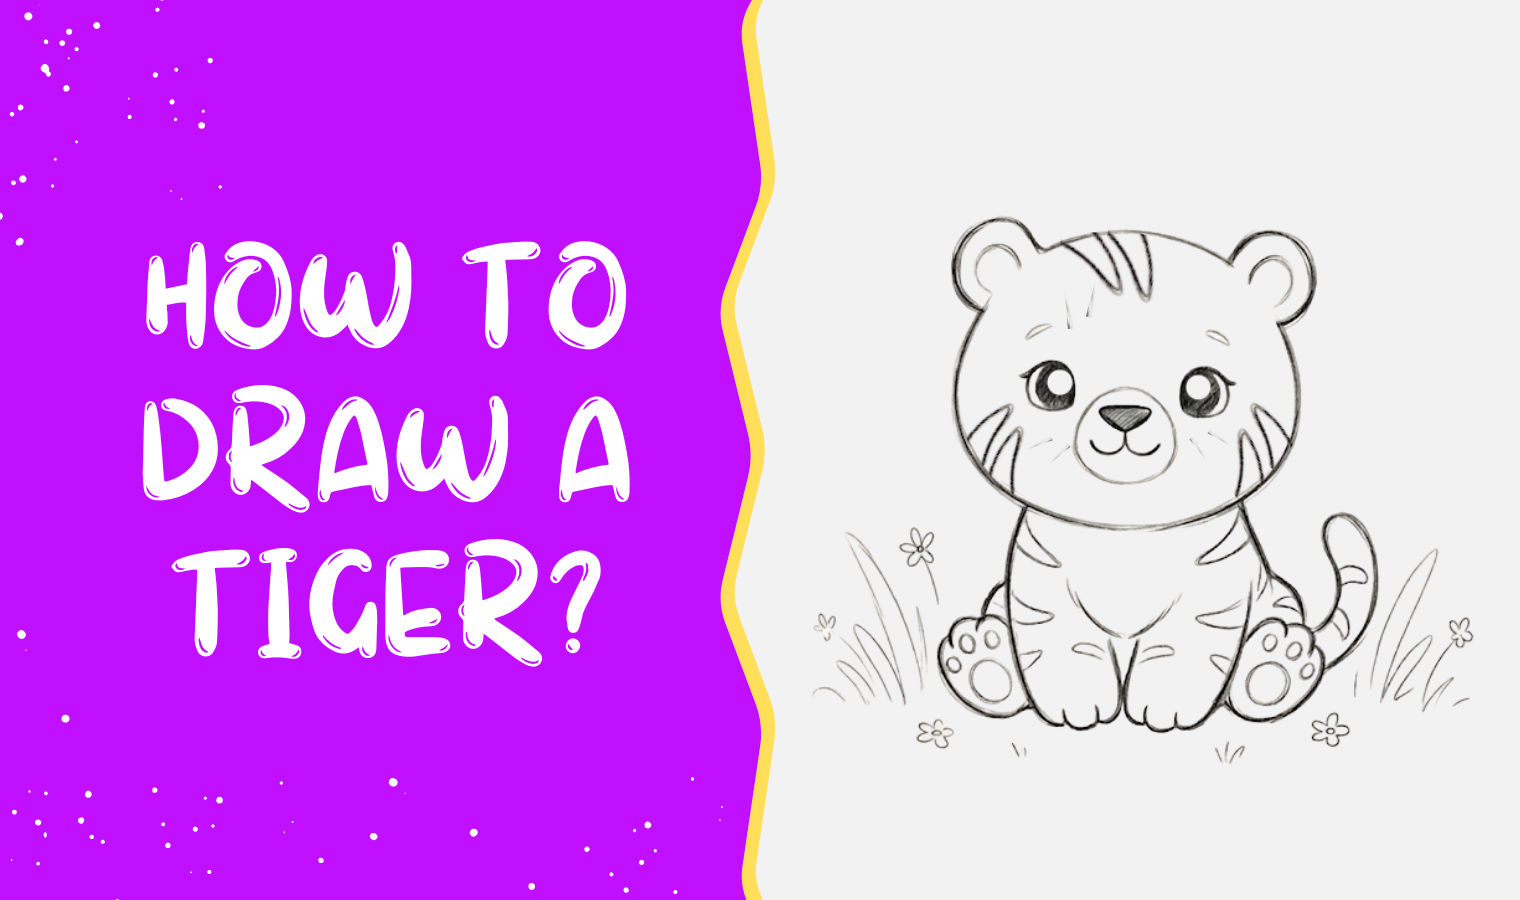
Drawing a tiger is fun and simple. Use easy shapes and soft lines. When learning how to draw a tiger, just look at the pictures. See how the shapes join together. Take your time. Keep your lines light. Enjoy every small part of your drawing.
These tiger drawings are easy to follow. Kids can learn just by looking. No hard steps to remember. You can copy the shapes. You can add your own ideas. Make your tiger cute or funny. Keep practicing and have fun drawing every day.
Let’s Start Drawing a Tiger with Simple and Fun Shapes
Let’s start a Simple tiger drawing in a fun and easy way. We will look at simple pictures and see how the shapes come together. Keep your lines light. Go slow and enjoy drawing.
Now let’s explore cute tiger drawings that are easy to follow just by looking. You can copy the shapes or add your own ideas. Make your tiger funny or friendly. Let’s draw and have fun together!
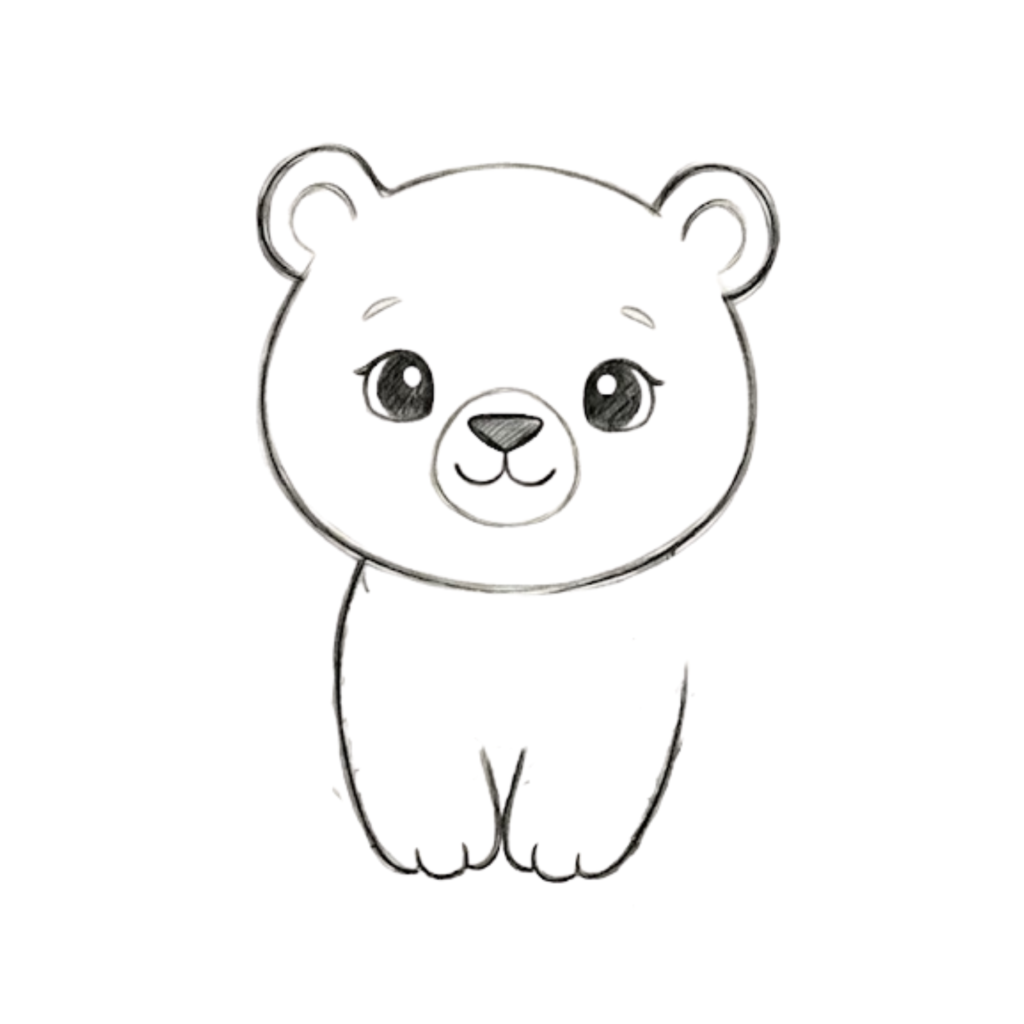
Step 1: Draw the Head Shape
Begin by drawing a large, slightly wide circle in the center of your page. This will be the tiger’s head. Keep the shape smooth and light so you can refine it later if needed.

Step 2: Add the Ears
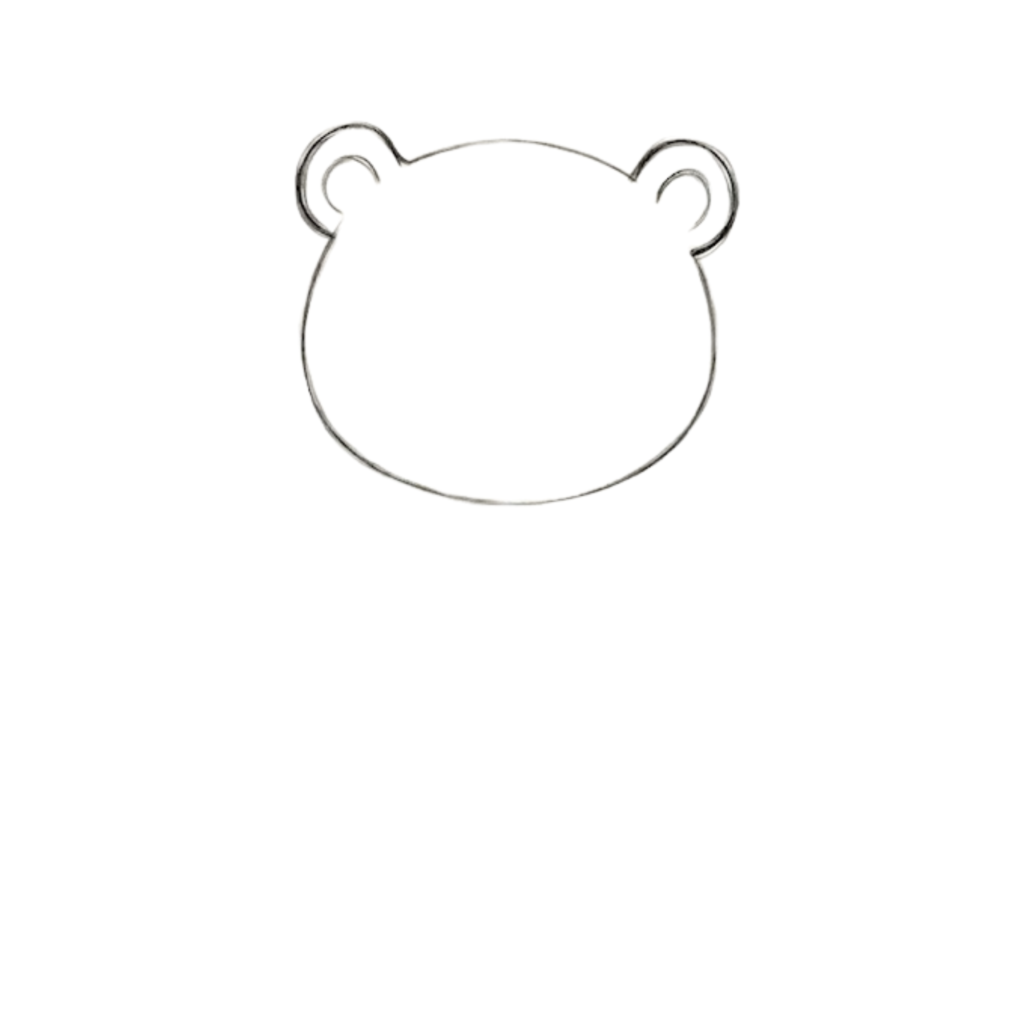
On the top left and right sides of the head, draw two small rounded ears. Then, add smaller curved lines inside each ear to show the inner ear detail. Make sure both ears are even and balanced.
Want to learn how to draw a dinosaur using simple shapes and easy lines? This beginner-friendly tutorial helps you create a fun and creative dinosaur drawing
dinosaur drawingStep 3: Draw the Eyes and Eyebrows
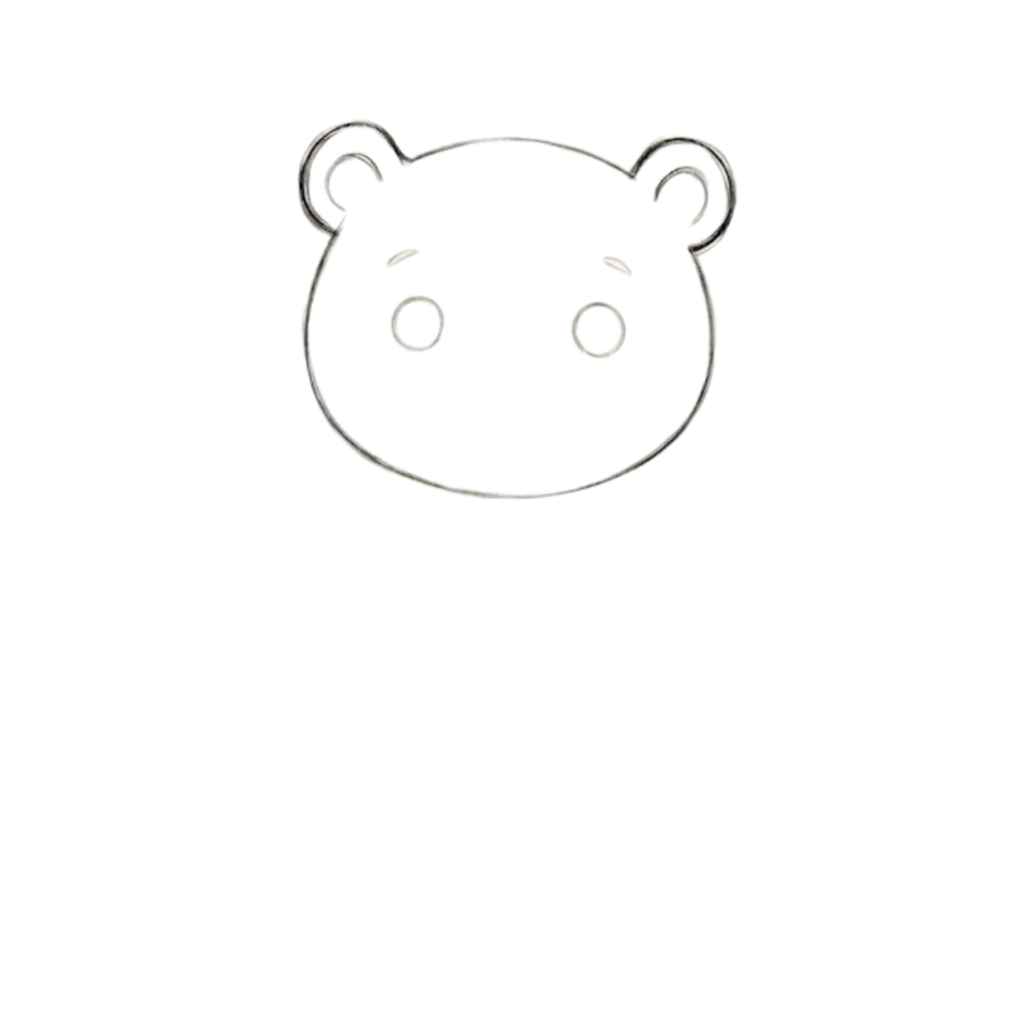
Inside the face, draw two small circles for the eyes. Place them evenly with enough space between them. Above each eye, add short curved lines to create simple eyebrows. This gives your tiger a soft and friendly expression.
Step 4: Add Nose and Mouth
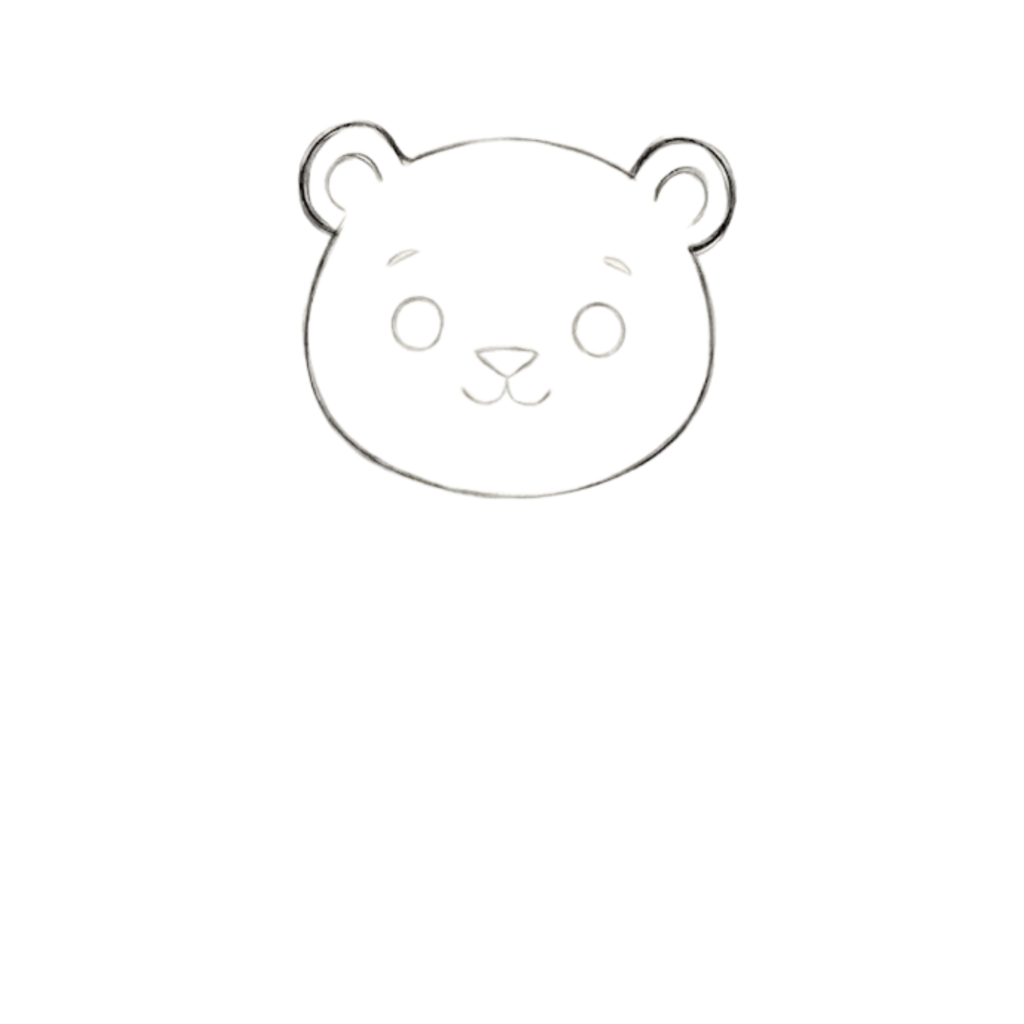
Draw a small triangular nose in the center, slightly below the eyes. From the nose, extend two short curved lines downward and outward to form a cute smiling mouth. Keep the lines soft to maintain a cartoon style.
Step 5: Add Face Details
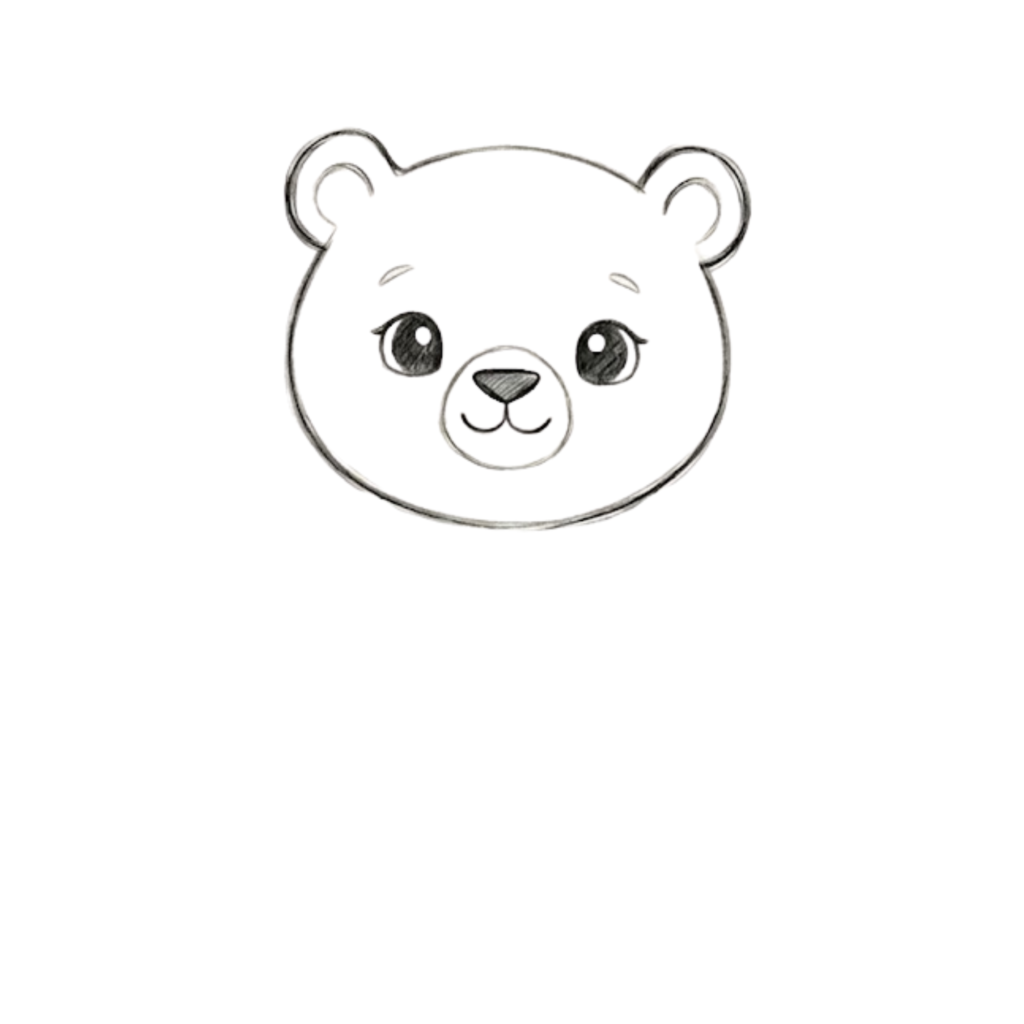
On the face, draw two small round eyes and add tiny circles inside them to make the eyes look shiny. In the middle, draw a small nose with a soft curved mouth under it. Add a few short lines near the mouth to show cute little whiskers and face details.
Want to learn how to draw a turkey using simple shapes and curved lines? This easy tutorial helps beginners create a clean and playful turkey drawing step by step.
turkey drawing activityStep 6: Draw Front Arms
On one side of the body, draw a curved line going down to form an arm. Keep it short and slightly rounded so it matches the soft cartoon style of the bear.
Step 7: Draw the Body Shape
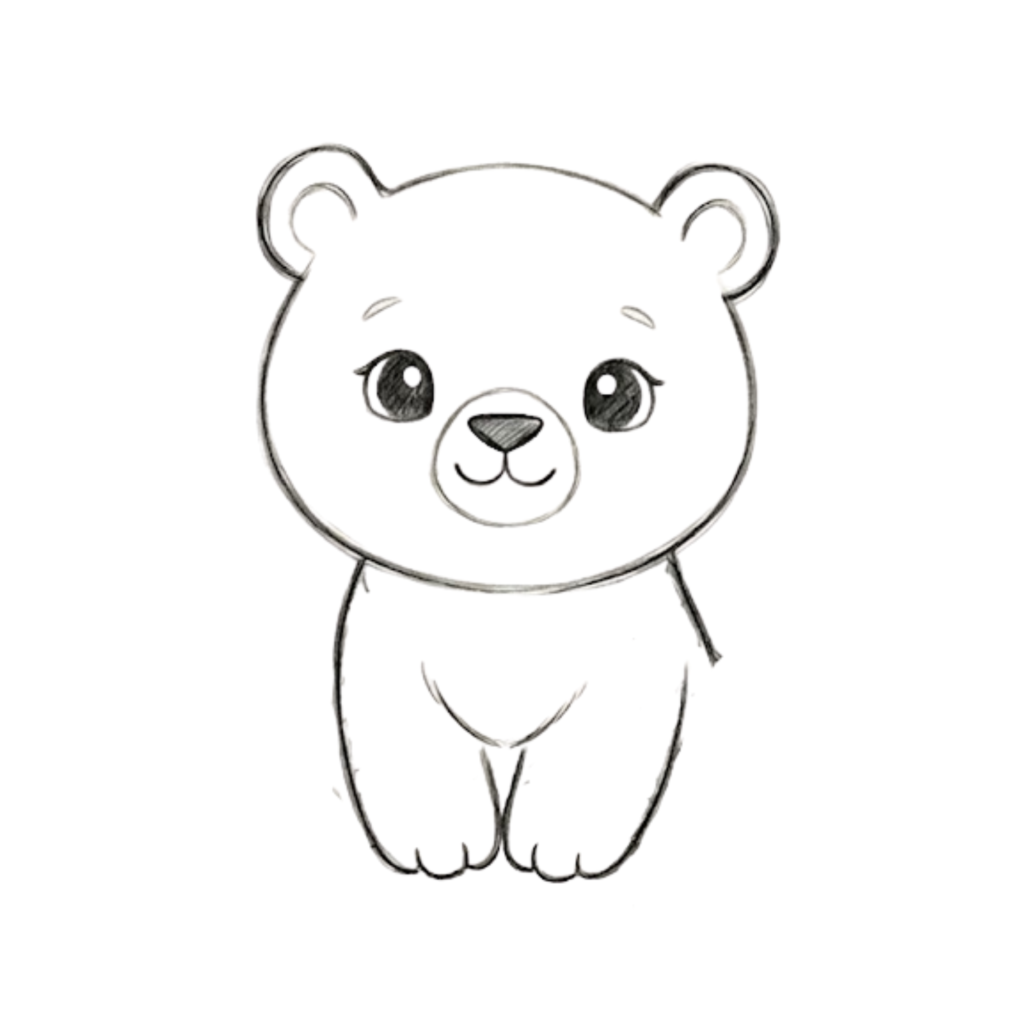
From the bottom of the head, draw two long curved lines going downward to form the body. Connect them at the bottom with a soft curve. Keep the shape rounded so the bear looks cute and chubby.
Want to learn how to draw a monkey using easy shapes and curved lines? This simple tutorial helps beginners create a playful and cute monkey drawing step by step.
monkey drawingStep 8: Add the Back Legs
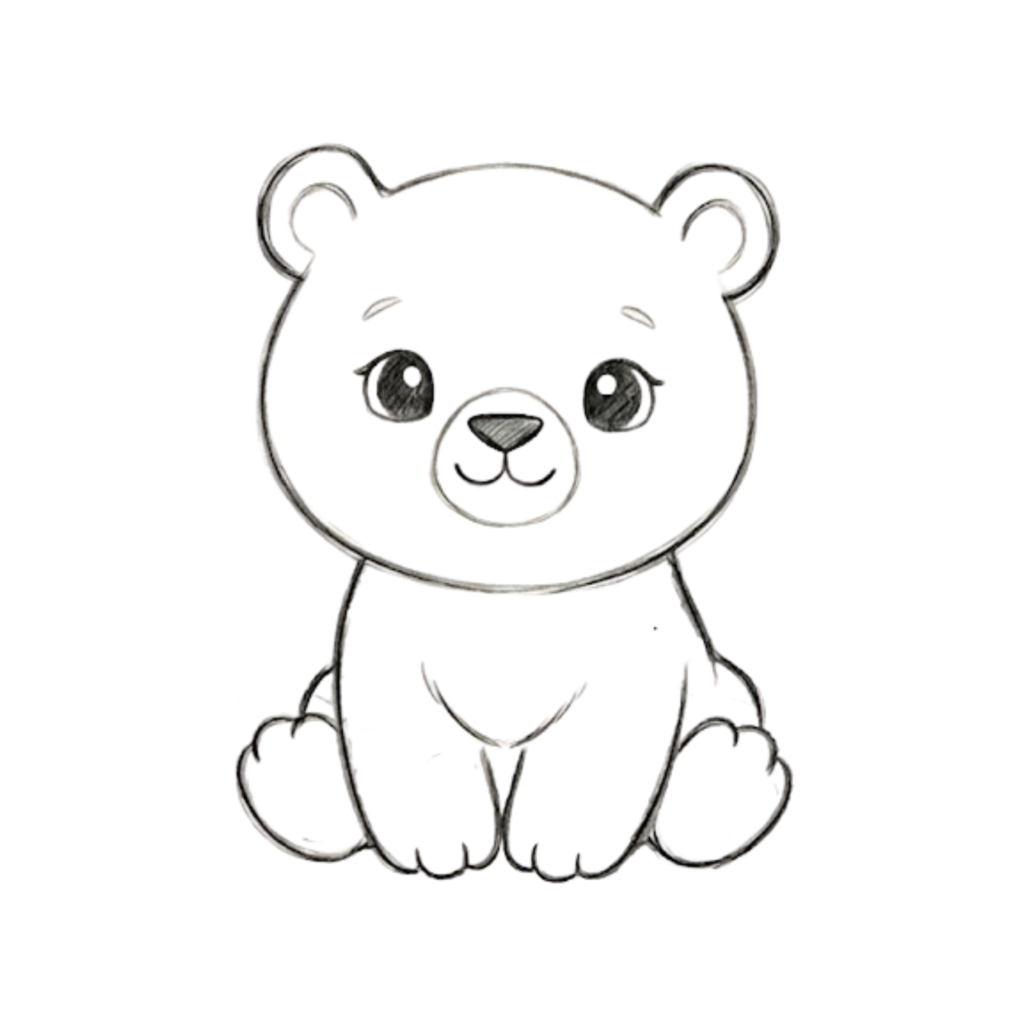
Draw the second arm on the opposite side in the same way. Then, add two rounded shapes behind the front legs to create the back legs, making the bear look like it is sitting.
Step 9: Add the Tail

On the right side of the body, draw a long curved tail. Start from the back and let it curl slightly upward. Keep the line smooth and rounded to match the soft, cute style of your tiger.
Want to learn how to draw a snake step by step in a simple way? This beginner-friendly guide shows you how to create smooth curves and clean lines for a natural-looking snake drawing.
snake drawing step guideStep 10: Add Body Stripes
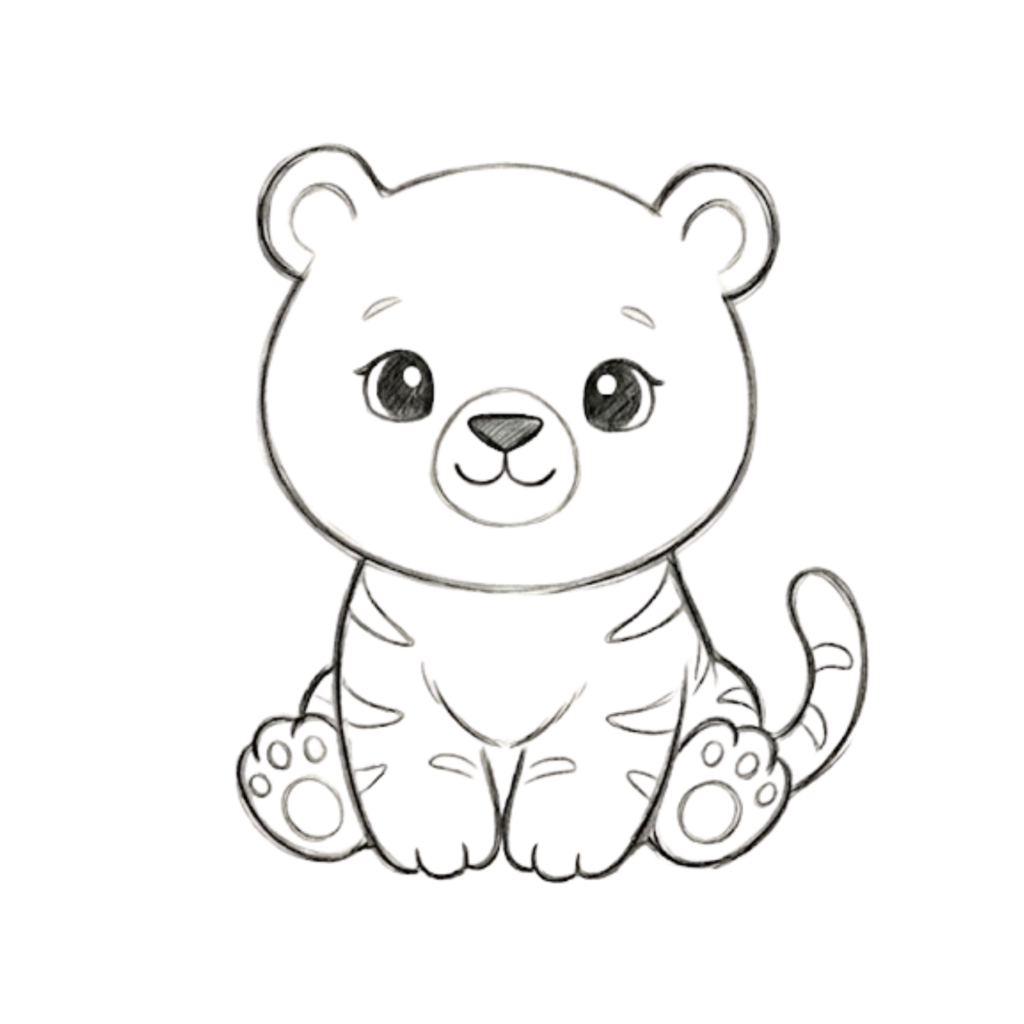
Draw simple curved stripes on the tiger’s body and tail. Keep them light and spaced out. These stripes should follow the shape of the body to give a natural and balanced look.
Step 11: Add Face Stripes and Background
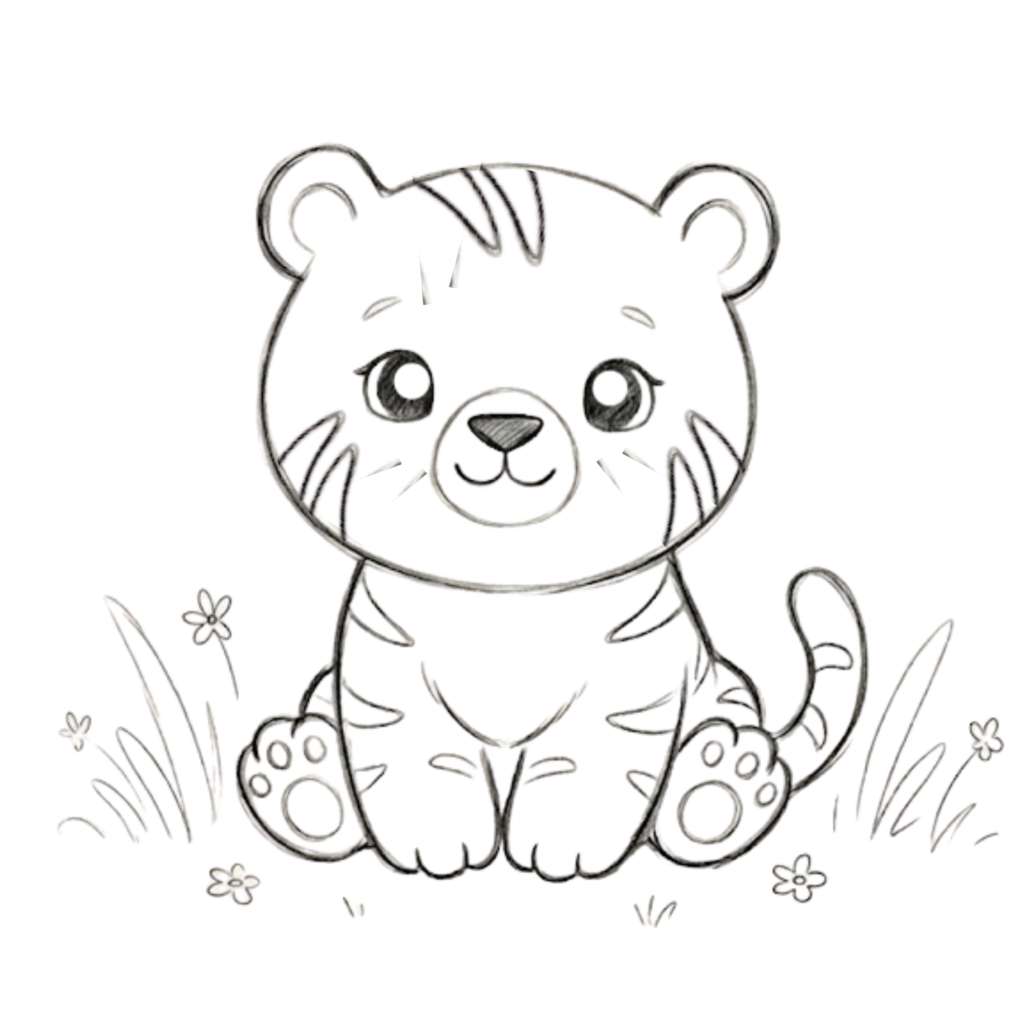
Finally, draw a few small stripes on the tiger’s cheeks and forehead. Then, add simple grass and tiny flowers around the tiger to create a cute background scene. This makes your drawing feel complete and lively.
Conclusion: Complete Your Tiger Drawing
Great job finishing your tiger sketch! You learned how to draw a tiger using simple shapes and soft lines. Take your time and enjoy each small step. These tiger drawings show that drawing can be fun and easy.
Keep practicing and try new ideas. Your drawings will get better every day!
FAQ’s: Common Problems While Drawing a Tiger
1. Why does my tiger’s face look uneven?
This usually happens when the head shape or features are not placed evenly. Try drawing a light center line on the face before adding eyes, nose, and mouth. This helps keep both sides balanced and neat.
2. My tiger doesn’t look cute. What should I fix?
A cute tiger usually has big eyes, a small nose, and soft curves. If it looks off, make the eyes slightly larger and rounder. Also, avoid sharp edges—keep your lines smooth and gentle.
3. Why are my stripes looking messy?
Stripes should follow the shape of the body. If they look messy, draw fewer stripes and keep them simple. Light, curved lines work better than too many dark or sharp ones.
4. My body proportions look wrong. How can I improve?
Start with basic shapes like circles and ovals before adding details. Make sure the head is slightly bigger than the body for a cute style. Keep everything light so you can adjust easily.
5. I keep making dark mistakes. What should I do?
Always begin with light pencil strokes. This way, you can erase and fix errors without leaving marks. Once you’re happy with the drawing, then go over it with darker lines.