
Turkeys are big birds that live on farms and in forests. They have round bodies, long necks, and wide tail feathers that spread out like a fan. In many turkey drawings, you can see their unique shape and beautiful feathers, which make them fun and interesting to draw.
Let’s learn how to draw a turkey? step by step in a simple and fun way. You will use easy shapes to build your turkey slowly. Drawing helps you understand shapes and notice small details. Take your time, follow each step, and enjoy your drawing!
Here’s How to Draw a Turkey in a Simple Way
We are going to make a turkey in a fun and easy way. Keep your hand soft and draw with light lines. Stay calm and enjoy each moment as your turkey slowly appears on your page.
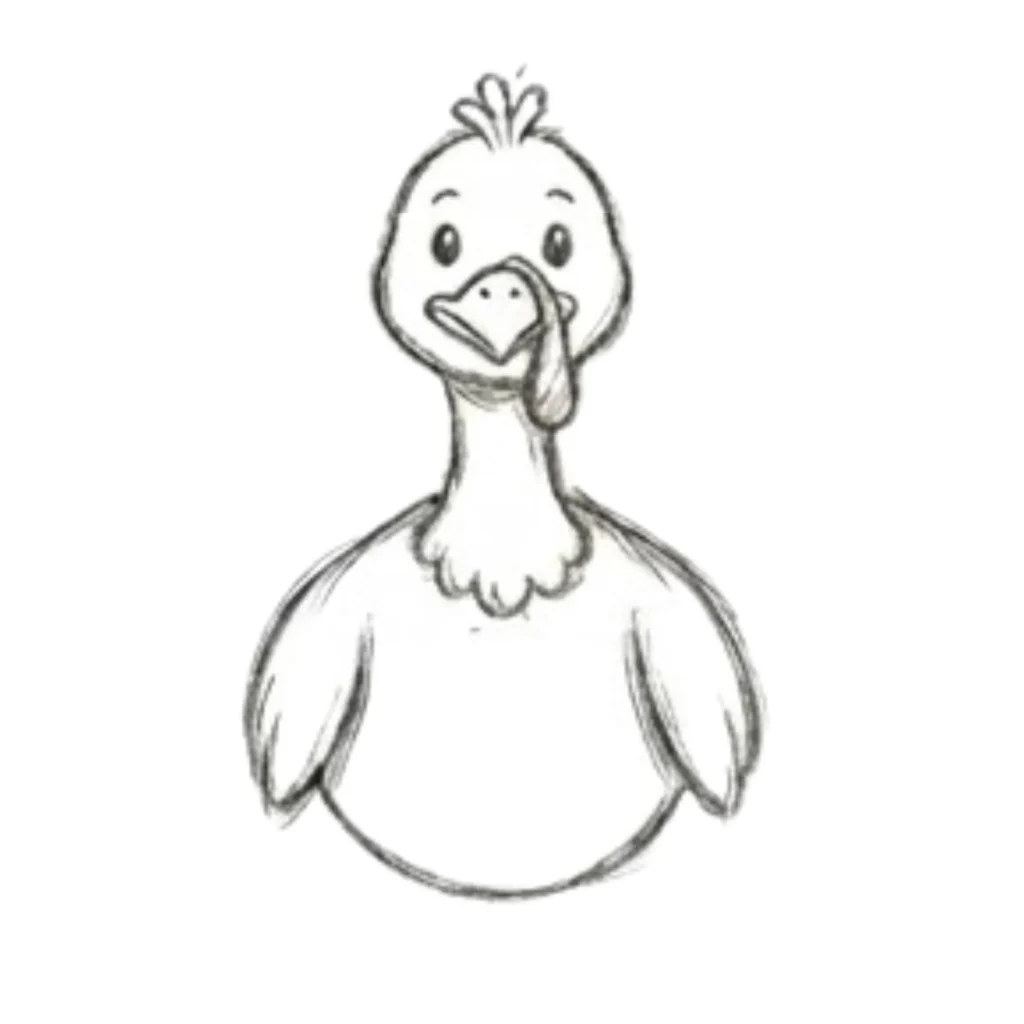
Step 1: Draw the Basic Head Shape

Start by drawing a neat circle to form the turkey’s head. Keep your lines light and smooth so you can adjust them easily. This circle will guide the placement of facial features and help maintain proper proportions.
Step 2: Add the Neck Structure
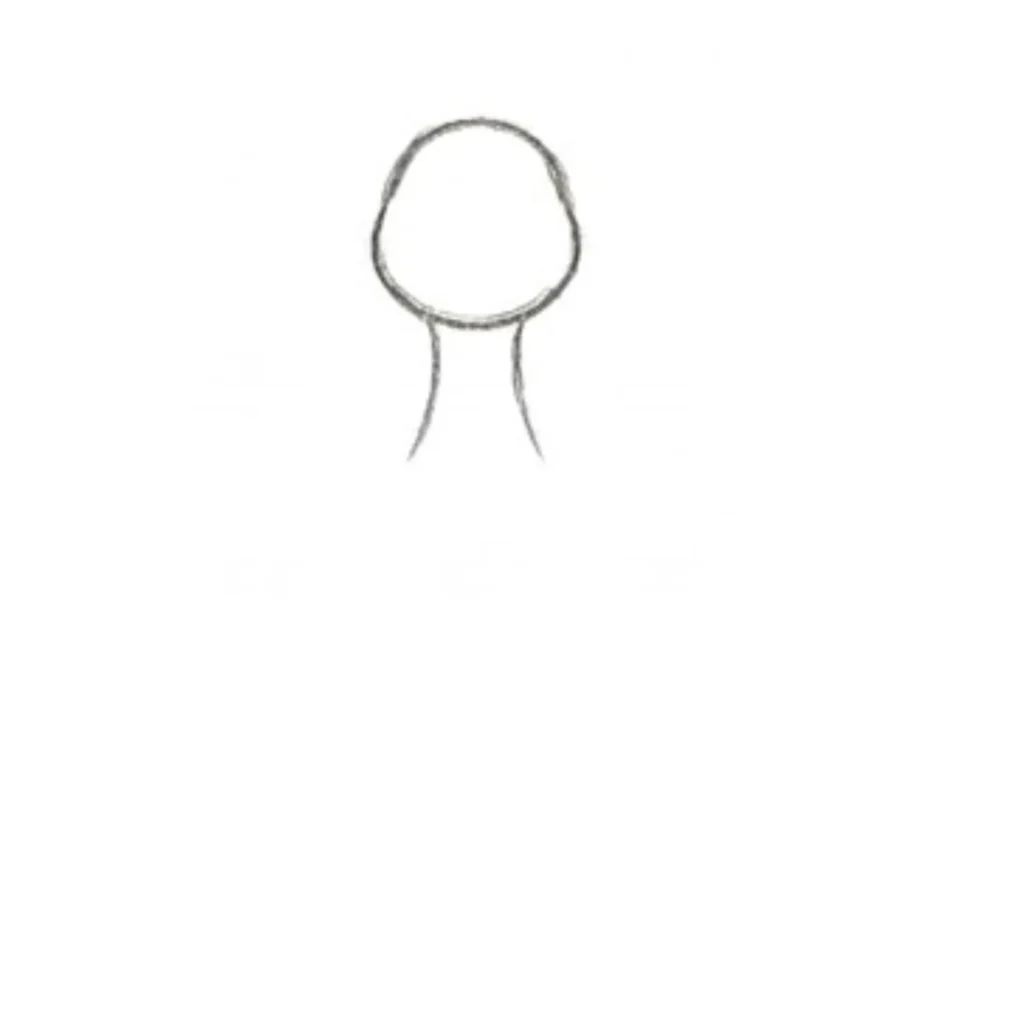
Extend two slightly curved lines downward from the head to create the neck. Keep the neck narrow at the top and slightly wider toward the bottom. This gives the turkey a natural posture and connects the head smoothly to the body.
Want to learn how to draw a fish step by step with simple shapes? This easy guide helps beginners turn basic ovals and lines into a clean and fun fish drawing.
how to draw a fish easilyStep 3: Sketch the Beak and Snood
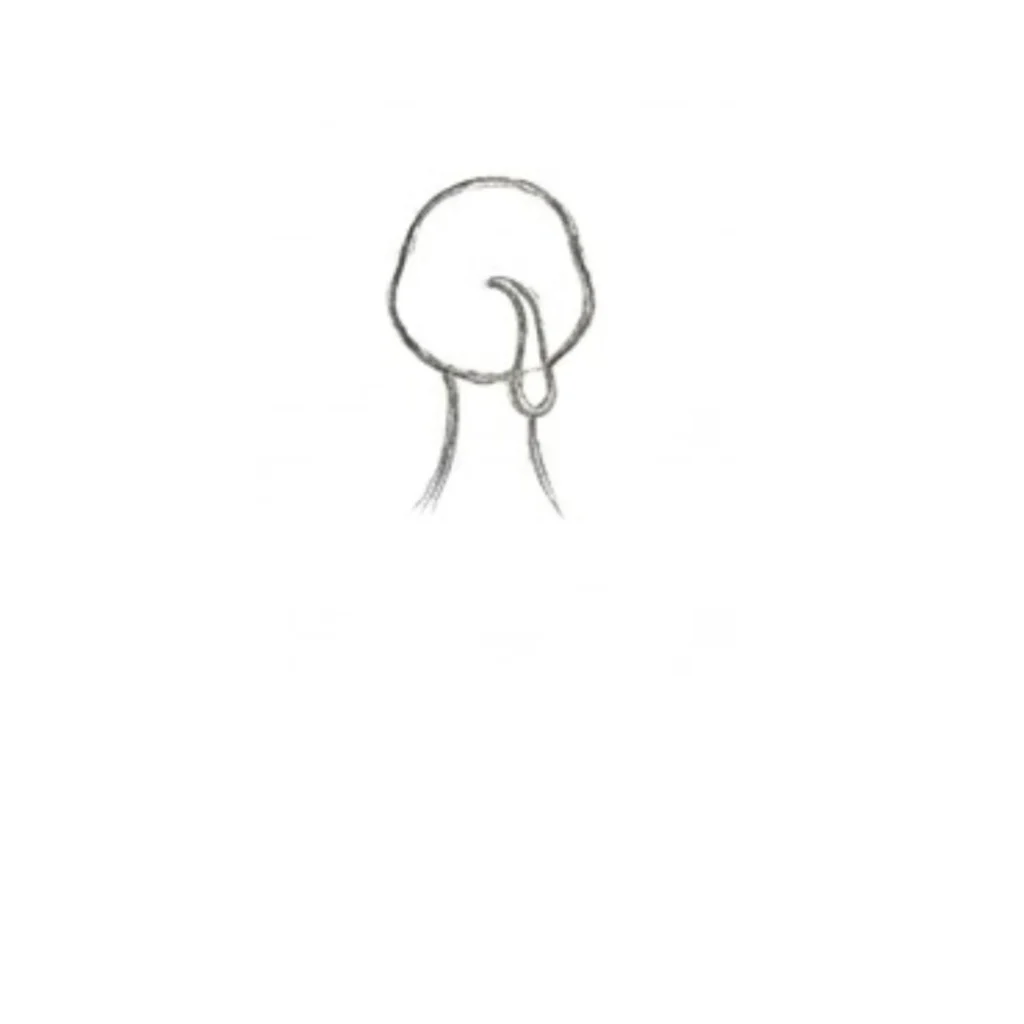
Draw a small curved beak at the front of the head. Then add the snood (the soft hanging part) by sketching a curved, drooping shape over the beak. Keep the lines gentle and organic to match the turkey’s natural look.
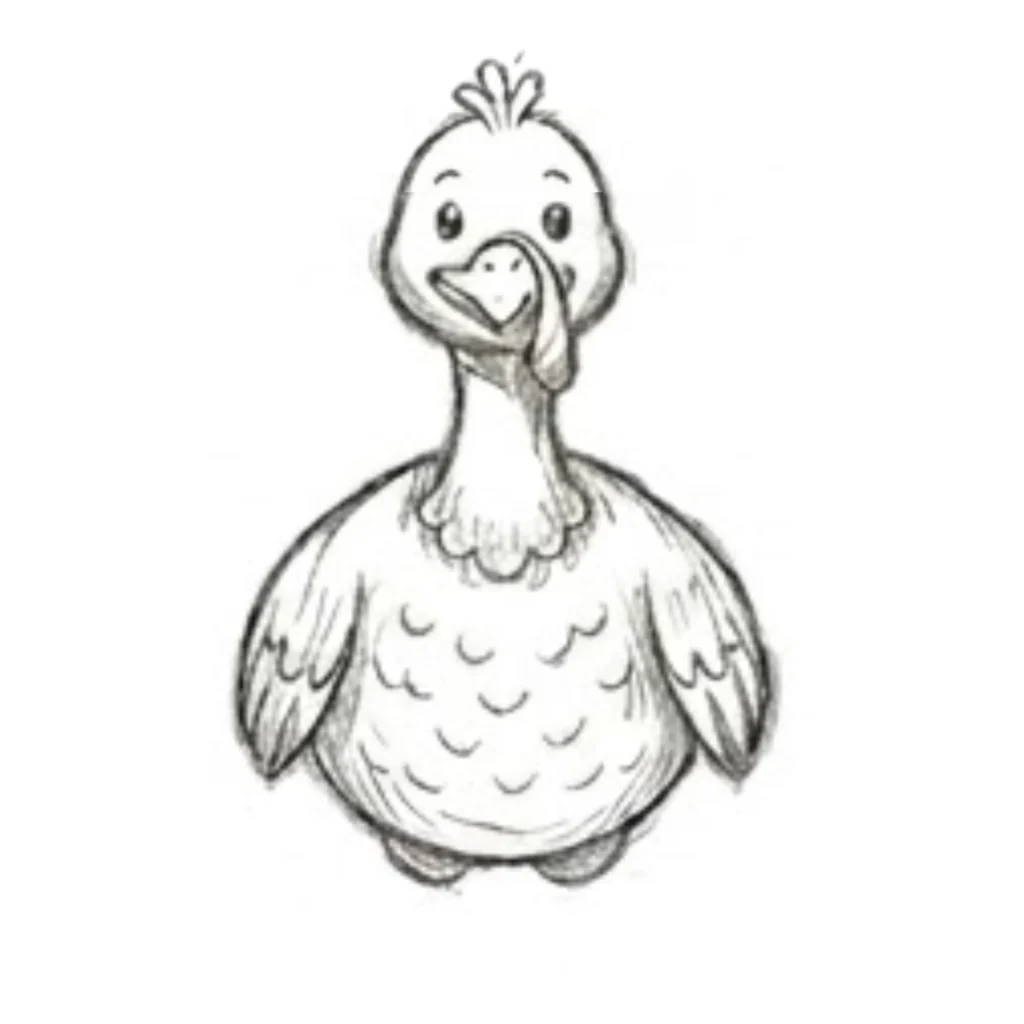
Step 4: Refine the Body Shape
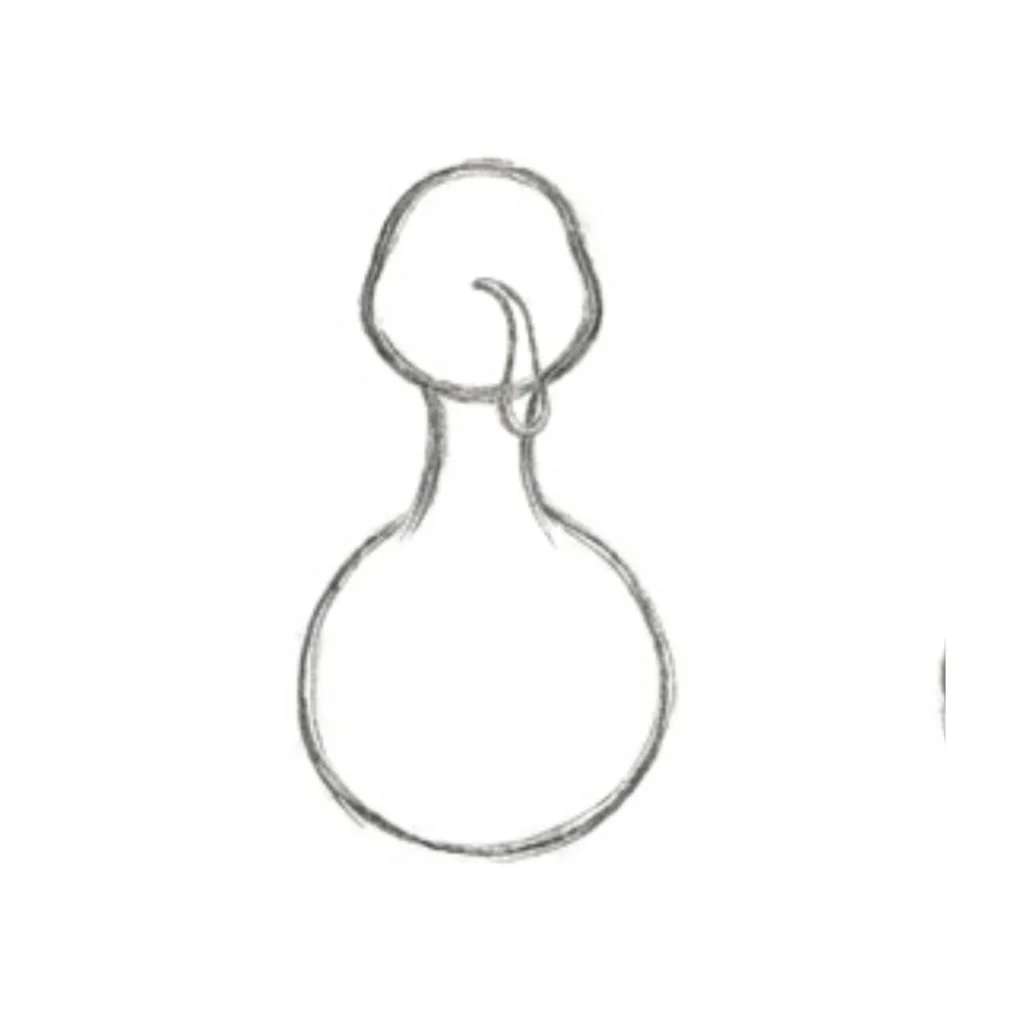
Draw a large rounded shape beneath the neck to form the turkey’s body. Keep the bottom wider and smooth to give a full, balanced look. Connect it cleanly to the neck so the transition feels natural and solid.
Want to master how to draw a frog with simple shapes? This easy step-by-step tutorial helps beginners turn basic ovals and circles into a clean and fun frog drawing.
draw a frog step by stepStep 5: Add Chest Feather Detail
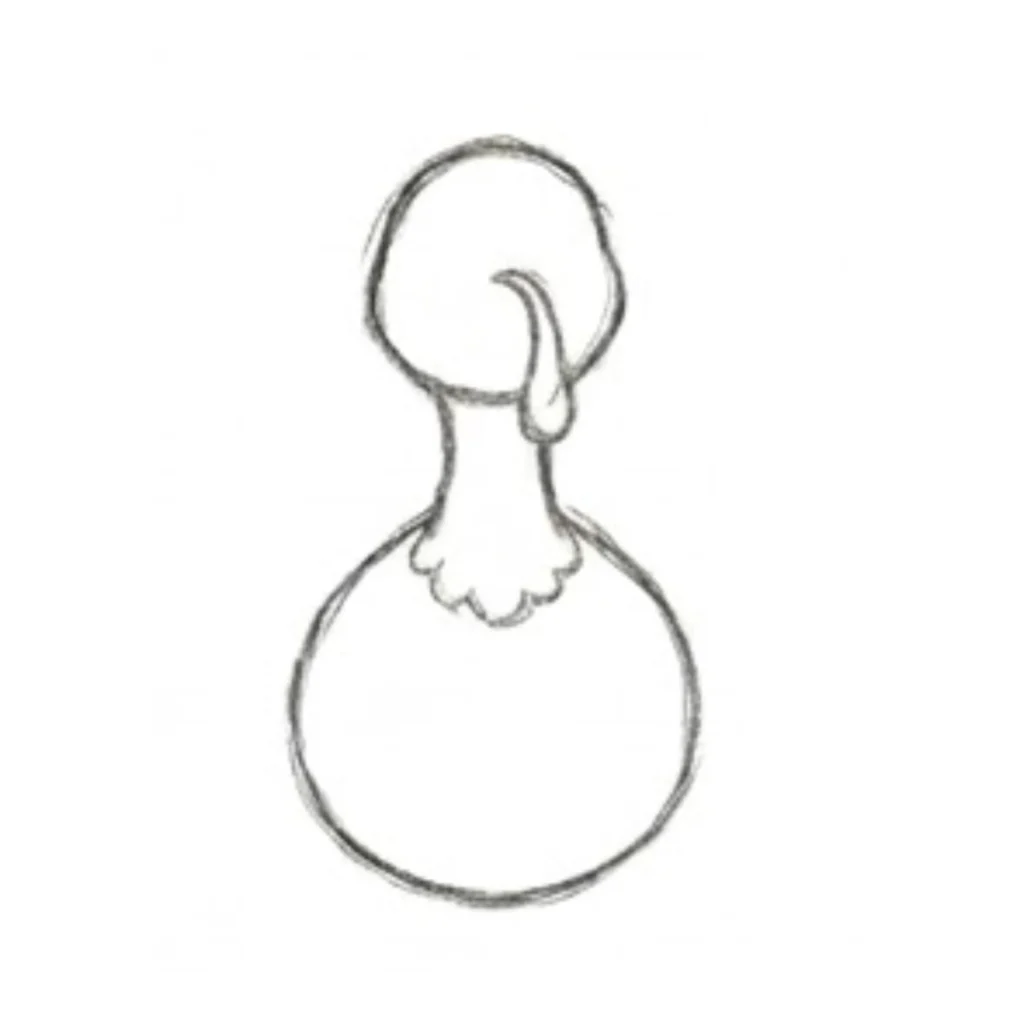
Sketch small curved, wavy lines where the neck meets the body to create a fluffy chest. Keep the lines soft and uneven to mimic real feathers. This detail adds texture and makes the turkey look more lively.
Step 6: Define the Beak Clearly
Draw a small, pointed beak at the center of the face. Use simple curved lines to shape the top and bottom parts. Keep it neat and proportional, aligning it with the snood for a clean and natural appearance.
Looking for a simple way to learn how to draw a bear? This beginner-friendly guide breaks it down into easy steps so you can create a neat and adorable bear drawing with confidence.
how to draw a bearStep 7. Refine Neck and Face Details

Shape the neck smoothly and clean up the connection between the head and body. Add a soft curve under the chin to define the throat. Refine the wattle (dangling part) by smoothing its edges and making it look more natural.
Step 8. Add Head Feathers and Expression
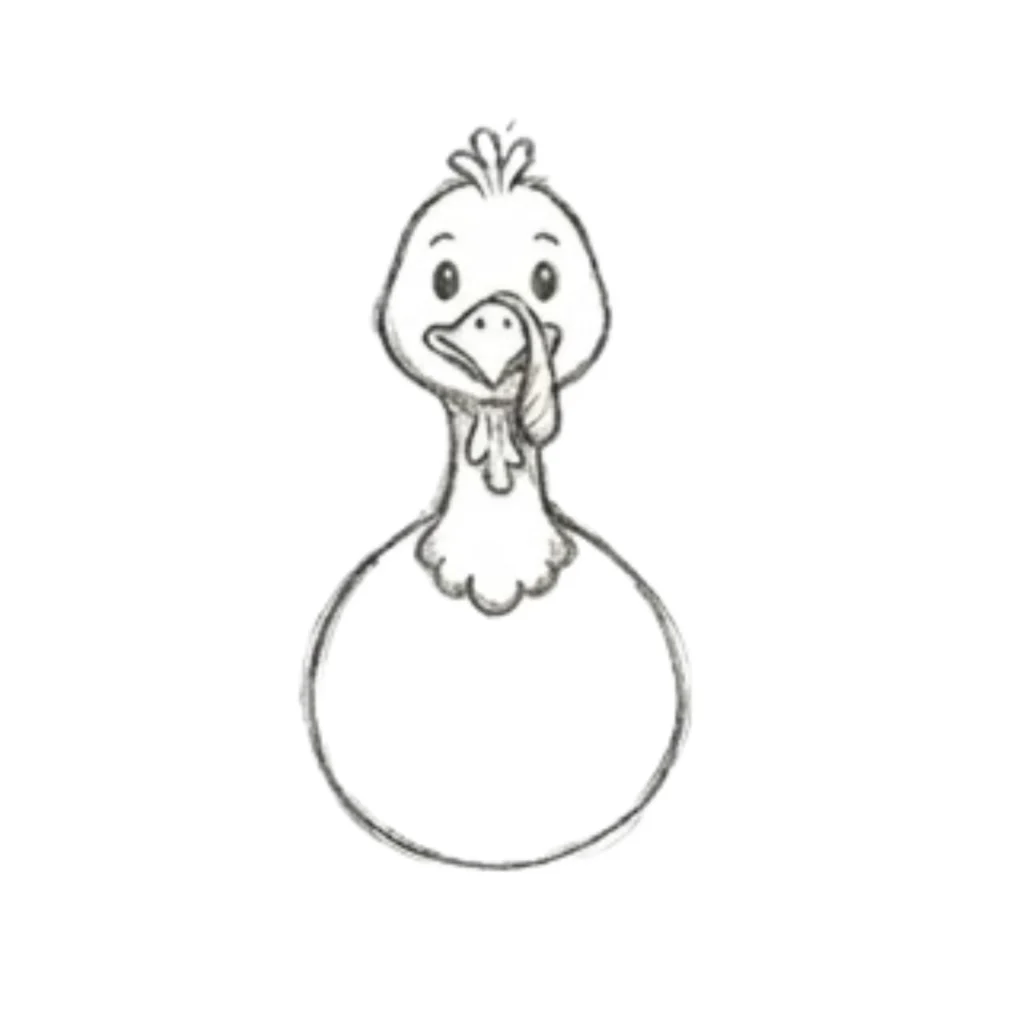
Draw small feather tufts on top of the head to give the turkey character. Refine the eyes and eyebrows to create a friendly expression. Adjust the beak lines slightly to make the face look balanced and lively.
Step 9. Draw Wings and Final Body Shape
Sketch both wings on each side of the body using curved lines. Shape them like soft, layered feathers. Refine the body outline, making it round and smooth. Add light feather details on the wings for a finished look.
Want to learn how to draw a bunny using simple shapes? This easy tutorial helps beginners turn basic circles and lines into a soft and adorable bunny drawing.
how to draw a bunnyStep 10. Add Body Feather Details
Draw small curved lines across the belly to create layered feather texture. Space them evenly and follow the round shape of the body. Keep the strokes light and consistent to give the turkey a soft, fluffy appearance.
Step 11. Draw Tail Feather Shapes
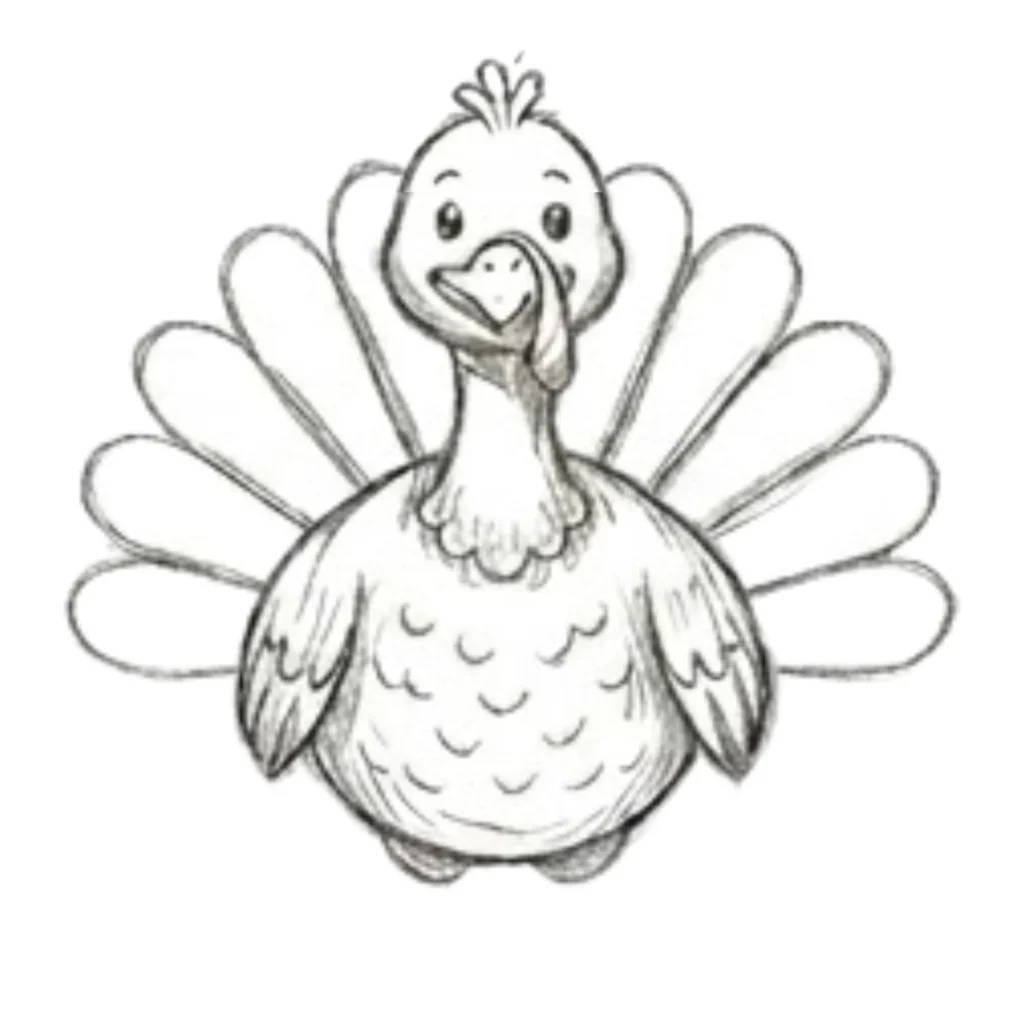
Sketch large rounded tail feathers behind the body. Spread them evenly in a fan shape. Make each feather tall and smooth, keeping the spacing balanced so the tail looks full and symmetrical.
Step 12. Add Tail Details and Final Touches
Add inner lines inside each tail feather to show texture and depth. Refine outlines across the drawing, darken key edges, and clean extra sketch lines. Keep everything neat to complete the turkey drawing with a polished finish.
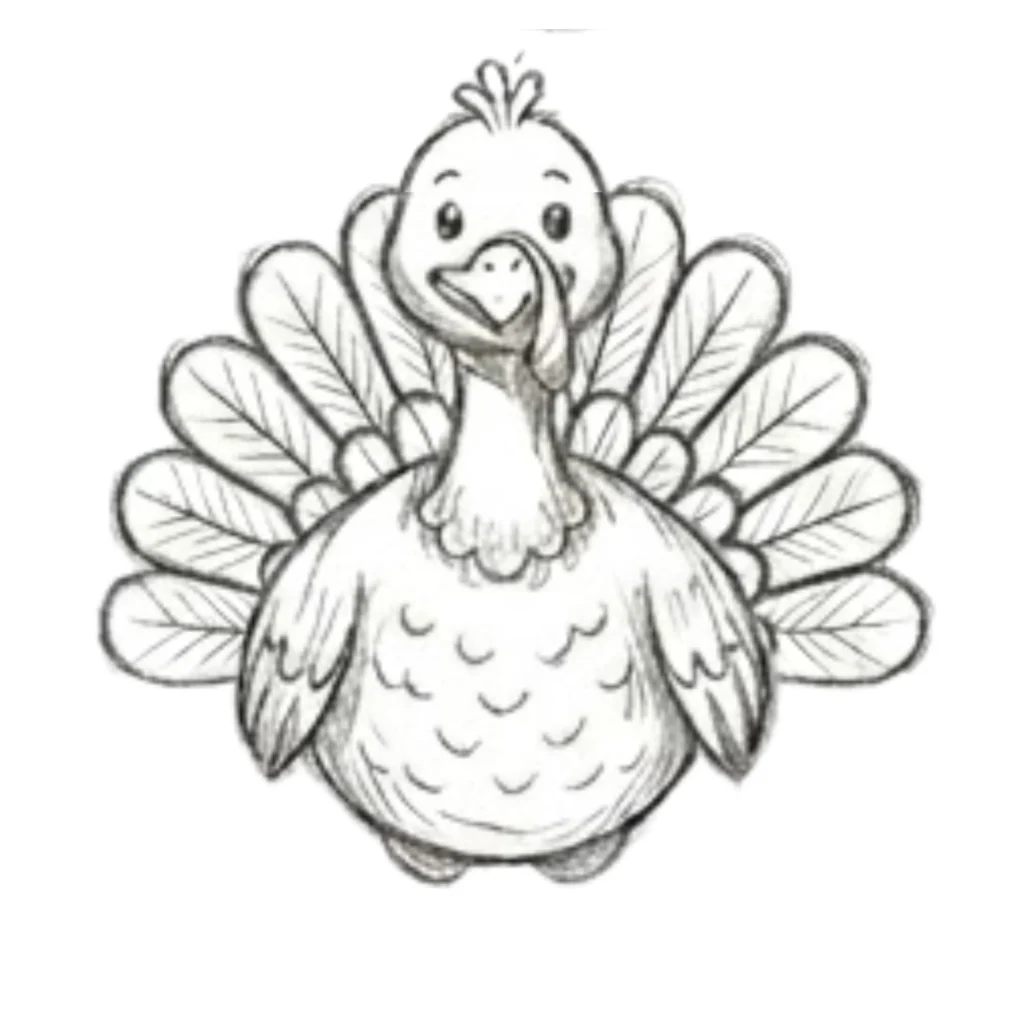
Step 13: Final Shading and Refinement
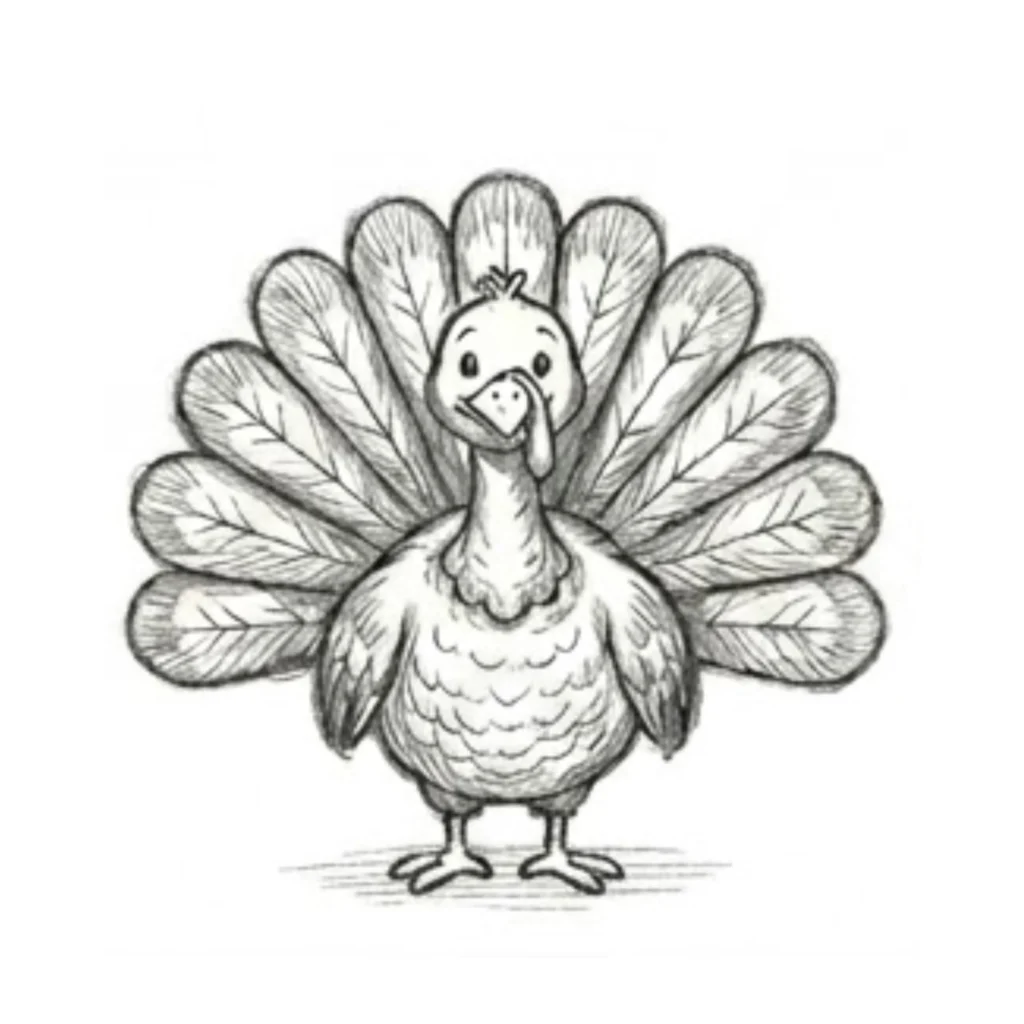
Add final shading across the body, wings, and tail to enhance depth. Define the feet clearly and draw a simple ground line beneath them. Refine all outlines, darken important edges, and clean up any remaining sketch lines to give the turkey a smooth, finished appearance.
Conclusion
Your turkey drawing is now complete and looks great. By starting with simple shapes and slowly adding details, you created a clean and neat picture. This makes turkey drawing easy and fun to learn step by step.
Keep practicing and try new ideas to improve your skills. As you draw more turkey drawings, your lines will get better and your drawings will look more creative and lively.
FAQs: Common Problems While Drawing a Turkey
Q1: Why does my turkey shape look wrong?
Q2: I can’t draw the tail feathers properly, what should I do?
This can happen if the body or tail is not balanced. Try drawing light shapes first, like a big oval for the body and a fan shape for the tail. This helps you fix the shape easily.
Q2: I can’t draw the tail feathers properly, what should I do?
Start by drawing simple curved lines like a fan. Don’t worry about perfect details at first. Once the shape looks good, you can add lines inside to show feathers.
Q3: My drawing looks messy, how can I fix it?
Use light lines in the beginning, then go over them slowly to make them neat. Take your time and erase extra lines to keep your drawing clean.
Q4: Why does my turkey not look nice or clear?
Make sure your lines are smooth and shapes are clear. Keep the body round and the neck simple. Clean outlines make your drawing look better.
Q5: I feel bored while drawing, what should I do?
Take a short break or add fun details like colors or a background. Try to enjoy the process. Drawing becomes more fun when you stay relaxed and creative.